
Drills or Worksheets First: Choosing How to Start Practising at Home
Magnus Berg
6 min read
Two ways to begin hands-on practice, short exposure and tripod drills versus shot-planning worksheets, compared side by side, with a clear recommendation on which to do first.
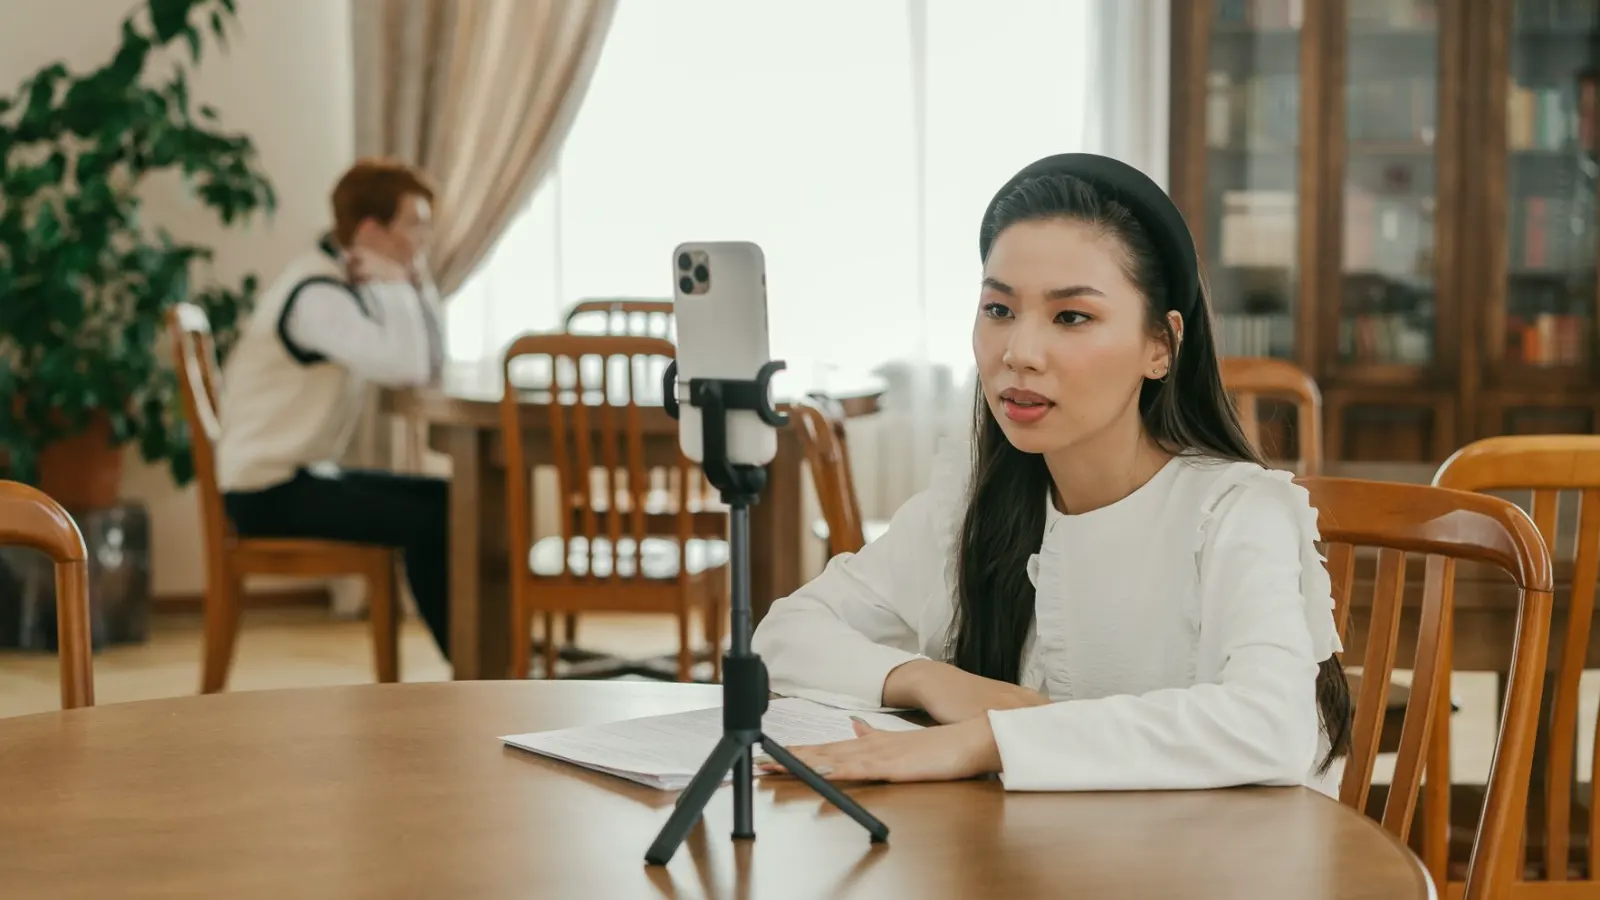
Two ways to begin
Most adults who start practising camera work at home end up choosing between two kinds of exercise without noticing the choice. The first is the drill: a short, repeatable task at the camera, such as changing exposure in fixed steps or panning on a tripod between two marks. The second is the worksheet: a planning exercise done on paper before the camera is switched on, where you decide framing, lens, distance and movement for a shot and write it down.
Both belong to the Practical Exercises we write, and both can be repeated as often as you like in a living room or a spare room. They train different habits, though, and they ask different things of your time. Since the summer weeks tend to bring open evenings and a little more daylight, this is a good moment to pick one and stick with it.
I design these exercises, so I have watched people begin with each and seen where each one helps or stalls. Below I set the two side by side and end with a plain recommendation.
What a drill trains
A drill puts your hands and eyes to work. In an exposure drill you set a subject near a window, fix the lens, and step through aperture, shutter and sensitivity one change at a time, reading the monitor after each. Within twenty minutes you have felt how each setting moves the picture, which no description can fully give you.
Tripod drills work the same way. You practise a slow pan, a tilt that stops cleanly, and a return to the starting frame, until the movement stops looking like a wobble. The reward is quick and physical: the second attempt is visibly smoother than the first.
The weakness is that a drill can be done without thinking. You can repeat an exposure drill ten times and still not know why you chose one frame over another. Skill in the hands does not automatically become judgement about the shot.
- Quick feedback within one session
- Builds steady hands and monitor reading
- Needs the camera, light and some free floor space
What a worksheet trains
A shot-planning worksheet works at the other end. Before you touch the camera you describe the shot: who or what is in frame, how much headroom, which focal length, how far the camera sits from the subject, and whether anything moves. Putting these choices in writing forces you to make them on purpose.
Worksheets cost almost nothing to do. A pencil, a printed sheet and a few quiet minutes are enough, and you can fill one in on a train or at a kitchen table. They also make later practice sharper, because you arrive at the camera with a plan to test rather than a vague wish to try things.
The weakness mirrors the drill's. A plan that is never tried against a real lens and a real monitor stays theoretical. You may plan a tidy interview frame and only discover at the camera that the room is too small for the focal length you picked.
- Costs nothing and needs no equipment
- Builds the habit of deciding before recording
- Needs a real test at the camera to mean anything
Side by side
Set next to each other, the two differ mainly in what they correct. Drills correct the hands: timing, steadiness, the feel of the controls. Worksheets correct the head: the reasons behind a frame. A beginner usually has both gaps, but they are not equally urgent, and the order in which you close them changes how the practice feels.
Time also differs. A drill rewards short, frequent sessions, ten to twenty minutes with the camera set up. A worksheet rewards one focused sitting, after which the plan can be tested over several evenings. If your week is crowded, the worksheet fits the gaps more easily, while the drill needs a place where the equipment can stay out.
Neither is better in general. The question is which weakness is holding you back right now, and what your evenings actually look like.
- Drills: hands, timing, controls
- Worksheets: choices, reasons, planning
- Drills need setup; worksheets travel anywhere
My recommendation: drill first, worksheet second
For most people I recommend starting with one short exposure drill and one tripod drill, then moving to the worksheet. The reason is practical. After a few sessions at the camera you know what the controls really do, and that knowledge makes the worksheet honest: you stop writing plans the equipment cannot deliver.
Keep the first stage small. Two weeks of three short sessions is enough to feel the difference. Then fill in a worksheet for a simple portrait or interview frame, set up exactly as planned, and compare the monitor with what you wrote. The gap between plan and picture is where most of the learning sits.
There is one exception. If you do not own a camera yet, or cannot leave equipment set up, begin with the worksheet and use it to decide what you will need. A written plan is a fair way to start thinking like someone behind the lens.
Making the pair stick
Whatever you start with, treat the two as a loop rather than a ladder. Plan on paper, test at the camera, note what differed, and plan again. Each round is short, and each one tightens both the hands and the judgement.
Write a line or two after every session: what you expected, what the monitor showed, what you would change. These notes are more useful than any count of hours practised, and they make the next worksheet far easier to fill in.
Do not try to master everything in one go. One exposure drill, one tripod movement and one worksheet, repeated until they feel ordinary, will carry you further than a long list attempted once.
If you want one answer: begin with a short exposure drill and a tripod drill so your hands know the controls, then use a shot-planning worksheet to turn that feel into deliberate choices. Return to the drill to test each plan. Done in that order, the two reinforce each other, and a few modest sessions in the quiet summer weeks are enough to notice real change.
Keep reading
-
What Camera Guides Cost and What Moves the Price
A plain look at what you pay for written camera guides on focal length, exposure, focus and monitors, and which choices make one guide cost more than another.
-
Tripods, Lenses and Light Stands: What to Check Before Summer Shoots
As the light lengthens, small studios and spare rooms get busy. Magnus walks through what a tripod, a lens, a monitor and a light stand each do, and what to check first.