
Tripods, Lenses and Light Stands: What to Check Before Summer Shoots
Magnus Berg
6 min read
As the light lengthens, small studios and spare rooms get busy. Magnus walks through what a tripod, a lens, a monitor and a light stand each do, and what to check first.
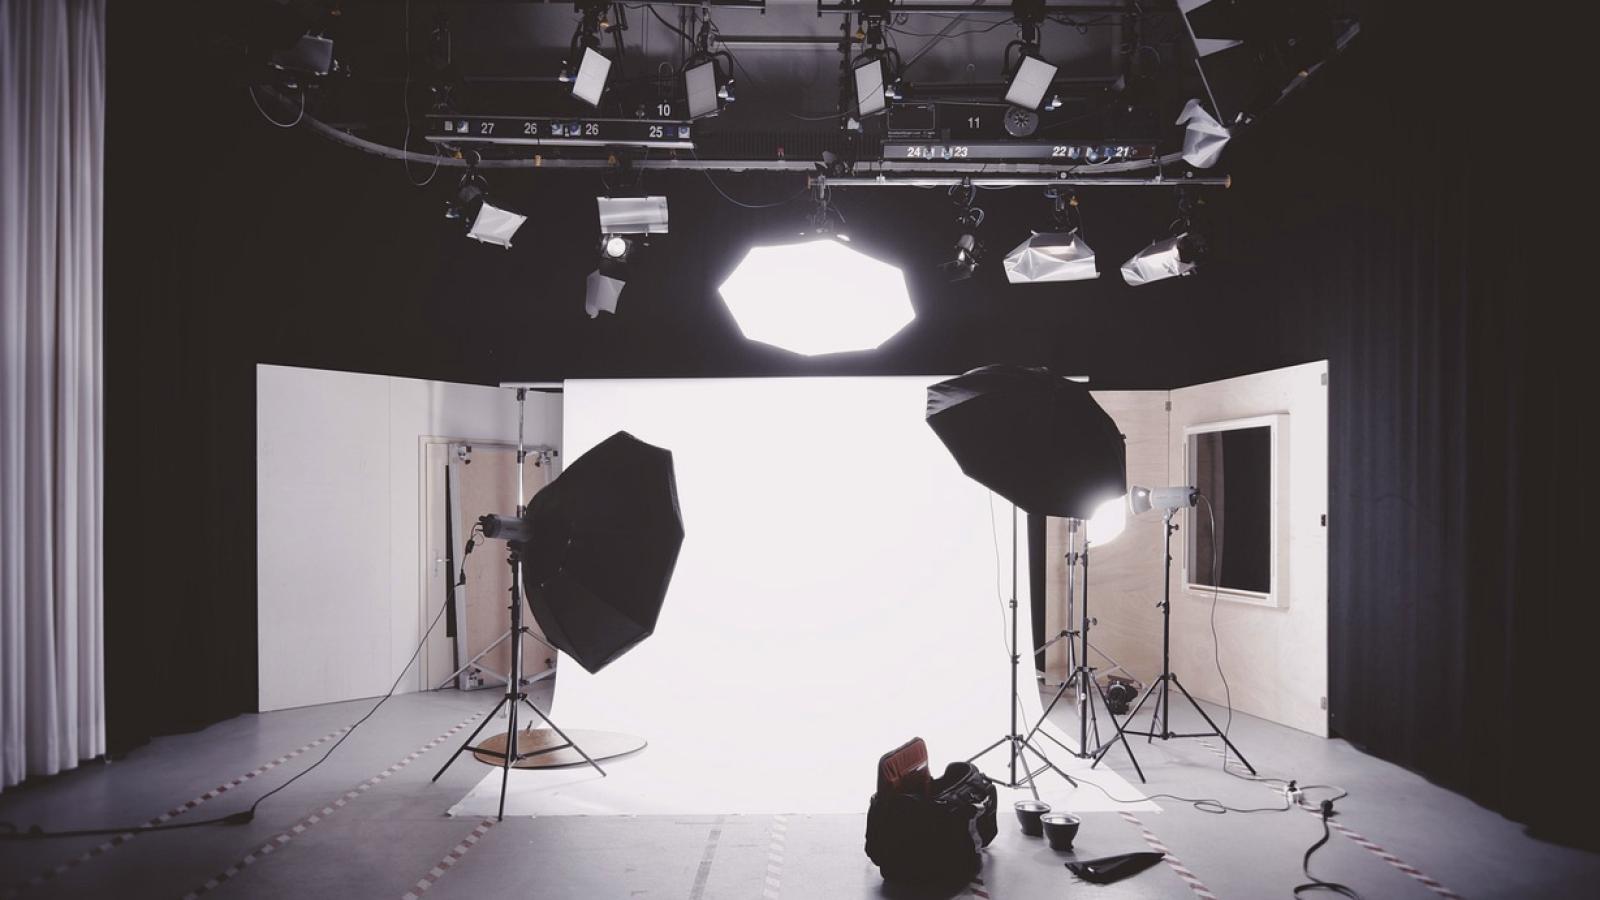
Why late spring is a good time to look at your kit
The lighter evenings change how many of us work. A spare room that was dark at five in the afternoon in winter now has a window that gives useful daylight until well into the evening, and people start recording again. That makes these weeks a sensible moment to take the equipment out of its bag and check it properly, before a real session depends on it.
I am Magnus, and I design the exercises on this site, so I tend to look at equipment through one question: what does each piece actually do in a small studio? A tripod holds the frame still. A lens decides how much of the room the viewer sees. A monitor shows what the camera sees. A light stand holds a source where you want it. Nothing more mysterious than that.
This article goes through those four in that order and suggests one short check for each. None of it needs new purchases.
The tripod: steadiness first, movement second
A tripod has one job before any other: to keep the camera from moving when you do not want it to. Extend the legs, lock them, and press gently on the camera body. If the frame drifts or sags, the problem is usually a loose leg lock or a head that is not tightened. Check each lock by hand rather than trusting memory from last autumn.
Spend a few minutes on the pan and tilt controls as well. Smooth movement depends on the head being balanced and the drag set so the camera neither flops nor sticks. Pan slowly from left to right across the room and watch the picture on the monitor, not the camera itself.
If the movement is jerky, loosen the drag slightly and move from the hips instead of the wrist. Practise a slow start and a slow stop, because the beginning and end of a move are where most of the visible wobble hides.
- Lock every leg and press down on the camera to test for sag
- Level the head using the bubble before each session
- Practise one slow pan with a gentle start and stop
The lens: what you see, and how close you stand
A lens decides the angle of view, and in a small room that matters more than almost anything else. A wider lens takes in more of the space but stretches the edges of the frame and makes it tempting to stand too close to your subject. A longer lens narrows the view and compresses distance, which is often kinder for a face, but needs more room behind the camera.
Before a session, put the camera at your usual working distance and look at what is actually in the frame. Many people discover a lamp, a door handle or a cable at the edge that they stopped noticing months ago. Fix the lens setting first, then tidy the frame, rather than the other way round.
Also wipe the front element with a clean, dry cloth and check that the focus ring moves freely. A smudge that is invisible on the camera screen can soften the whole picture once it is on a larger monitor.
The monitor: judge the picture on something larger
The small screen on a camera is good for framing and poor for judging focus or brightness. A separate monitor, even a modest one, shows detail that the camera screen hides. It is also the place where you notice that an eye is slightly soft or that a white shirt has lost all its texture.
Start by checking that the monitor is set to a neutral picture, with brightness at a moderate level you can repeat. If the monitor is too bright you will underexpose the recording to compensate, and if it is too dim you will do the opposite. Pick one setting, note it down, and use it every time.
Place the monitor where you can see it without turning your head far from the subject. If you are on camera yourself, position it close to the lens so your eyes stay near the direction the viewer expects.
- Set brightness once and write the value on a note
- Use the monitor to check focus on the eyes before recording
The light stand: height, distance and a stable base
A light stand is easy to overlook because it does nothing visible by itself. It simply decides where the light sits, and that decides the shadows on a face. As a plain starting point, a source slightly above eye level and to one side of the camera gives shape without harshness. Move it a little at a time and watch the monitor.
Stability matters more than most people expect. A top-heavy light on a narrow stand can tip when someone brushes past, so spread the legs fully, keep the tallest section as low as the setup allows, and place a weight on the base if you have one. Route cables along the floor away from where people walk.
In late spring there is often a window in the mix as well. Note where daylight falls and at what hour, and decide whether your stand-mounted light supports it or fights it. Mixed light that changes during a session is a common cause of uneven pictures.
A short routine for the coming weeks
Put these four checks together and you have a routine that takes about fifteen minutes. Set up the tripod and test its locks, choose the lens setting and look at the full frame, calibrate the monitor to your usual brightness, and place the light, checking the stand is steady. Do it in that order, because each step depends on the one before it.
Repeat it once without recording anything. The point is to learn how long your own setup takes and where it tends to go wrong, so that on the day of a real session you are only making small adjustments rather than discovering problems.
Keep a few notes from each run: the lens setting, the distance, the monitor brightness and the light position. Those notes become a personal starting point that you can return to every time the season, the room or the daylight changes.
- Tripod locks and level
- Lens setting and a clear frame
- Monitor brightness
- Light position and a stable stand
Equipment rarely needs to be new, only understood. A tripod that holds, a lens chosen on purpose, a monitor you can trust and a light that stays where you put it are enough for a good small studio. Use the longer evenings to run the routine once, write down what you find, and the summer sessions will start from a steady footing instead of a guess.
Keep reading
-
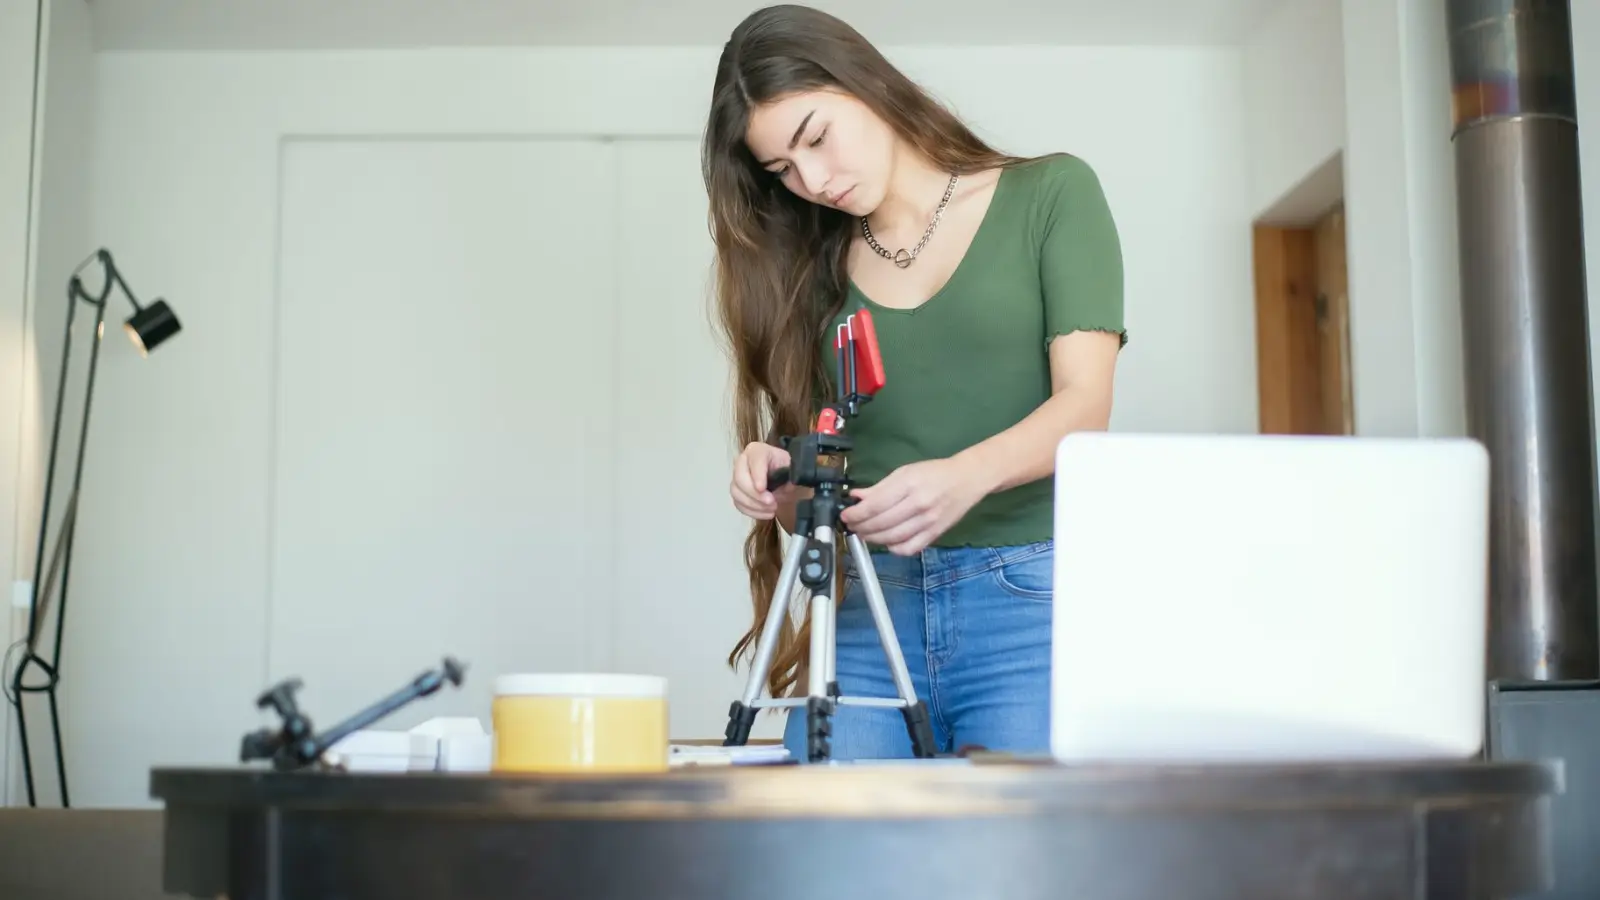
Marit's Kitchen Table Exposure Drill: One Case, Three Weeks of Practice
Marit had never set exposure by hand. This short case follows her through repeatable drills at home, and what changed in her footage once she stopped trusting auto mode.
-
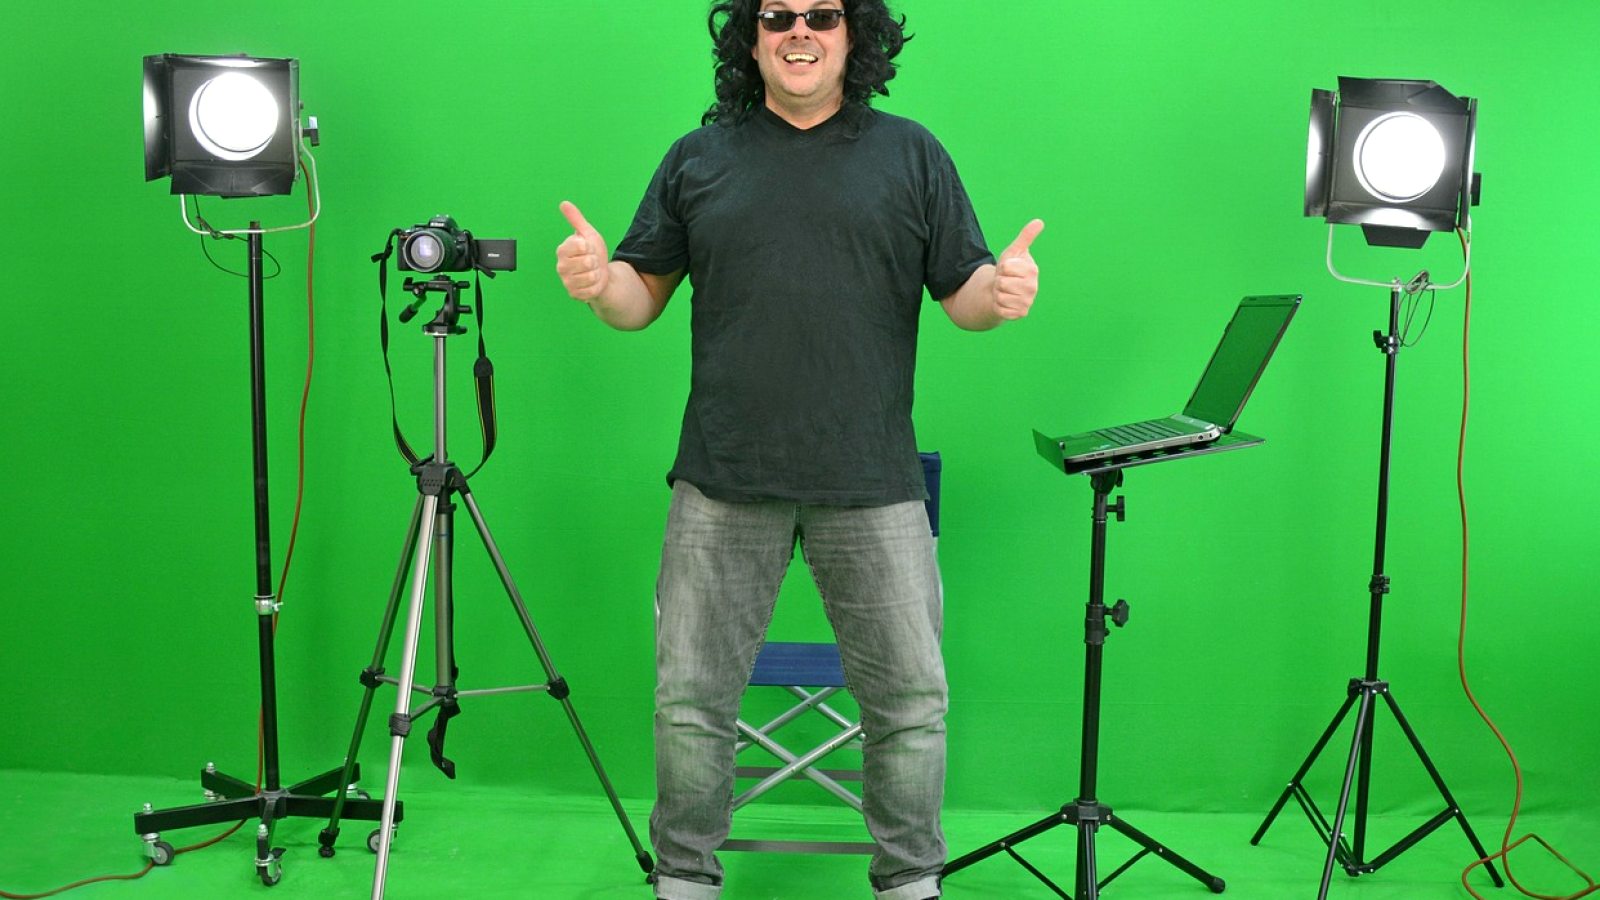
What Basic Studio Equipment Costs and What Drives the Price
A plain look at what tripods, lenses, monitors and light stands cost in a small studio, and which details push the price up while adding little for learners.
-
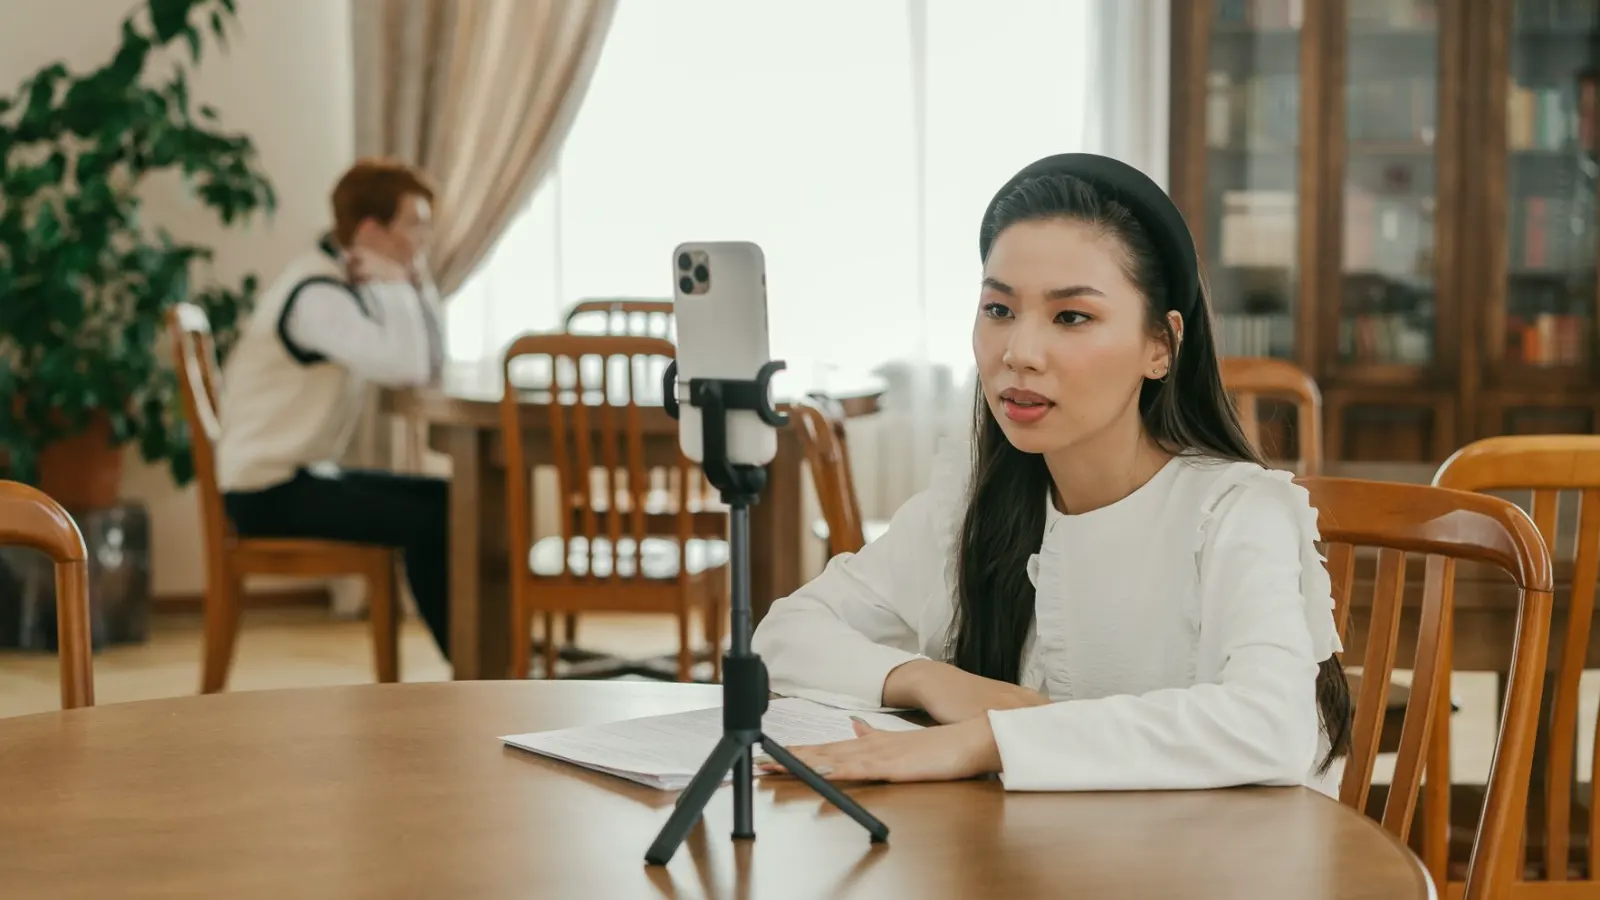
Drills or Worksheets First: Choosing How to Start Practising at Home
Two ways to begin hands-on practice, short exposure and tripod drills versus shot-planning worksheets, compared side by side, with a clear recommendation on which to do first.