
Five Common Mistakes in Home Practice Drills, and How to Avoid Them
Ingrid Haugen
5 min read
Repeating exposure drills, tripod movement and shot-planning worksheets at home only helps if the habits are sound. Here are the slips we see most often and simple ways to fix them.
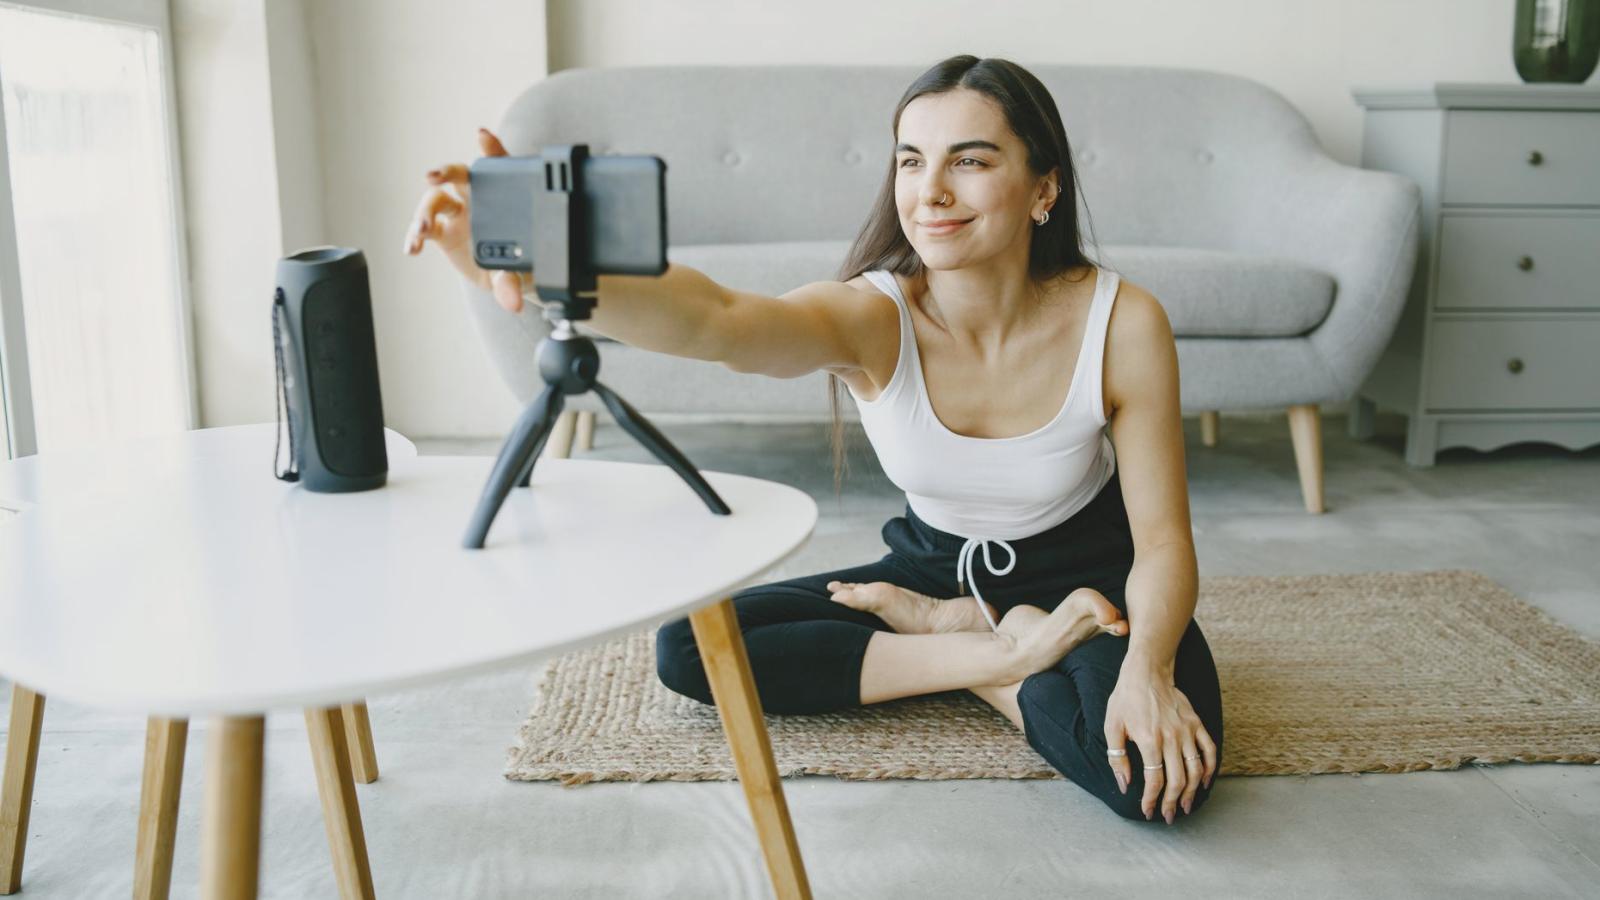
1. Changing three settings at once
The most common slip in an exposure drill is touching aperture, shutter speed and ISO in the same breath. The picture changes, but you cannot tell which adjustment did what, so the exercise teaches you nothing you can repeat. An exposure drill is built to isolate one variable at a time, and the discipline of holding the others still is the actual lesson.
Start from a fixed scene: one lamp, one subject, one backdrop. Write down the starting values, change a single setting by one step, look at the monitor, and note what moved. Then return to the start and change a different setting. After a dozen frames you will see the pattern in your own notes, which is far more useful than a rule memorised from a page.
These weeks the light outside fades early, which suits the drill well. You get a steady, controllable indoor scene without clouds changing the result halfway through a session.
- Change one setting per frame
- Write the starting values first
- Return to the baseline between tests
2. Practising on a moving light source
Window light looks pleasant, but in late autumn it shifts constantly. A cloud passes, the sun drops lower, and your frame twenty minutes in is not comparable to the first one. Learners then blame their settings for differences that came from the sky.
Use a lamp you control, placed at a marked distance from the subject. Mark the floor with tape so the lamp and the camera return to the same spots each session. If you must work near a window, close the curtains and treat it as a darkened room.
Repeatable conditions are the whole reason to do these exercises at home. A drill you can run again next week, with the same light, lets you see whether you have improved. A drill under changing light only gives you a different picture each time, which tells you very little about your own progress.
3. Rushing tripod movement
Tripod movement practice fails when the pan is treated as a race. Beginners swing the head quickly, stop abruptly, and end with a frame that is slightly crooked. The movement should start slowly, travel at an even pace and ease to a stop on the planned composition.
Choose a start frame and an end frame before you press record, and tape small marks on the wall if it helps. Run the move at half the speed you think is right. Check the tripod is level first, because a head that is not level will drift the horizon during every pan, however smooth your hand is.
Review each take on the monitor, not only in your head. A move can feel smooth and still show a small jerk at the start. Fix the beginning of the move before you worry about the end, since most visible errors begin in the first second.
- Level the tripod before each session
- Plan start and end frames
- Slow the pan to half speed
4. Skipping the shot-planning worksheet
The worksheet looks like paperwork, so it is often abandoned after the first try. Yet the planning step is where most framing errors are caught, long before the camera is switched on. Writing down subject position, headroom and lens choice forces you to decide rather than drift.
Fill in the sheet in pencil, then record the shot and compare. Where the finished frame differs from the plan, you learn something specific: perhaps the lens was wider than you wrote, or the subject sat closer to the edge than intended. Those gaps are what the exercise is meant to reveal.
Keep each completed worksheet. A small pile of them over a few weeks shows which decisions you keep getting wrong, and that pattern is more honest feedback than any single recording.
5. Judging results on the wrong screen
A frame that looks fine on a small camera display can look soft or dark on a larger monitor. Many learners judge focus and exposure on the tiny rear screen and only discover the problem later. Part of the practice is learning how to read the monitor you will actually use.
Set the monitor brightness to a sensible, fixed level and leave it there for the whole session. If your setup offers focus aids or exposure indicators, switch them on and learn what they show, but do not treat them as proof. Check a still frame at full size before you call a drill finished.
Consistent monitor settings also make your notes comparable from one session to the next. If the screen brightness changes between days, your idea of a correct exposure will drift with it, and the drill stops measuring your skill.
- Fix monitor brightness for each session
- Inspect a still at full size
Keeping the drills honest
None of these fixes is complicated. They share one idea: make the exercise repeatable, change one thing at a time, and write down what you did. A drill without notes is only a habit; with notes it becomes practice you can measure.
Pick one mistake from this list and correct it in your next session rather than trying to fix everything at once. Small, steady changes in how you run each drill add up faster than long, careless sessions. The exercises are meant to be repeated, so there is no hurry to get them right the first time.
Home exercises work when they are controlled, repeated and written down. Hold your light steady, change one setting at a time, slow your tripod moves, fill in the worksheet and read your results on a fixed monitor. Choose one habit to correct this week, note the change, and come back to the same drill next session to see whether it held.
Keep reading
-
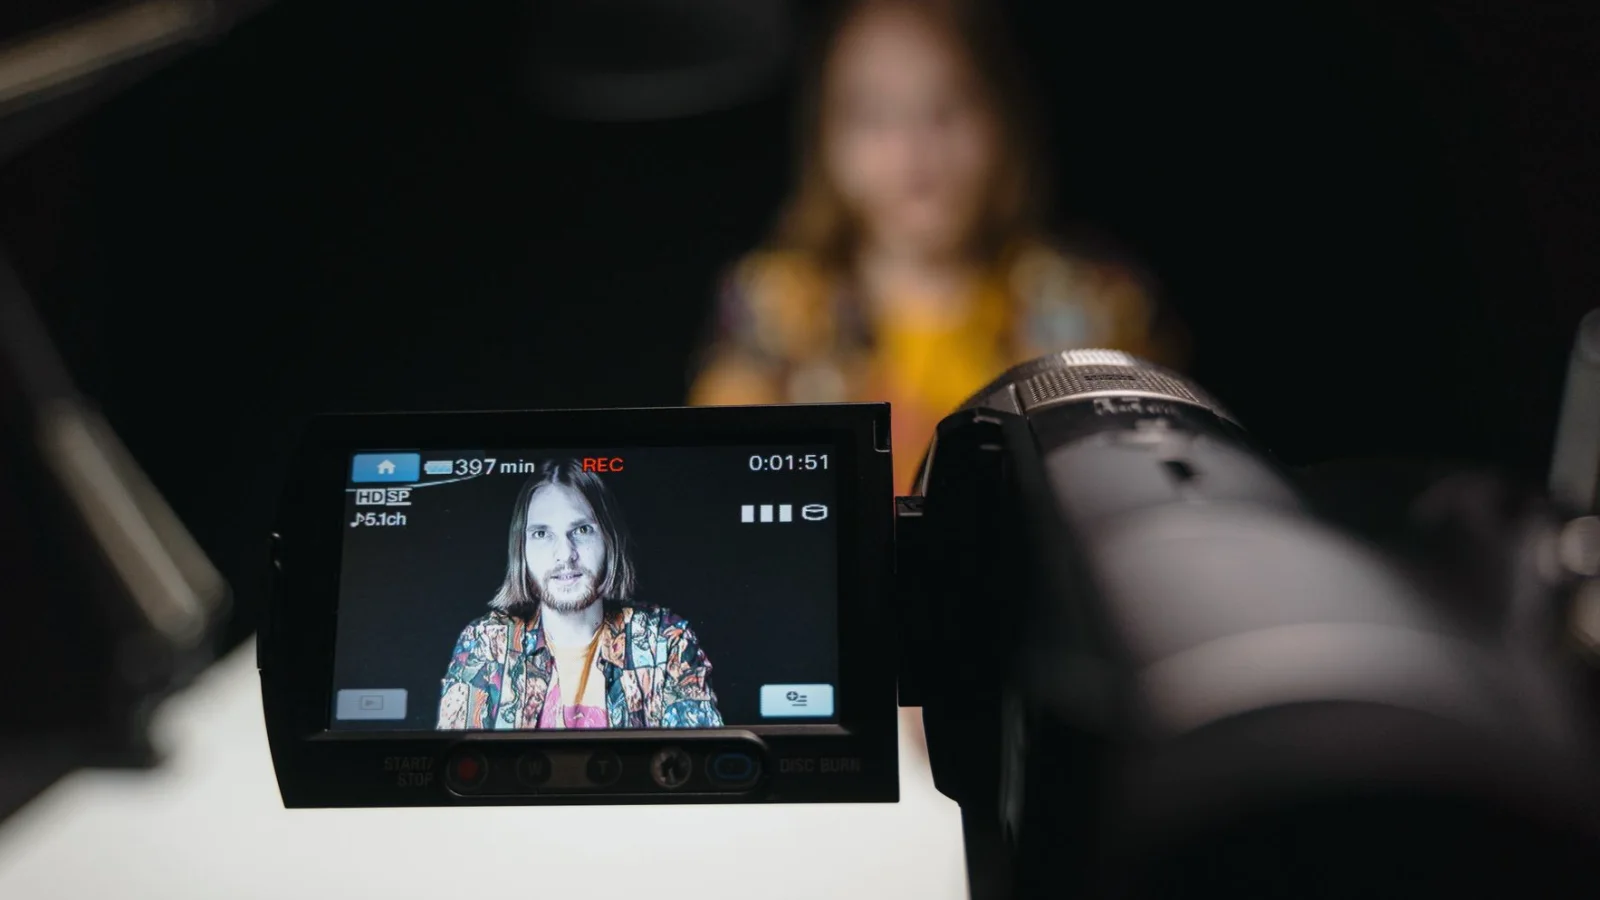
Five Framing Mistakes in Portrait Setups and How to Fix Them
Most weak portrait and interview frames come from a handful of repeat habits. Magnus Berg walks through five common mistakes from our composition courses and shows a simple correction for each.
-
What Camera Guides Cost and What Moves the Price
A plain look at what you pay for written camera guides on focal length, exposure, focus and monitors, and which choices make one guide cost more than another.
-
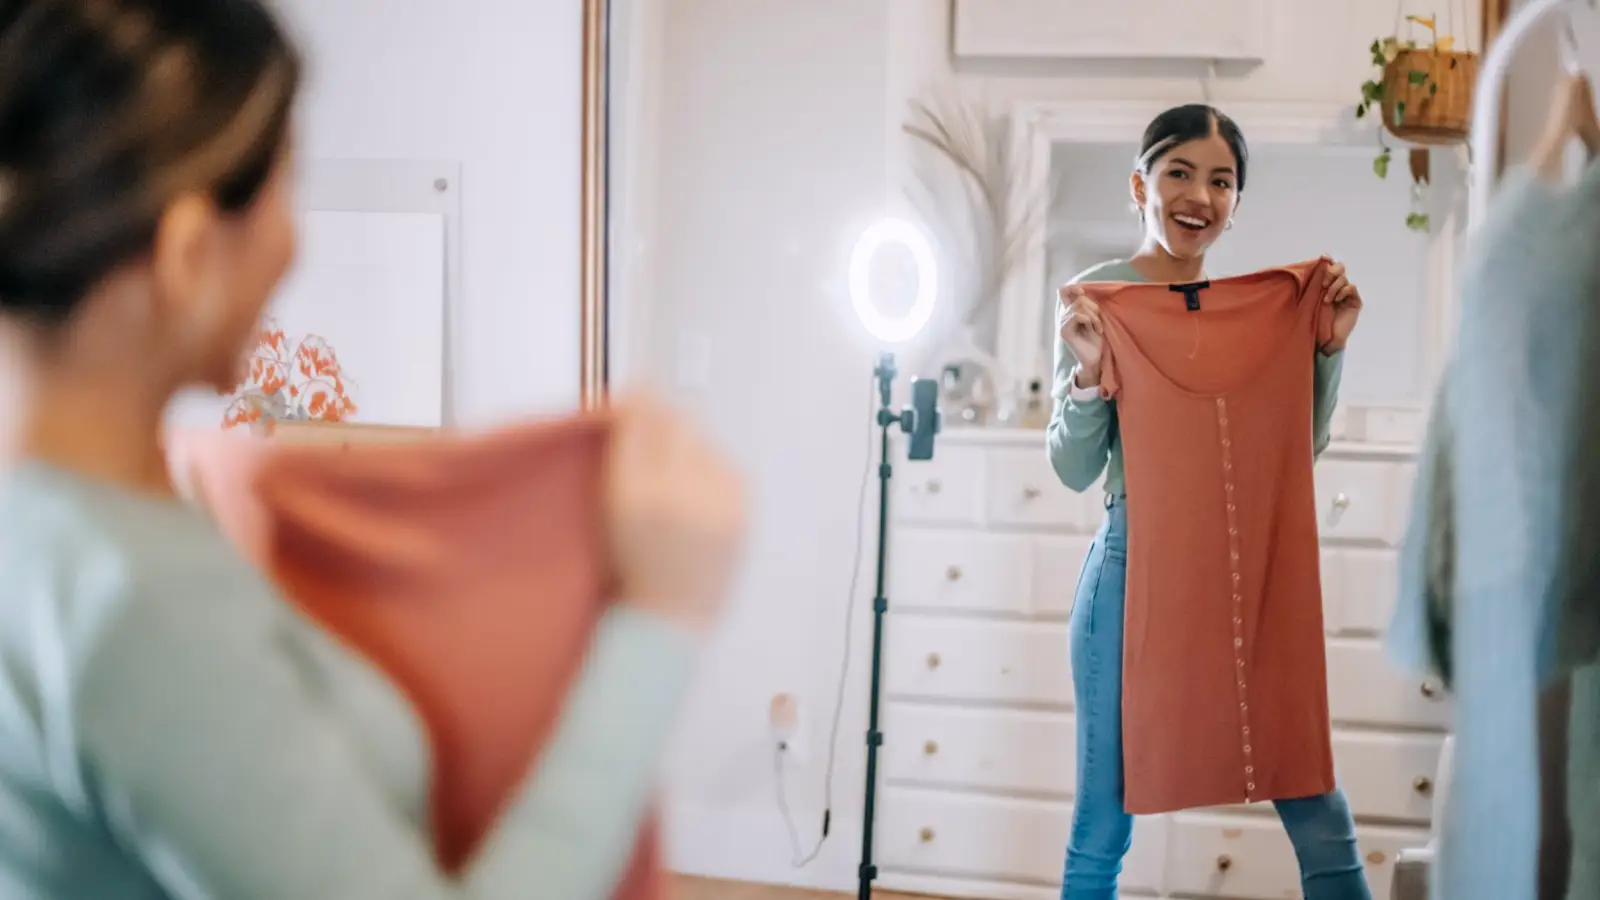
One Afternoon With a Checklist: Marit Gets Her Home Studio Ready
Henrik follows Marit, a hobby interviewer from Østfold, as she replaces a messy pre-recording routine with a short studio setup checklist for camera, light, sound and monitor.