
Short Course or Full Programme: Choosing How to Learn Framing
Ingrid Haugen
7 min read
Two ways to study framing, headroom and shot planning for portrait and interview setups: a short focused course or a longer structured programme. Here is how they compare and which one we recommend.
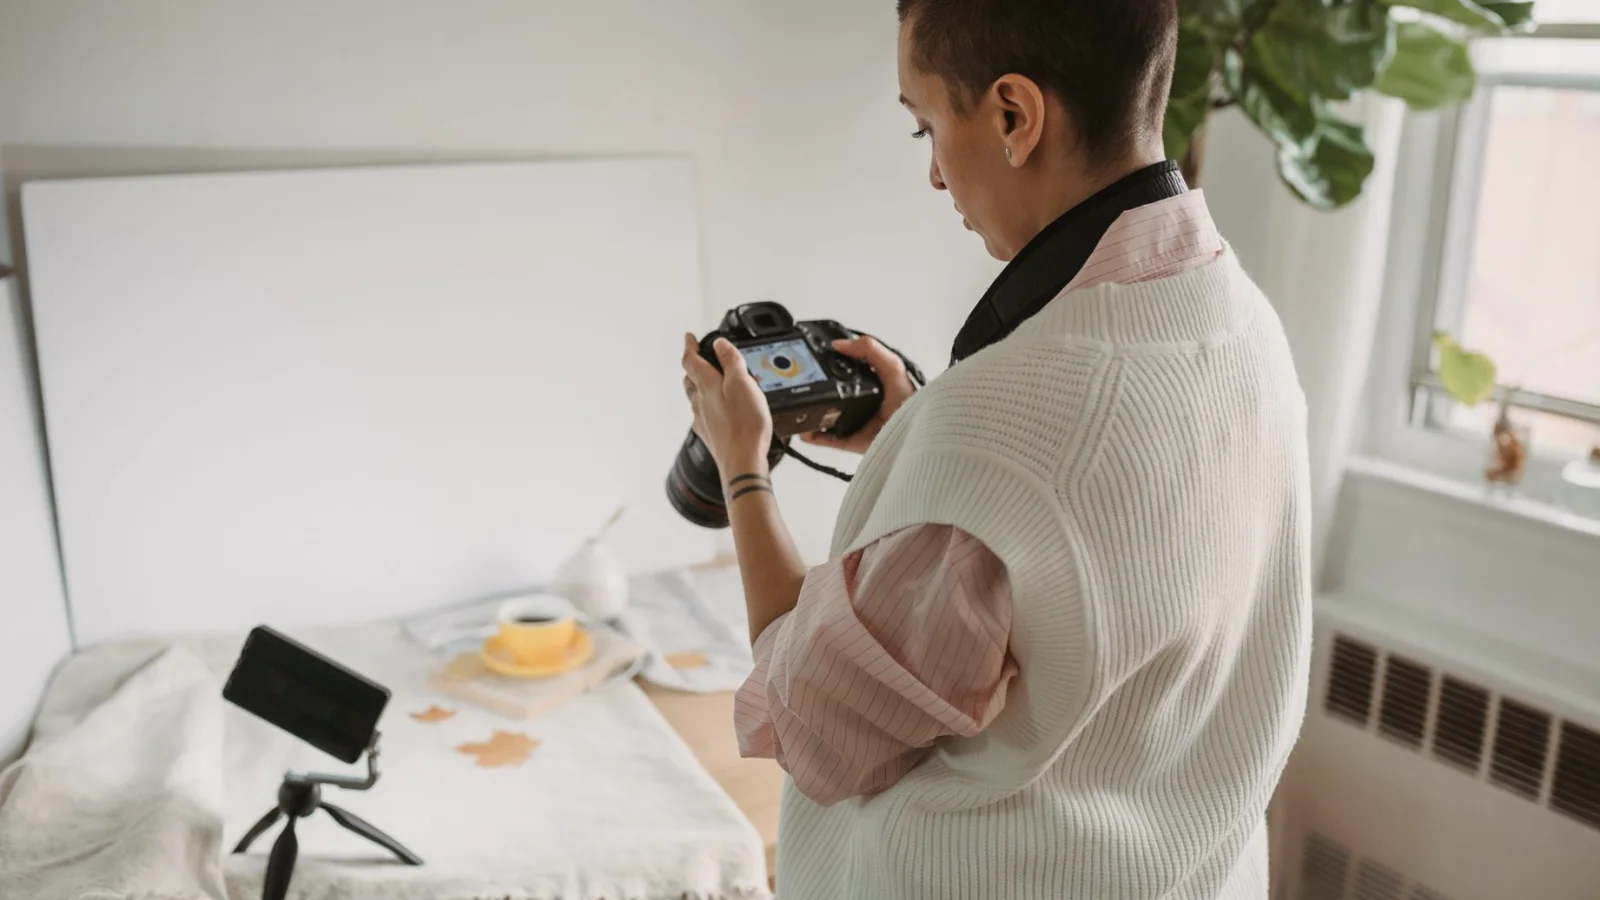
Two ways to approach the same skills
Most adults who come to us want the same thing: to stop guessing where the subject sits in the frame. The Camera Composition Courses cover framing, rule of thirds, headroom, depth and shot planning for portrait and interview setups. The real question is how to take them. One route is a short, focused course that handles a single skill at a time. The other is the full structured programme that moves through all of them in order.
I have set up studio corners for years, and in spring, when the light changes and many people start new projects, this choice comes up most often. Neither route is wrong. They suit different habits, different amounts of free time and different starting points, so it helps to look at them side by side before you commit any evening hours.
Below I describe each option plainly, compare them on the points that matter in practice, and end with a recommendation. I will not promise that either leads to work. Both teach the same craft; they differ in pace and in how much you must hold in your head at once.
Option one: the short focused course
A short course takes one topic, for example headroom and eye line in an interview frame, and stays with it. You read the material, do the exercise, and finish within a few evenings. The great strength is momentum. You can test the idea the same week with a camera on a tripod and a friend sitting on a kitchen chair.
The weakness is that framing is rarely a single decision. Headroom affects depth, depth affects lens choice, and lens choice changes how close you must stand. Someone who studies only one piece may improve it nicely and still find the whole shot unbalanced, because the neighbouring decisions were left as they were.
This route suits people who already have a working setup and one clear problem, such as heads cut off at the forehead or subjects sitting dead centre with too much empty wall above them. It also suits anyone whose week is crowded and who would rather finish something small than start something large.
- Good for a single, well-named problem
- Quick to finish and quick to test at home
- Leaves the links between skills for you to work out
Option two: the full structured programme
The full programme follows the order in which a shot is actually built. You begin with the frame and the rule of thirds, move to headroom and depth, and finish with planning a sequence of shots for a portrait or an interview. Each stage assumes the previous one, so you are never asked to use an idea you have not yet practised.
That order is the main reason to choose it. When you plan a shot, you weigh several things together: where the eyes fall, how much background is visible, how far the camera sits. The programme trains that habit of weighing, which a single short course cannot do because it isolates one factor on purpose.
The cost is time and patience. You will spend several weeks of evenings on it, and some stages feel slow if you already know them. Still, the shot-planning worksheets near the end are where many learners say the earlier material finally connects, and those worksheets only make sense once the groundwork is behind you.
- Builds skills in the order a real shot needs them
- Includes the shot-planning stage at the end
- Asks for more weeks and steadier effort
Comparing them on what actually matters
Set the two routes next to each other and four points decide it. The first is starting level. A complete beginner gains more from the programme, because every term is introduced before it is used. Someone with a year of casual filming can skip ahead and take a short course without losing the thread.
The second point is how you learn. If you need a deadline and a visible finish line, short courses give you one every few evenings. If you prefer to build slowly and revisit earlier steps, the programme lets you do that without feeling you have fallen behind.
Third is cost and commitment, which you can read on the Courses page rather than guess at. Fourth is the risk of patchy knowledge. Several short courses taken at random can leave holes, for instance good headroom but no sense of depth. The programme closes those holes by design, while a careful learner can also close them by choosing short courses in a sensible order.
- Starting level: beginners lean toward the programme
- Learning style: deadlines versus steady building
- Commitment: evenings per week and total weeks
- Gaps: random short courses can leave some behind
What I recommend, and for whom
My recommendation is the full programme for anyone who is new to framing or who has taught themselves without ever checking the basics. It is slower, but it saves you from relearning the same lesson three times in three different forms. By the end you can plan a portrait or interview setup from an empty room, not only fix a frame someone else built.
If you already film regularly and can name your weak spot, take the short course that matches it, and then reread the programme's stage on shot planning to see how that skill fits in. That small addition costs little and prevents the patchy result I described earlier.
Whichever you choose, use a tripod, keep a notebook of frames you liked and frames you did not, and compare them after a week. The notes teach as much as the lessons. Treat the course as a guide to looking, and let your own practice carry most of the learning.
Before you decide: a short test at home
Spend twenty minutes before choosing. Place the camera on a tripod, seat someone about two metres from a plain wall, and shoot three frames: one with the face centred, one using the rule of thirds, and one with a little more headroom than feels natural. Look at all three on a monitor, not only the small camera screen.
If you can say clearly why one frame works better, and what you would change next, you probably need only a short course to sharpen a specific point. If the three frames look much alike to you, or you cannot explain your preference, the programme will give you the vocabulary and the order that you are missing right now.
This test needs no special gear and no spring sunshine, though a window with soft light helps. It also gives you something concrete to bring to the first exercise, which is a better start than choosing from a list of titles alone.
- Shoot three frames of one person at the same distance
- Review them on a monitor, not the camera screen
- Write one sentence on why you prefer the best one
Both routes teach the same craft, so the choice is about pace and where you stand today. Beginners and self-taught learners with scattered habits should take the full programme; those with one clear weakness can start with a short course and read the shot-planning stage afterwards. Try the three-frame test first, be honest about what you see, and pick the path that matches it. Then begin, because framing improves with repetition far more than with deliberation.
Keep reading
-
Reading a Monitor: What Clipping Warnings Actually Tell You
Zebras, false colour and clipping indicators are easy to switch on and easy to misread. A plain-words explanation of what each warning shows, and what it leaves out.
-
What the Composition Courses Cover, and How We Run Them This Season
A plain account of how the Camera Composition Courses are built: framing, headroom, depth and shot planning for portrait and interview setups, and what you can expect to practise.