
Reading a Monitor: What Clipping Warnings Actually Tell You
Magnus Berg
6 min read
Zebras, false colour and clipping indicators are easy to switch on and easy to misread. A plain-words explanation of what each warning shows, and what it leaves out.
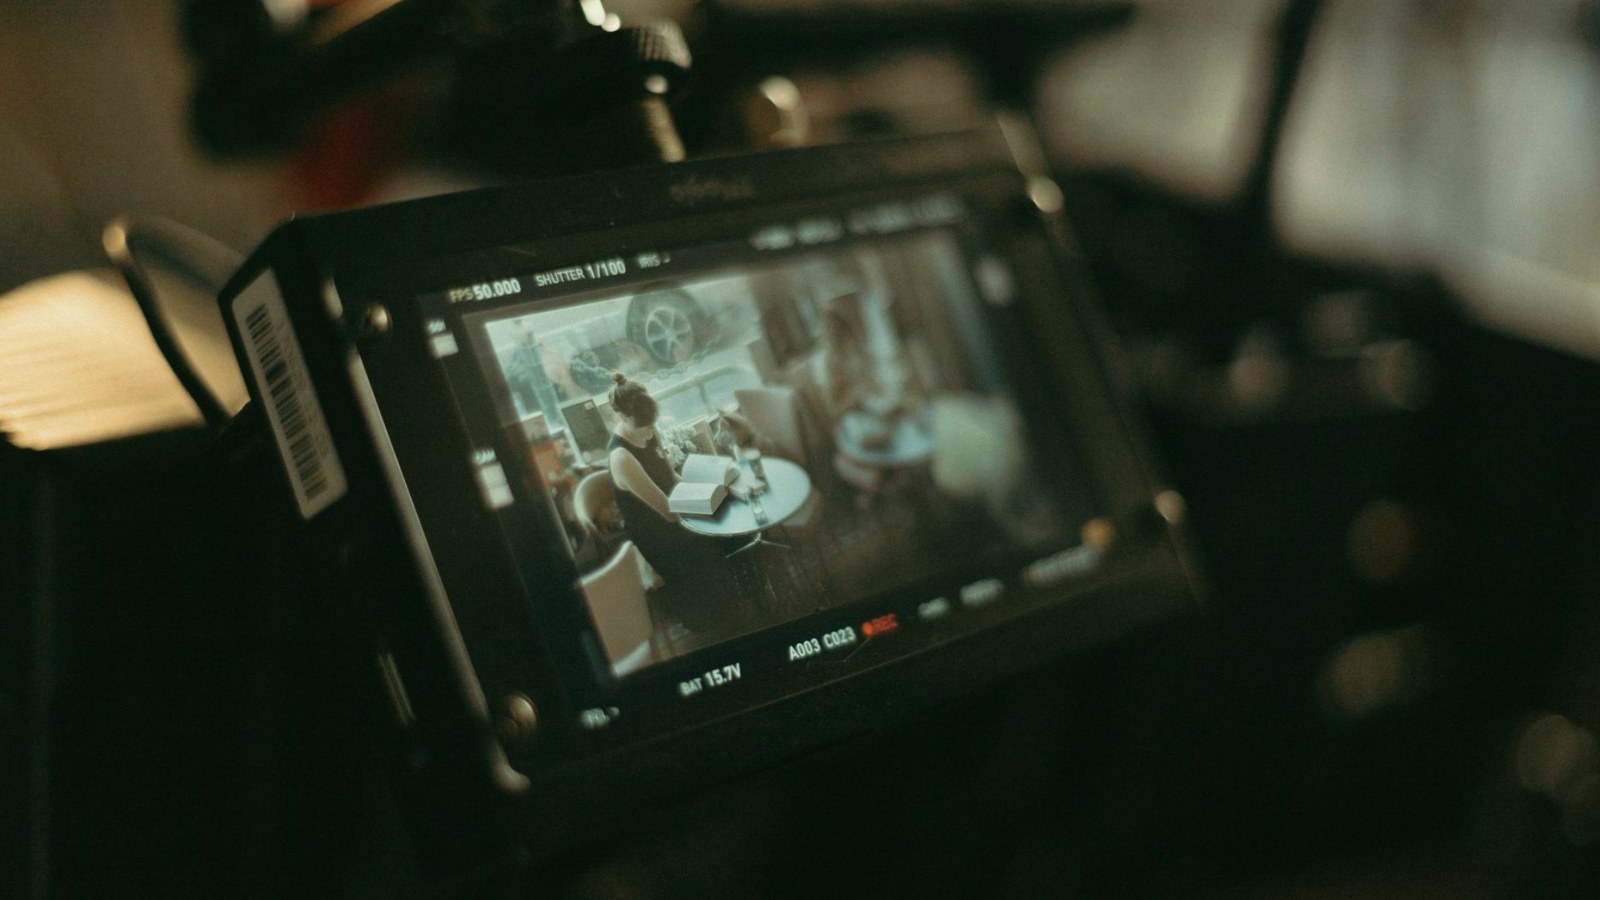
What a clipping warning is, in plain words
A clipping warning is a marker drawn on your monitor over every part of the picture where the sensor has run out of room. In the bright end that means detail has been pushed to pure white and cannot be recovered later. In the dark end it means shadow has fallen to pure black. The warning does not judge whether the picture is good. It only tells you that, in those spots, the camera has stopped recording differences.
The most common form is the zebra: diagonal stripes laid over bright areas. Some cameras show a coloured fill or a flashing outline instead. The idea is identical in each case, and it is worth learning the name your own monitor uses before you read any further guide on exposure.
I write these guides with a small studio in mind, so the setups here assume one subject, one key light and a plain backdrop. The diagrams in the written guides are clearly labelled, and they show exactly where the warning appears and why it appears there.
Zebra levels and why the number matters
A zebra is not a single fixed alarm. You choose a threshold, usually given as a percentage of the brightness scale, and the stripes appear wherever the picture goes above it. Set the threshold at the very top and the stripes only show true clipping. Set it lower, around the level where skin tones sit comfortably, and the stripes become a guide to how bright the face is rather than a warning of damage.
This is where many beginners go wrong. They see stripes, lower the exposure until the stripes vanish, and end up with a flat, dull image because the threshold was set for a different purpose. Before you trust the stripes, check what level they are set to and what you meant them to do.
Write the chosen level on your setup checklist so the same numbers are used from one recording to the next.
- A high threshold shows real clipping
- A mid threshold helps judge skin brightness
- Note the level you chose and reuse it
False colour and the problem of unfamiliar colours
False colour replaces the picture with a map of brightness, painting each band of exposure in a different colour. Purple or blue usually marks the darkest parts, grey and green the middle, and yellow then red the brightest. It looks strange at first, but it lets you read the whole frame at once instead of watching for stripes in one corner.
The catch is that every monitor assigns its own colours, and the scale is only useful if you know the key. Look for the legend in the monitor menu and keep a note of it beside your gear. Without that key, a patch of red could mean clipping or simply the top of the normal range.
I suggest practising on a static subject first. Place a face in front of a plain wall, turn on false colour, and move the light a little at a time while you watch the bands shift.
What a clipping warning does not show
A warning only reports what the monitor is looking at, and that is not always what the file will contain. If the monitor applies a preview look, a contrast curve or a brightness boost, the stripes may appear sooner or later than the recording would justify. The warning can also be perfectly accurate and still be unhelpful, for example when a small lamp in the background clips and nobody minds.
It also says nothing about focus, composition or colour. A frame can be cleanly exposed with no stripes anywhere and still be soft or badly framed. That is why a monitor check is one part of the pre-recording routine, not the whole of it.
Treat the warning as a question rather than a verdict. Ask whether the flagged area matters to the picture, and only then decide whether to change the light or the exposure.
- The monitor may not match the recorded file
- Background highlights may not need fixing
- No warning does not mean a good frame
A short drill for late-summer light
In these weeks the light through a studio window changes quickly, with low, warm sun that can flood one side of a room within minutes. That makes it a good time to practise. Set up a seated subject near a window, switch on your zebra at a high threshold, and note where the stripes first appear as the light strengthens.
Then close the blind halfway and watch the stripes retreat. Repeat the drill with false colour instead, and compare which tool you find quicker to read. There is no correct answer, only the one that lets you decide faster and with less guessing.
Keep a short written note of each result. After three or four sessions you will see a pattern in how your own camera and monitor behave, and that pattern is more useful than any general rule.
Setting the monitor up before you rely on it
A clipping warning is only as honest as the monitor that carries it. Before a session, set the brightness to a steady level you can repeat, switch off any automatic dimming and turn off any preview look that alters contrast. If your monitor has a calibration or neutral mode, use it. A screen that is too bright makes dark areas look better than they are, and a screen that is too dim makes you open the exposure beyond what the recording needs.
Place the monitor so that room light does not fall across it. Glare on the glass hides the very stripes you are trying to see. A small hood or a change of angle often fixes this at no cost.
Finally, note the monitor settings on your checklist, so that a different afternoon or a different room does not quietly change how you read the picture.
Zebras and false colour are simple tools that become useful once you know what threshold or colour key they use and what they leave out. Read them as questions about the picture, check the monitor itself, and note your settings so they repeat. A few short drills in changing summer light will teach you more about your own equipment than any chart, and the written guides on this site give labelled diagrams to practise against.
Keep reading
-
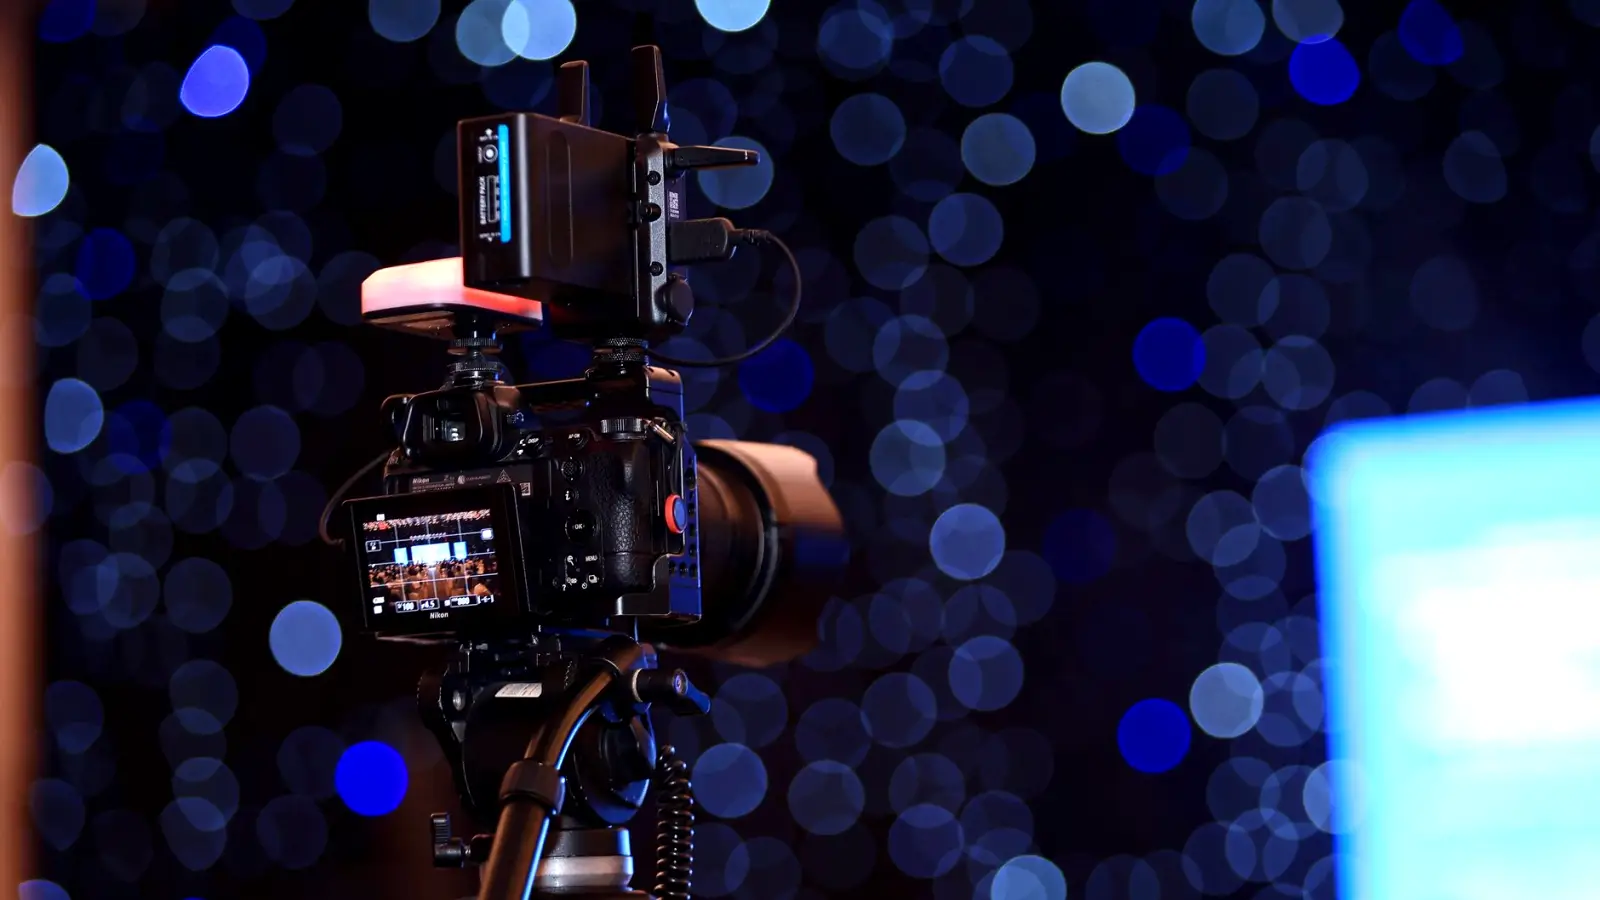
Tripod, Lens, Monitor and Light Stand: What Each Does in a Small Studio
A practical walk through the four pieces of equipment most small studios start with, what each one is for, and how to set them up in a sensible order before you record.
-
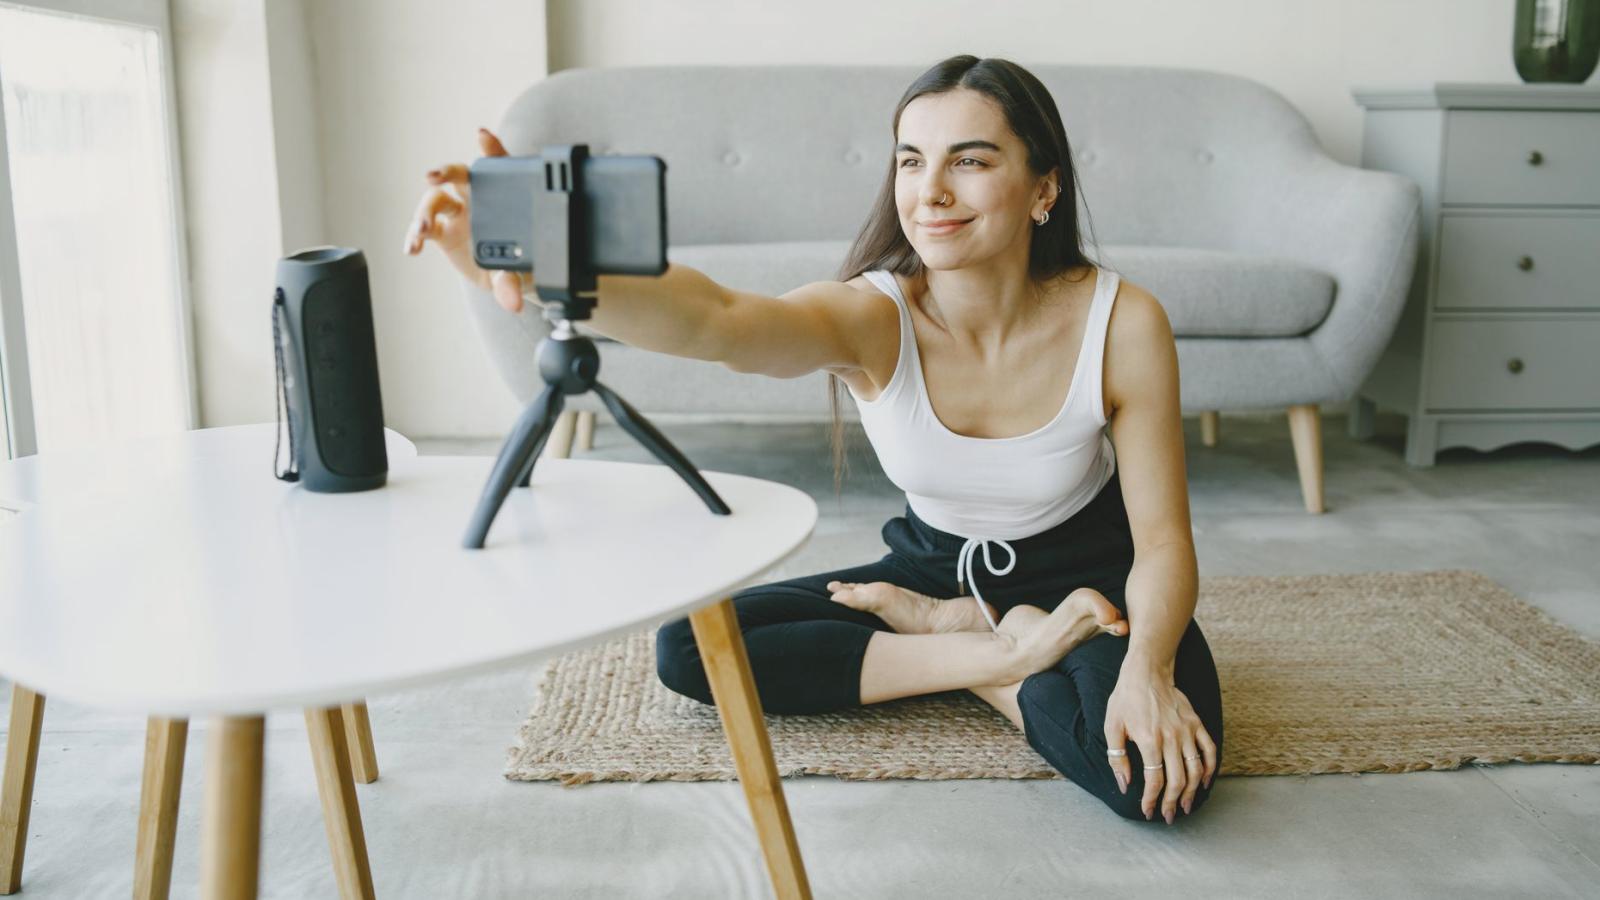
Five Common Mistakes in Home Practice Drills, and How to Avoid Them
Repeating exposure drills, tripod movement and shot-planning worksheets at home only helps if the habits are sound. Here are the slips we see most often and simple ways to fix them.
-
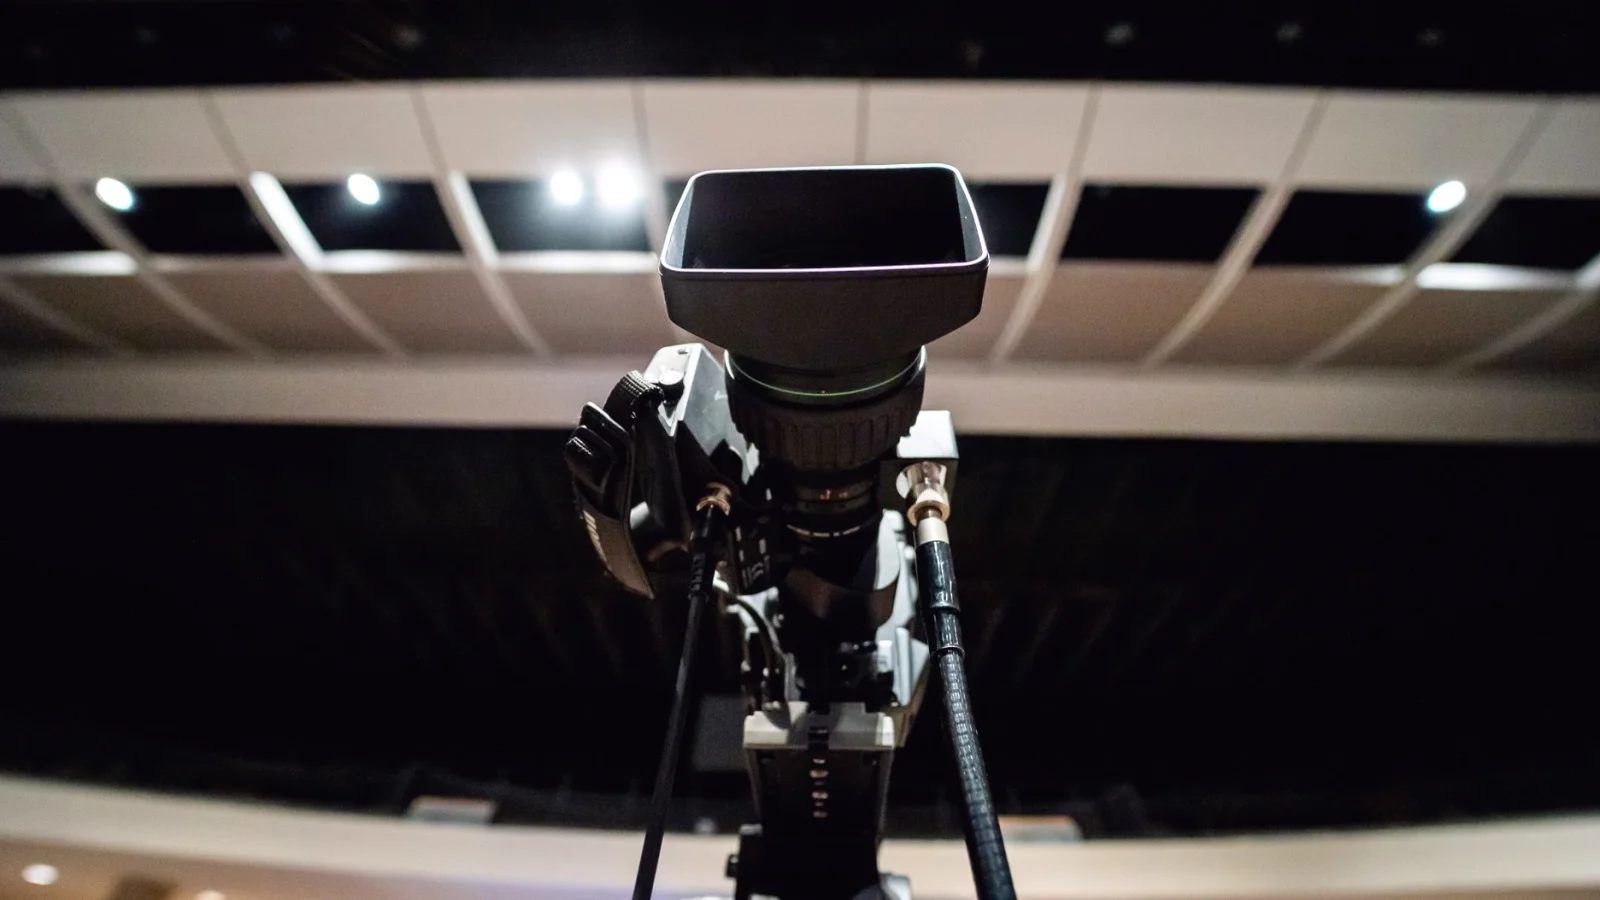
Behind the Scenes: How We Test Every Tripod, Lens and Stand
A look at how the Equipment Basics pages are actually made: which setups we build, what we measure, and how a plain explanation ends up on the page.