
Tripod, Lens, Monitor and Light Stand: What Each Does in a Small Studio
Henrik Solberg
6 min read
A practical walk through the four pieces of equipment most small studios start with, what each one is for, and how to set them up in a sensible order before you record.
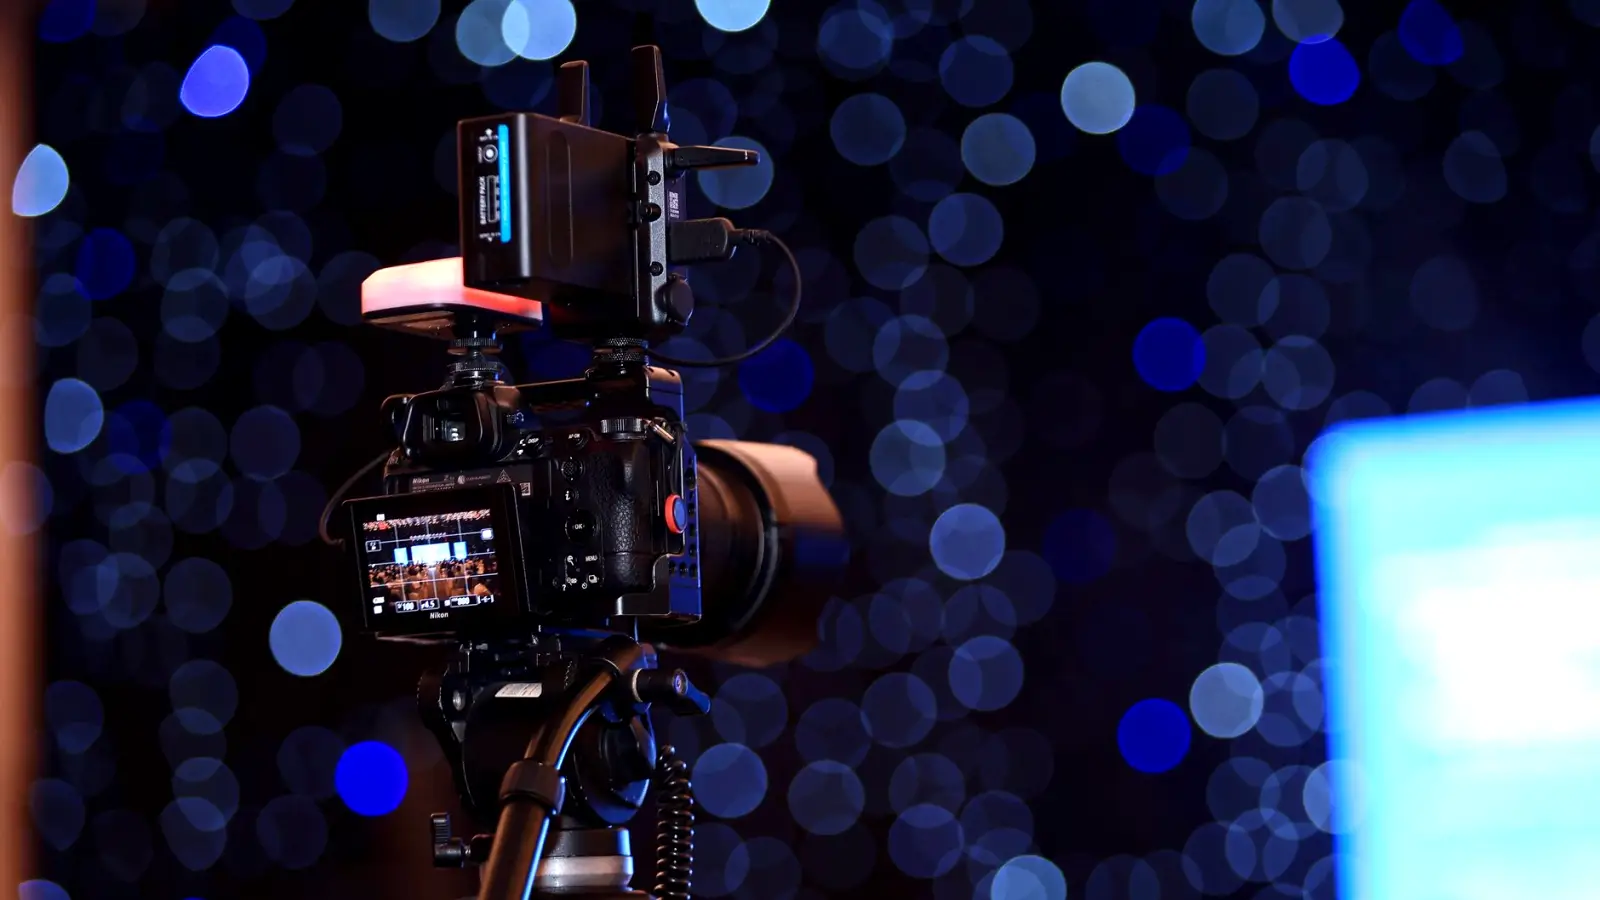
Start with the tripod, not the camera
Most people begin by thinking about the camera body, but in a small studio the tripod decides how much of your footage is usable. A camera that sits still lets you judge framing, focus and exposure one at a time. A camera that drifts a few millimetres between takes makes every comparison unreliable, and you end up correcting problems that are really movement problems.
When you set up, extend the thickest leg sections first and leave the thin ones for last, because the thick sections carry the load with less flex. Spread the legs to a stable angle, then level the head using the built-in bubble rather than judging by eye. A floor that looks flat is often slightly tilted, and a tilted horizon is hard to fix without cropping.
Check the pan and tilt friction before you attach anything heavy. A head that moves freely with no weight on it will often fall forward once the camera is mounted, so tighten the friction until the camera holds its position when you let go.
- Thick leg sections out first, thin ones last
- Level with the bubble, not by eye
- Set friction with the camera mounted
- Keep the centre column low when you can
What the lens actually changes
A lens does two jobs at once: it sets how much of the room you see, and it changes how far apart objects appear. A shorter focal length takes in more of the space and exaggerates distance between foreground and background. A longer one narrows the view and compresses depth, which is why many interview setups use a moderate length that keeps a face natural without needing a large room.
In a small studio the room itself is the limit. If your back wall is only two or three metres behind the subject, a very wide lens will show the corners and the clutter along the sides. Stepping back and using a slightly longer focal length often gives a cleaner frame than staying close and going wide.
Pick the lens by asking what you want in the frame and how much space you have, not by choosing the most flexible option on the shelf. One well-understood focal length used consistently teaches you more than a zoom you never settle on.
- Shorter focal length: wider view, more visible background
- Longer focal length: tighter view, compressed depth
- Measure your room before you choose
The monitor tells you what the viewfinder hides
A small viewfinder or the camera's own rear screen is easy to misjudge, especially in bright light. A separate monitor gives you a larger picture, and that makes it easier to notice a tilted horizon, a distracting object behind the head, or focus that has landed on the ears instead of the eyes.
Place the monitor where you can see it without turning away from the subject, ideally just beside or below the camera. If you work alone, put it where a glance is enough. Set its brightness to a level that matches the room rather than pushing it up, because an over-bright screen makes your exposure look better than it is and leads you to record footage that is too dark.
Use the monitor to check one thing per pass. Look at framing first, then focus, then exposure. Trying to judge all three in a single look is how small errors slip through.
- Look at framing, then focus, then exposure
- Keep brightness close to the room's light level
Light stands: height, distance and stability
A light stand is the least glamorous item here, and it is the one that most often causes trouble. A light on a stand that is too short produces shadows under the nose and chin. Raise the light until it sits a little above eye level and angled slightly down, which is a flattering and forgiving starting position for most faces.
Distance matters as much as height. Moving a light closer makes its light softer relative to the subject and brighter overall, while moving it away makes it harder and dimmer. Make small changes and watch the monitor after each one, rather than adjusting several things together and losing track of what helped.
Always weigh down the base. A sandbag or any heavy, clean weight on the lowest leg keeps the stand steady if someone brushes past. Route cables along the floor and away from the legs, since a trip is the quickest way to bring down a light and a camera together.
- Light slightly above eye level, angled down
- Add weight to the stand base
- Keep cables clear of the legs
A sensible order for your first setup
Put the pieces together in the same order each time so nothing is forgotten. Place and level the tripod first, because everything else is judged from the camera position. Mount the camera, choose the lens and set your distance to the subject. Then bring in the monitor so you can see what you are doing.
Add light last, once the framing is fixed, since lighting depends on where the subject and background sit. Turn on one light, check the monitor, and adjust height and distance before adding a second. A single well-placed light usually beats two lights placed carelessly.
Finish with a short test recording. Play it back on the monitor, watch for drifting focus or a flickering exposure, and listen for any noise from the stand or tripod. Ten minutes spent like this saves far more time than redoing a full session later.
- Tripod, camera and lens, monitor, then light
- Record a short test before the real session
Common small-studio slips and how to spot them
One frequent slip is placing the subject too close to the back wall, which casts a hard shadow behind them and flattens the picture. Moving the subject a step or two forward, or the light to the side, usually fixes it without buying anything new.
Another is leaving autofocus free to hunt. If the subject shifts slightly and the camera refocuses, the footage pulses in a distracting way. Set focus on the eyes, then lock it, and check on the monitor that it holds when the person speaks and moves a little.
The third is forgetting to look at the edges of the frame. We tend to stare at the face and miss the lamp, the cable or the door handle poking in at the side. Scan all four edges before you record, and you will catch most of what would otherwise distract a viewer later.
- Give the subject distance from the back wall
- Lock focus on the eyes
- Scan every edge of the frame
Equipment becomes useful once you know what each piece is for. The tripod gives you stability, the lens sets what the viewer sees, the monitor shows you the truth, and the light stand holds your light where you want it. Learn them in that order, keep your setup routine the same each time, and add one change at a time. Small, repeatable habits will improve your footage faster than any new purchase.
Keep reading
-
How Often Should You Repeat a Practical Exercise Before Moving On?
The question we hear most about our exercises is how many repetitions are enough. Here is a plain answer for exposure drills, tripod practice and shot-planning worksheets, written for early spring.
-
One Afternoon With a Checklist: Marit Gets Her Home Studio Ready
Henrik follows Marit, a hobby interviewer from Østfold, as she replaces a messy pre-recording routine with a short studio setup checklist for camera, light, sound and monitor.
-
Planning Your Autumn Composition Practice: Framing Work for the Darker Months
As daylight shortens, indoor portrait and interview framing becomes the most useful thing to practise. A seasonal plan for headroom, depth and shot planning across the coming weeks.