
A Studio Setup Checklist to Work Through Before You Decide
Henrik Solberg
5 min read
Before you buy anything or book a recording day, walk through camera, light, sound and monitor in a fixed order. This checklist shows what to look at and what can wait.
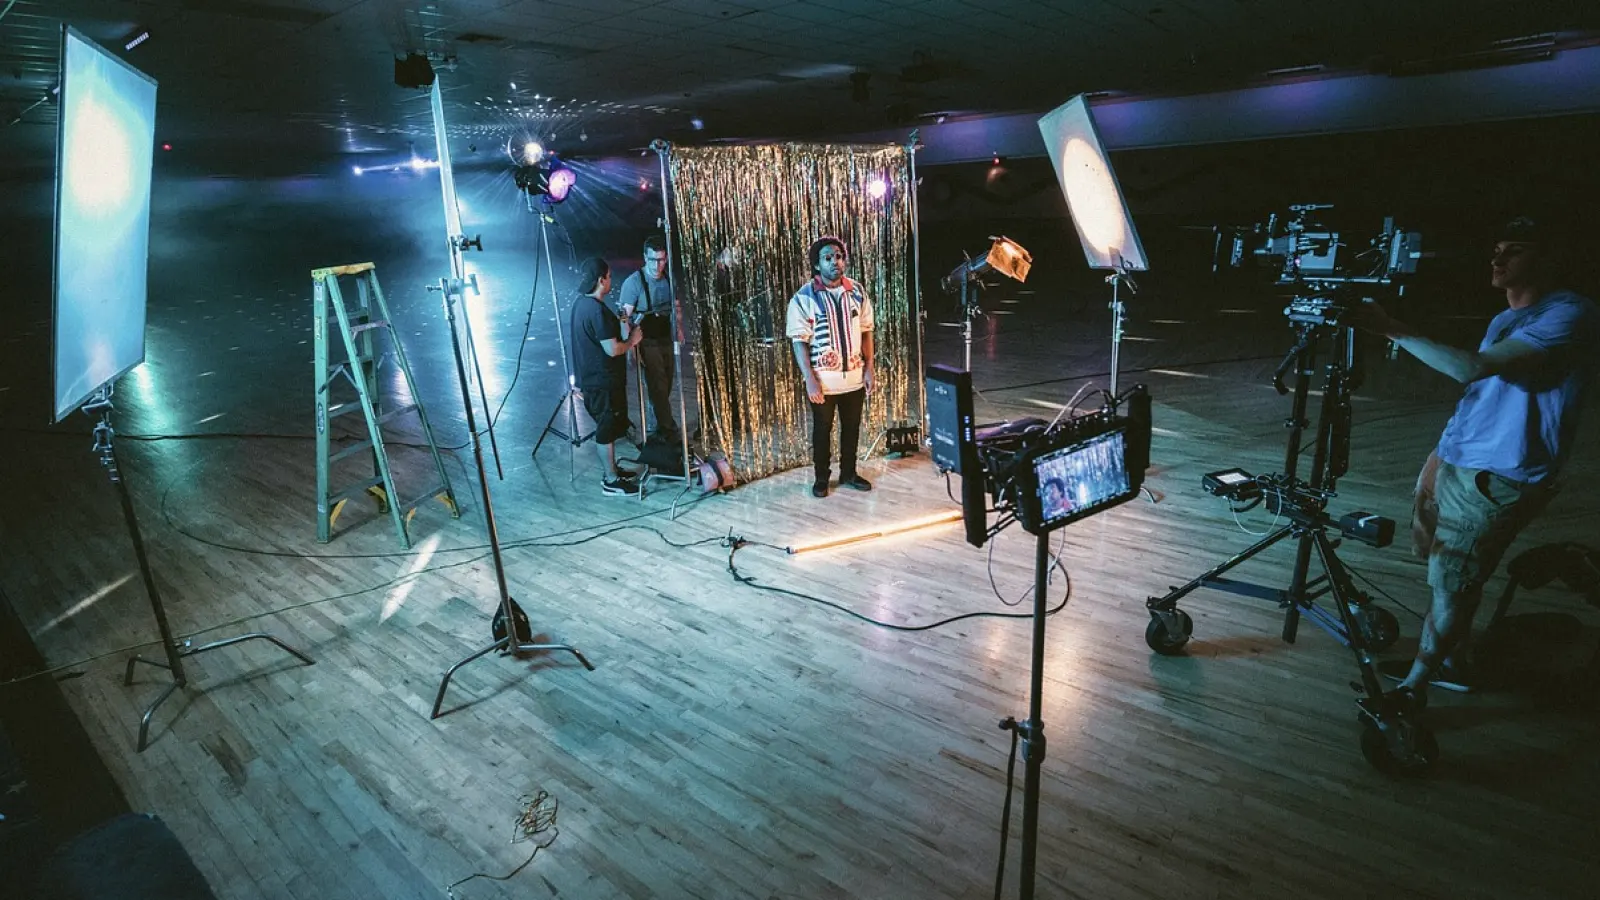
Why a checklist comes before the decision
Most setup problems are not caused by weak equipment. They come from steps done in the wrong order, or not done at all. A studio that looks ready can still hide a loose tripod plate, a battery at twenty percent or a monitor that is set far too bright. These early autumn weeks, when many people return to indoor projects after summer, are a good moment to slow down and check what you actually have.
I write our setup checklists with one idea in mind: they should help you decide, not only help you record. If a checklist shows that you already have most of what a short interview needs, you can skip a purchase. If it shows the same gap three times in a row, that gap is worth fixing first.
Read the whole list once before touching any gear. Then go through it again with the camera in front of you, and write down every item that surprised you.
Camera and lens: the first pass
Start with the camera body and lens, because everything else is arranged around them. Confirm that the battery is charged, that a spare exists, and that the memory card has room for the whole session, not just the first take. Check that the lens is clean, that the focal length suits the distance between you and your subject, and that the tripod head holds the weight without sagging.
Then set the basics in a fixed order: frame rate, resolution, shutter speed, aperture and sensitivity. Writing the values on a card next to the camera is a plain habit that saves many restarts. If you change one value, change it on purpose and note why.
Do a short test recording and play it back on the monitor, not only on the camera screen. A fifteen-second clip is enough to show whether focus, exposure and framing agree with what you expected.
- Battery charged, spare within reach
- Card formatted and with enough space
- Lens clean and focal length chosen
- Tripod level and head locked
Light: what to confirm before you roll
Light is the item people most often postpone, because it feels like a purchase rather than a check. In practice, a good first pass costs nothing. Stand where your subject will sit and look at which direction the strongest light comes from. Close curtains if daylight changes during the session, since a cloud passing over a window can shift your exposure halfway through a take.
If you use lamps, check that stands are weighted and that cables run where nobody will step. Place the main light slightly to one side and above eye level, and look for hard shadows under the nose and chin. A soft white sheet or a diffusion panel often fixes more than a second lamp.
Keep the colour of the light consistent. Mixing warm room lamps with cool window light is the usual cause of skin tones that drift from shot to shot.
Sound and monitor: the quiet parts of the list
Sound is easy to forget when you are focused on the picture, yet viewers forgive a soft image far sooner than a noisy one. Before recording, listen with headphones for a full minute. Switch off the fridge, the fan and anything that hums. Place the microphone close to the speaker and check the level while the person talks at their normal volume, not at a test volume.
The monitor deserves the same attention. Set its brightness to a sensible, steady level and keep it the same from session to session, so that your judgement of exposure stays reliable. Turn on any focus aid or exposure indicator you rely on and confirm that they match the camera.
If monitor and headphones both look and sound right, you can usually trust the recording that follows.
- Headphones on for one quiet minute
- Microphone level set at normal speaking volume
- Monitor brightness kept constant
- Focus and exposure aids switched on
Questions to ask yourself before you decide
Once the checks are done, the decision usually becomes easier. Ask which items failed, and whether they failed because of a missing piece of equipment or a missing habit. A habit costs nothing to fix. A purchase should only follow when the same limit appears again after you have changed how you work.
Ask also how often you will actually use the setup. A corner of a room that you reset each time may be enough for a monthly recording. A permanent arrangement is worth considering only when you record weekly and lose real time packing things away.
Finally, ask what the recording is for. An interview for colleagues and a piece meant for a wider audience need different levels of care, and the checklist can be shortened or lengthened to match.
Keeping the list useful over time
A checklist that nobody updates slowly becomes decoration. After each session, add one line for anything that went wrong and remove one line that never mattered. Within a few recordings the list will describe your own room instead of an average studio.
Keep it printed and close to the camera, not buried in a folder. Tick items with a pen so that you can see afterwards what was skipped when a take went badly. That record is often more instructive than the footage.
Share it with anyone who helps you on set. A second person who knows the order of checks will catch things you no longer notice, and the whole routine becomes calmer.
A setup checklist is a way of deciding with evidence. Work through camera, light, sound and monitor in order, note what failed and why, and only then consider buying or rearranging anything. Most of the time you will find that habits matter more than gear. Keep the list short, update it after every session, and let it tell you when your studio is truly ready.
Keep reading
-
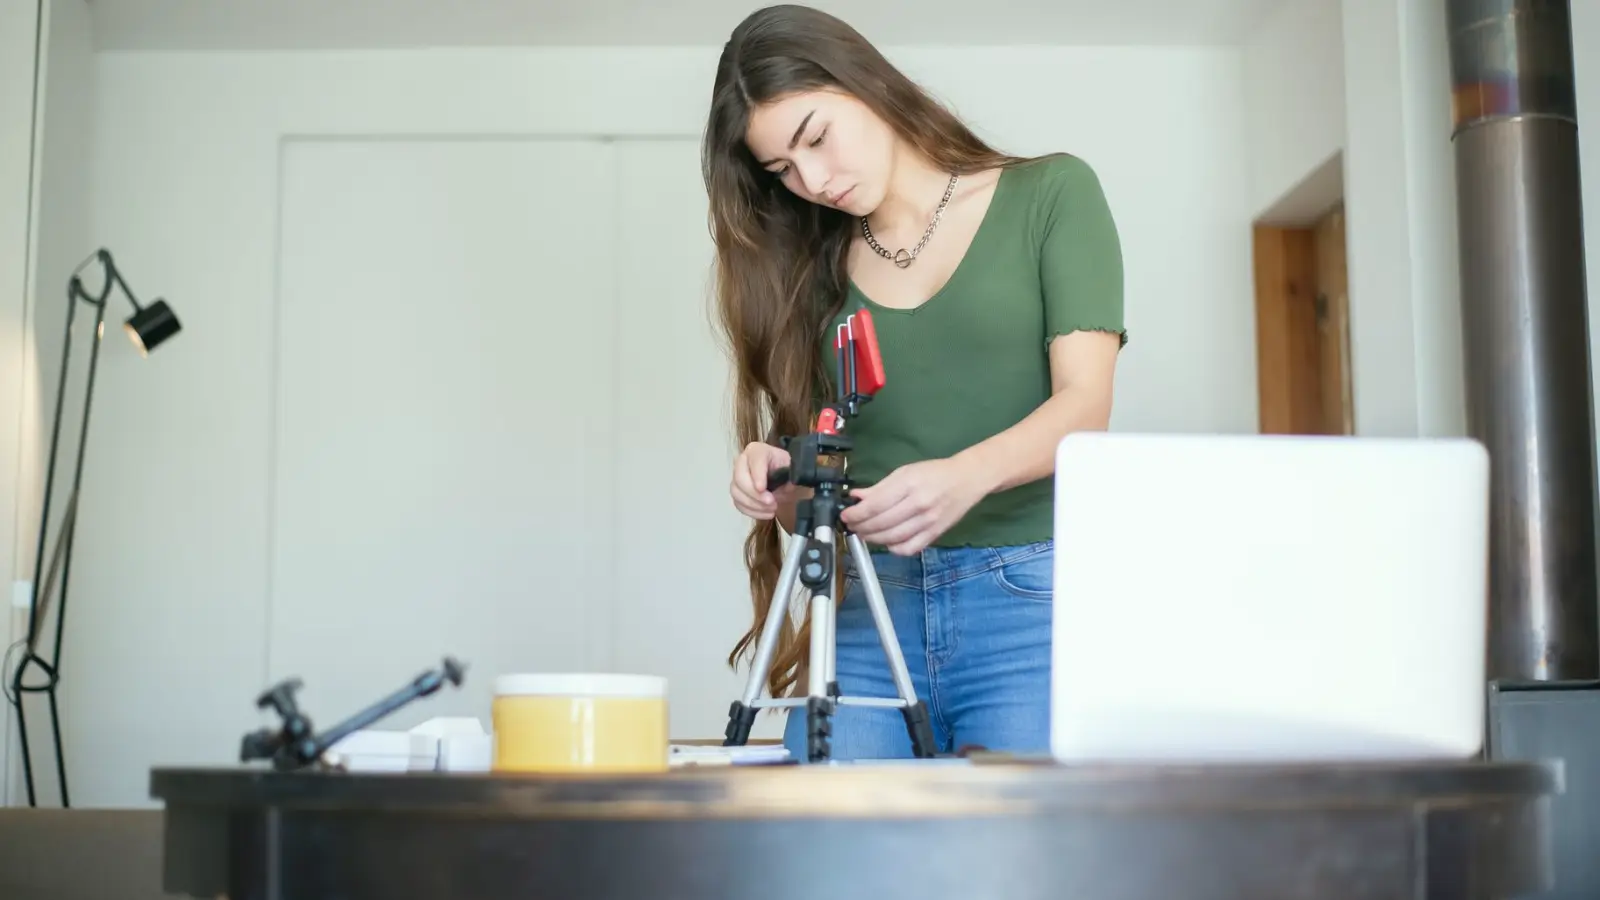
Marit's Kitchen Table Exposure Drill: One Case, Three Weeks of Practice
Marit had never set exposure by hand. This short case follows her through repeatable drills at home, and what changed in her footage once she stopped trusting auto mode.
-
A Checklist to Work Through Before You Choose a Camera Guide
Before you commit to reading or following any written camera guide, these checks help you judge whether it covers focal length, exposure, focus and monitor reading clearly enough to be useful.
-
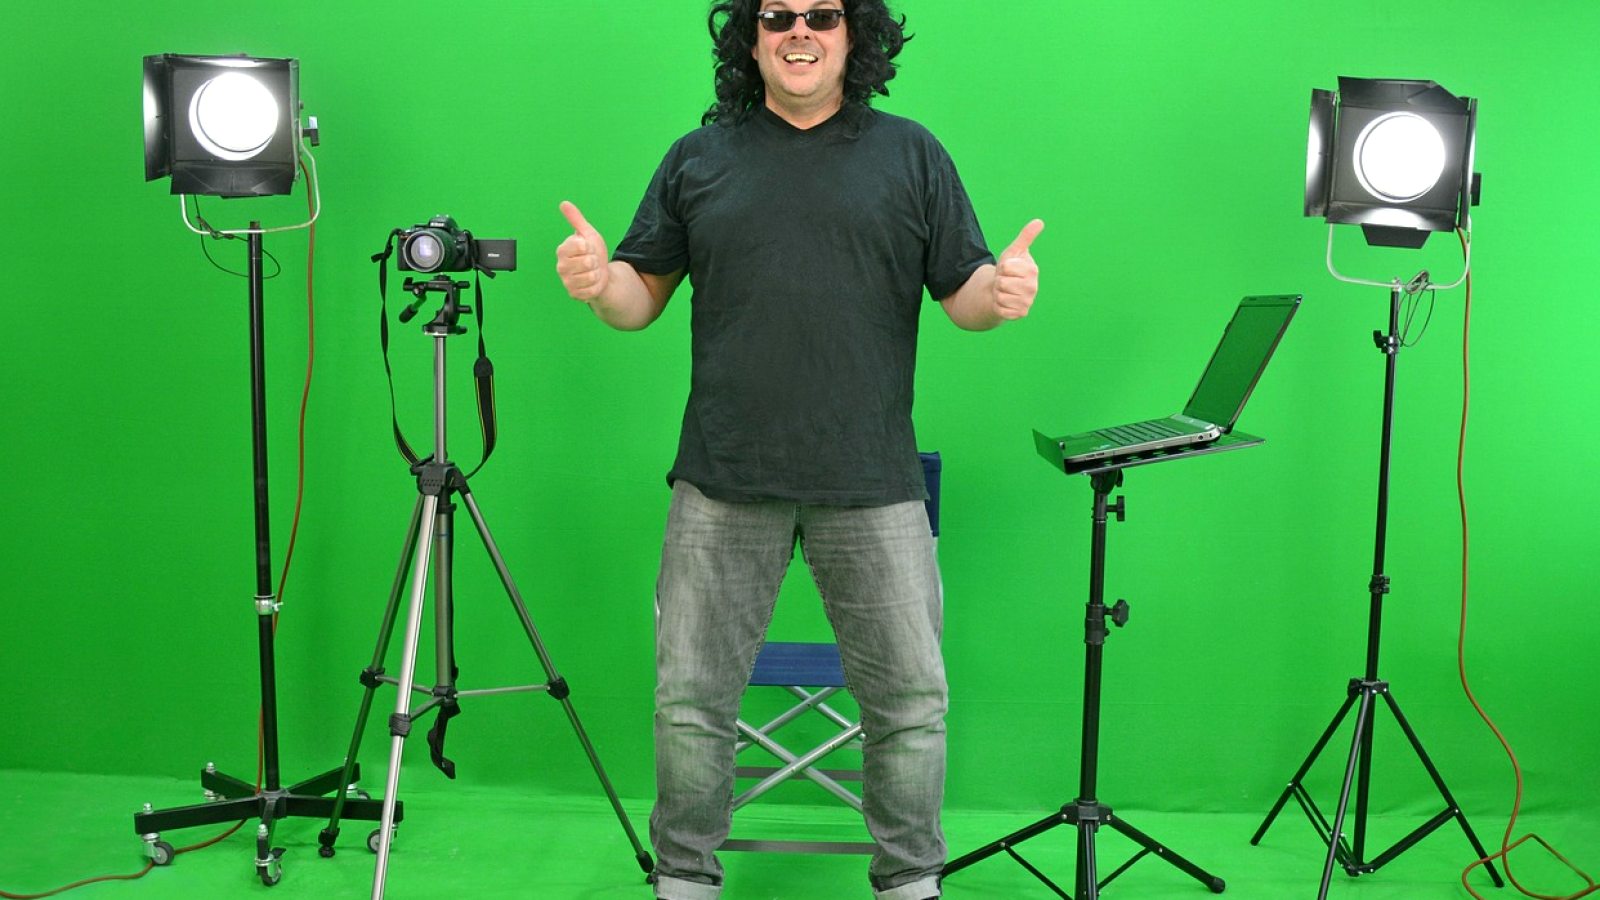
What Basic Studio Equipment Costs and What Drives the Price
A plain look at what tripods, lenses, monitors and light stands cost in a small studio, and which details push the price up while adding little for learners.