
Marit's Kitchen Table Exposure Drill: One Case, Three Weeks of Practice
Ingrid Haugen
6 min read
Marit had never set exposure by hand. This short case follows her through repeatable drills at home, and what changed in her footage once she stopped trusting auto mode.
Where Marit started
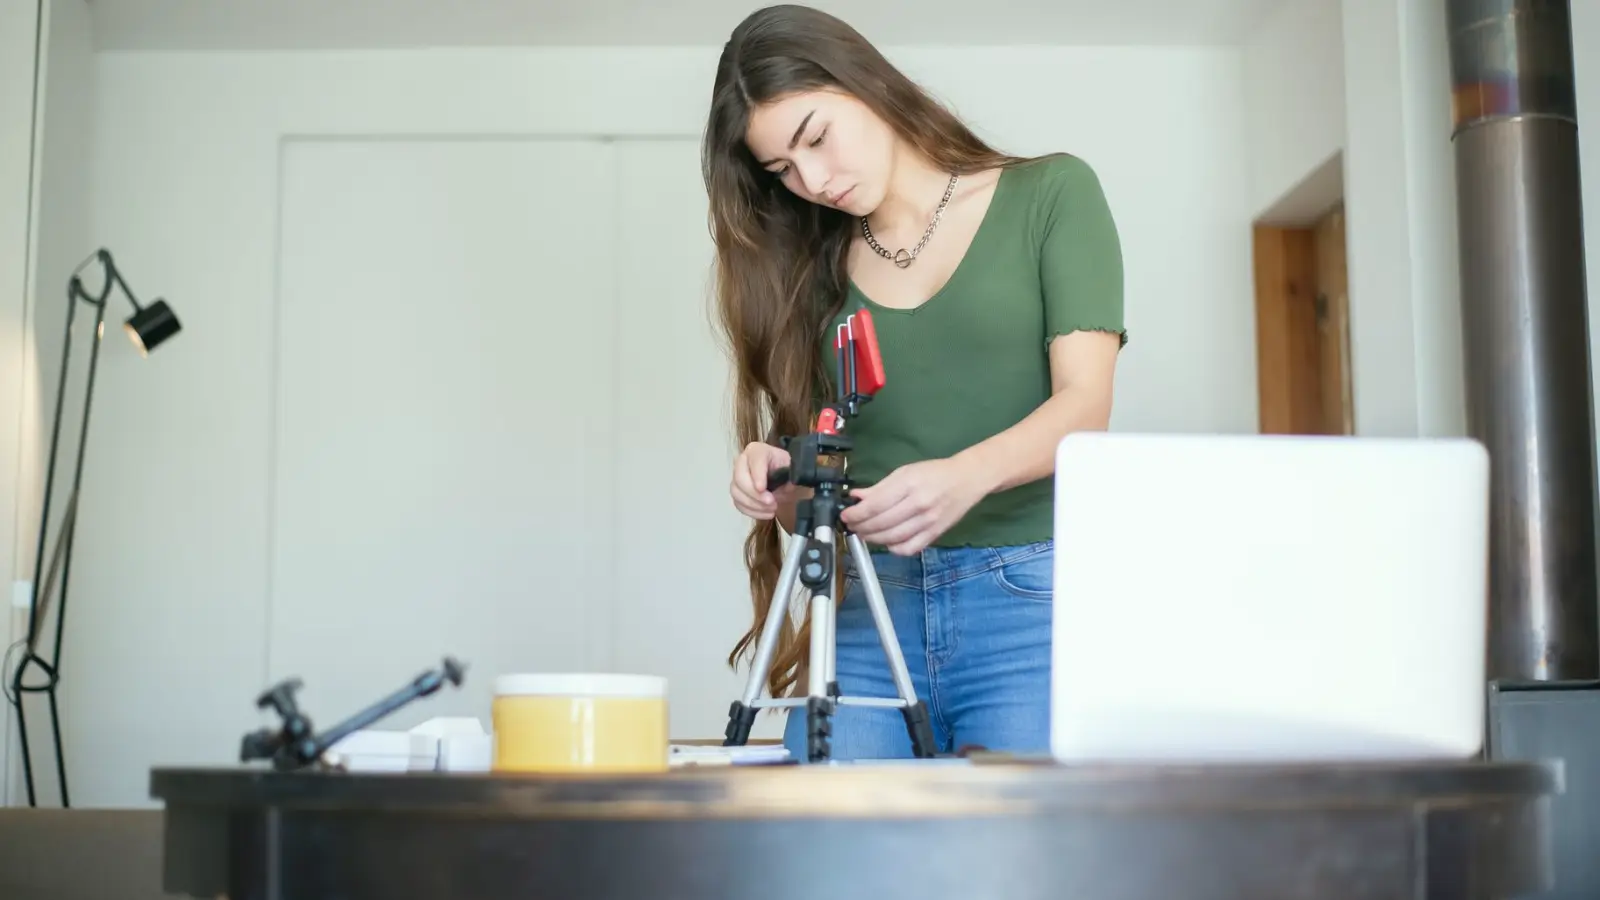
Marit contacted us in early summer with a modest goal. She recorded short interviews with local association members in a spare room in Moss, and her footage kept changing brightness from one take to the next. Faces drifted from dark to washed out, and she could not say why. She had always left the camera in automatic exposure and assumed the machine knew best.
She had read a few of our camera guides but said that reading alone did not help her hands learn anything. What she wanted was something to repeat in the evenings, with her own camera and her own lamp, without needing a proper studio. That is exactly what the practical exercises are built for, so we started there rather than with theory.
We agreed on a plain rule for the first week: no new equipment, no new settings beyond the three that control exposure, and one short note written after every session about what she changed and what she saw on the monitor.
The first drill: one setting at a time
The exposure drill asks you to hold a subject still, a chair with a folded grey cloth works fine, and change only one setting per recording. Marit started with shutter speed, recording ten seconds at each step and writing the value on a piece of paper held in frame. When she watched the clips back, the difference in motion blur and brightness was obvious in a way no diagram had made it.
Then she did the same with aperture, and finally with ISO. Her notes from this stage are the part she says she values most. She wrote that raising ISO felt like a free fix until she compared two clips side by side and saw the grain in the shadows on her wall.
By the end of the week she could predict, before pressing record, which direction a change would push the picture. That prediction is the real skill the drill trains, more than any single correct setting.
- One setting changed per clip, never two
- A paper note in frame showing the value used
- Same subject, same lamp, same distance each time
- A short written comment after watching the clips back
Reading the monitor honestly
In the second week we moved to reading the monitor. Marit's camera screen looked bright and pleasant in her dim room, which was part of the original problem: she judged exposure by how the screen felt, and the screen was lying to her. We asked her to turn the brightness to a fixed middle value and keep it there for every session.
She then learned to use the zebra and histogram displays her camera already had. Neither is complicated. The histogram shows where the tones sit between black and white, and the zebra pattern marks areas close to clipping. She practised placing a face so the brightest skin tones stayed just below the zebra warning.
This is slow work at first. Marit said the first evenings felt like checking a map for a short walk. By the end of the week she glanced at the histogram the way you glance at a speedometer, and her setup time dropped noticeably.
Tripod movement and a shot-planning sheet
The third week added two things. First, a tripod movement exercise: a slow pan across three chairs, repeated until the start and stop points landed in the same place each time. Marit found that her early pans ended with a small jerk because she released pressure on the handle too quickly. Counting slowly to four on the way in and out smoothed it.
Second, she filled in a shot-planning worksheet before her next real interview. It asks for the framing, the lens position, the light direction and the monitor check, all on one page. She told us the sheet felt like extra paperwork until the day she arrived at the association hall and realised she had already decided where the chair, the lamp and the camera would sit.
None of this required anything she did not already own. The exercises are designed so that a kitchen table, one lamp and a camera are enough.
- Slow pan across three marked positions
- Count of four on the way in and out
- One-page plan filled in before each recording
What changed, and what did not
Marit's footage after three weeks was steadier in brightness, and her faces held a consistent tone across a whole afternoon of interviews. She still shoots in a spare room with ordinary lamps, and some takes are still imperfect. We would not describe her as having finished learning, and she would not either.
What changed is that she now knows why a clip looks the way it does. When a face goes dark she can name the likely cause and fix it in under a minute, rather than hoping the next take comes out better. That confidence came from repetition, not from a single insight.
It is worth being clear about what this case does not show. It does not promise a particular result for another learner, and it is not a statement about any job or income. It is one person, one camera and three weeks of small, repeatable practice.
Taking the drills into your own week
If you want to try something similar this summer, keep the first session small. Pick one subject, one lamp and one camera, set the monitor brightness to a fixed value, and record ten seconds at each shutter speed you can reach. Watch the clips back before changing anything else.
Write down what you notice in plain words. The notes matter more than the clips, because they are what you will read a week later when the detail has faded. Short summer evenings with good daylight at the window are a fine time to compare natural and lamp light as well.
Repeat the same drill a few days later and compare your notes. Repetition is the entire method. The exercises on this site are written to be done more than once, and most people find the second pass tells them more than the first.
Marit's case is small on purpose. She did not buy new equipment or change her room; she repeated a few simple drills until her hands and eyes agreed with each other. If your footage drifts in brightness or your pans end unevenly, start with one drill this week, write down what you see, and do it again. Practice that fits a kitchen table is practice you will actually keep doing.
Keep reading
-
How Often Should You Repeat a Practical Exercise Before Moving On?
The question we hear most about our exercises is how many repetitions are enough. Here is a plain answer for exposure drills, tripod practice and shot-planning worksheets, written for early spring.
-
What Basic Studio Equipment Costs and What Drives the Price
A plain look at what tripods, lenses, monitors and light stands cost in a small studio, and which details push the price up while adding little for learners.