
Behind the Scenes: How We Test Every Tripod, Lens and Stand
Henrik Solberg
5 min read
A look at how the Equipment Basics pages are actually made: which setups we build, what we measure, and how a plain explanation ends up on the page.
Starting from a small room, not a catalogue
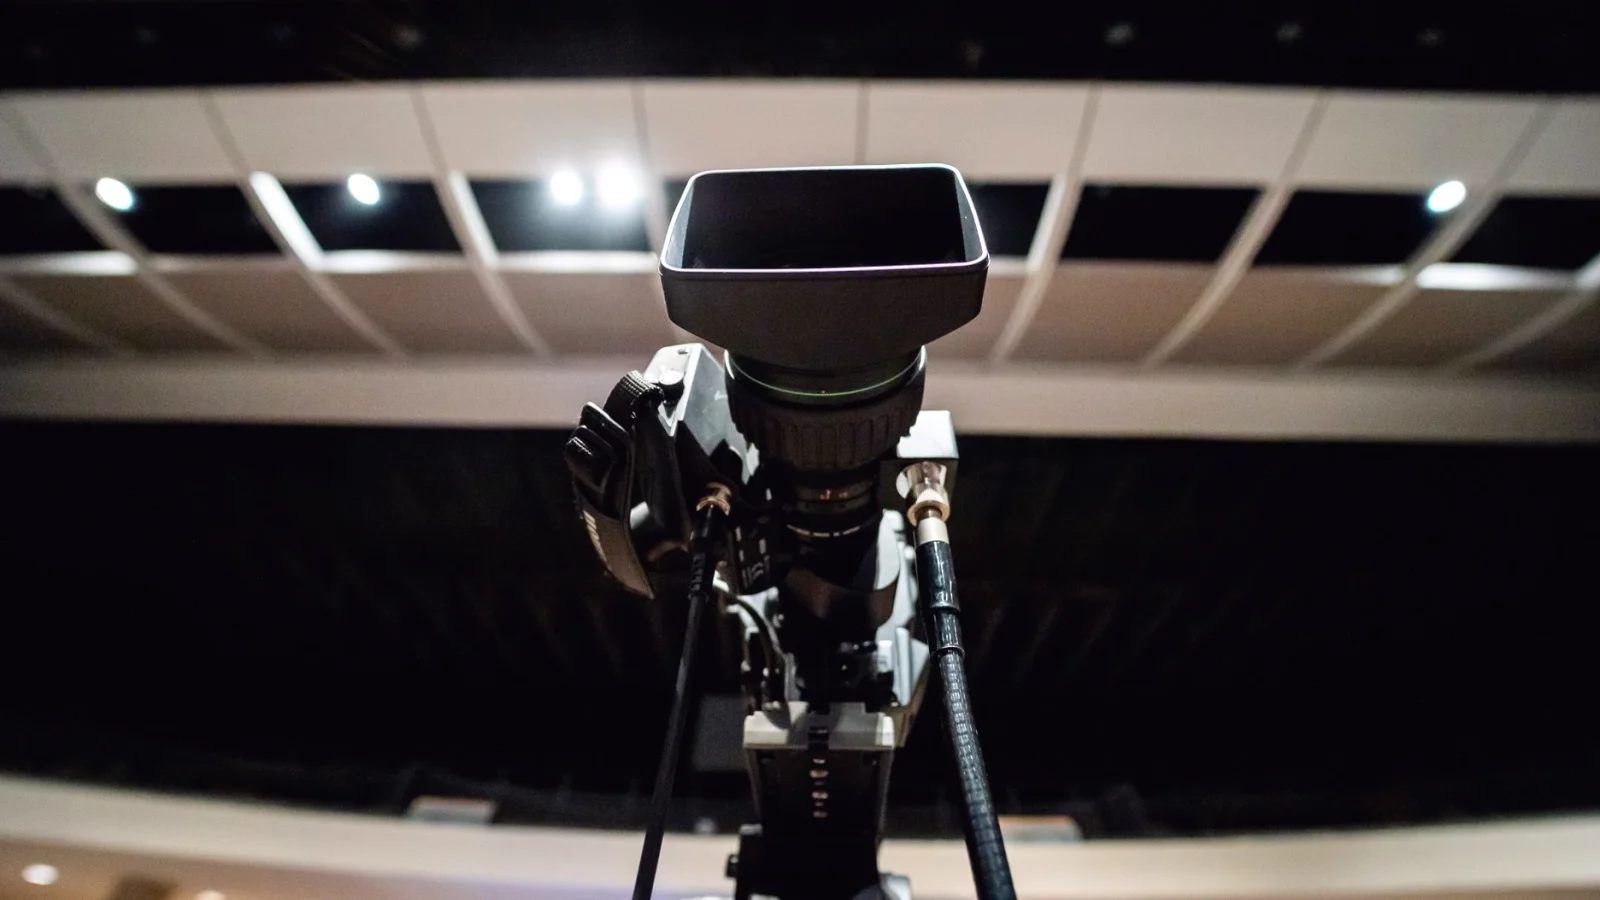
Every Equipment Basics page begins with a question about a small studio, never with a list of things to cover. A reader with a spare room in Moss or a corner of a basement has a tripod, one or two lenses, a monitor and perhaps a single light stand. So we build exactly that, in a room of roughly the same size, and ask what each item does there and what it fails to do.
This sounds obvious, but it changes what gets written. A tripod head that looks impressive on a wide stage may be awkward when the ceiling is low and the subject sits a metre and a half from the wall. By working in a cramped space first, we find the practical limits early and put them in the first lines of the explanation instead of burying them.
How a tripod is actually tested
I start with the simplest thing: setting the tripod up on a normal floor and seeing whether it is stable. I extend the legs to different heights, load the head with a camera and lens, and watch for slow sag or a twist when I let go of the handle. Then I do the movements the exercises ask for, a slow pan, a gentle tilt, a stop and a restart.
What I look for is not a number but a feeling that anyone can repeat. Does the pan start without a jerk? Does the tilt hold when you let go? I write those observations down in plain words, and Magnus then checks whether the practice exercises still work with that setup before anything is published.
- Raise and lower the legs at three heights
- Pan and tilt slowly, then stop and release
- Note any drift when the handle is let go
Lenses explained by what they show, not what they are
For lenses we avoid long technical descriptions. We place the camera at the same spot, change only the focal length, and photograph the same person against the same backdrop. The result sits side by side in a labelled diagram, so the reader can see how the face, the background and the space around the subject change.
The written part then answers three small questions: how much of the room fits in the frame, how the background feels, and how close you have to stand. Ingrid adds a note on what this means for a small studio, because a longer focal length often needs more distance than the room allows, and that surprises many beginners.
Monitors and light stands in the same room
A monitor is judged in the room where it will be used. We check how it looks with the studio light on and with it off, how reflections from a window affect it, and whether a small change in brightness makes exposure look right when it is not. The advice that comes out of this is practical: where to place it, what to turn off, and when not to trust it.
Light stands get the same treatment. We look at how steady they are with a softbox attached, how high they go before they feel top-heavy, and whether a sandbag or a simple weight is needed. Ingrid tests each arrangement and draws the diagram only after she has set it up herself and walked around it.
- Check the monitor with light on and off
- Watch for window reflections on the screen
- Add weight at the base of any tall stand
Writing it down so it is easy to follow
Once the testing is done, the writing begins, and this is where most drafts are cut. We keep the sentences short, give each item one job in the studio, and say plainly what it does not do. If a tripod is steady but heavy, we say so; if a lens is flexible but needs more distance, we say that too.
Our setups are never tied to any maker or shop. We are an independent school and want each explanation to hold whichever brand a reader happens to own. After a draft passes Ingrid and Magnus, I read it once more as if I knew nothing, and cut anything that needs a second reading.
What we leave out on purpose
There are things we do not put in an Equipment Basics page, even though they are interesting. We do not rank products, we do not recommend specific purchases, and we do not make claims about what a piece of equipment will do for your career. The pages exist to help you understand what each item does, so you can decide what you need.
That also means we sometimes say a thing is not necessary yet. A beginner learning framing and exposure can do a lot with a stable tripod, one lens and a basic light. These summer weeks, when the evenings are long and the room is bright, are a good time to try that simple setup and see what you really miss.
Behind each short explanation is a small room, a set of repeated checks and a few rounds of cutting. That is how the Equipment Basics pages stay plain: we build the setup, test it, draw it, and only then write. If you take one thing from this, build your own small setup and test it the same way before you buy anything new.
Keep reading
-
A Studio Setup Checklist to Work Through Before You Decide
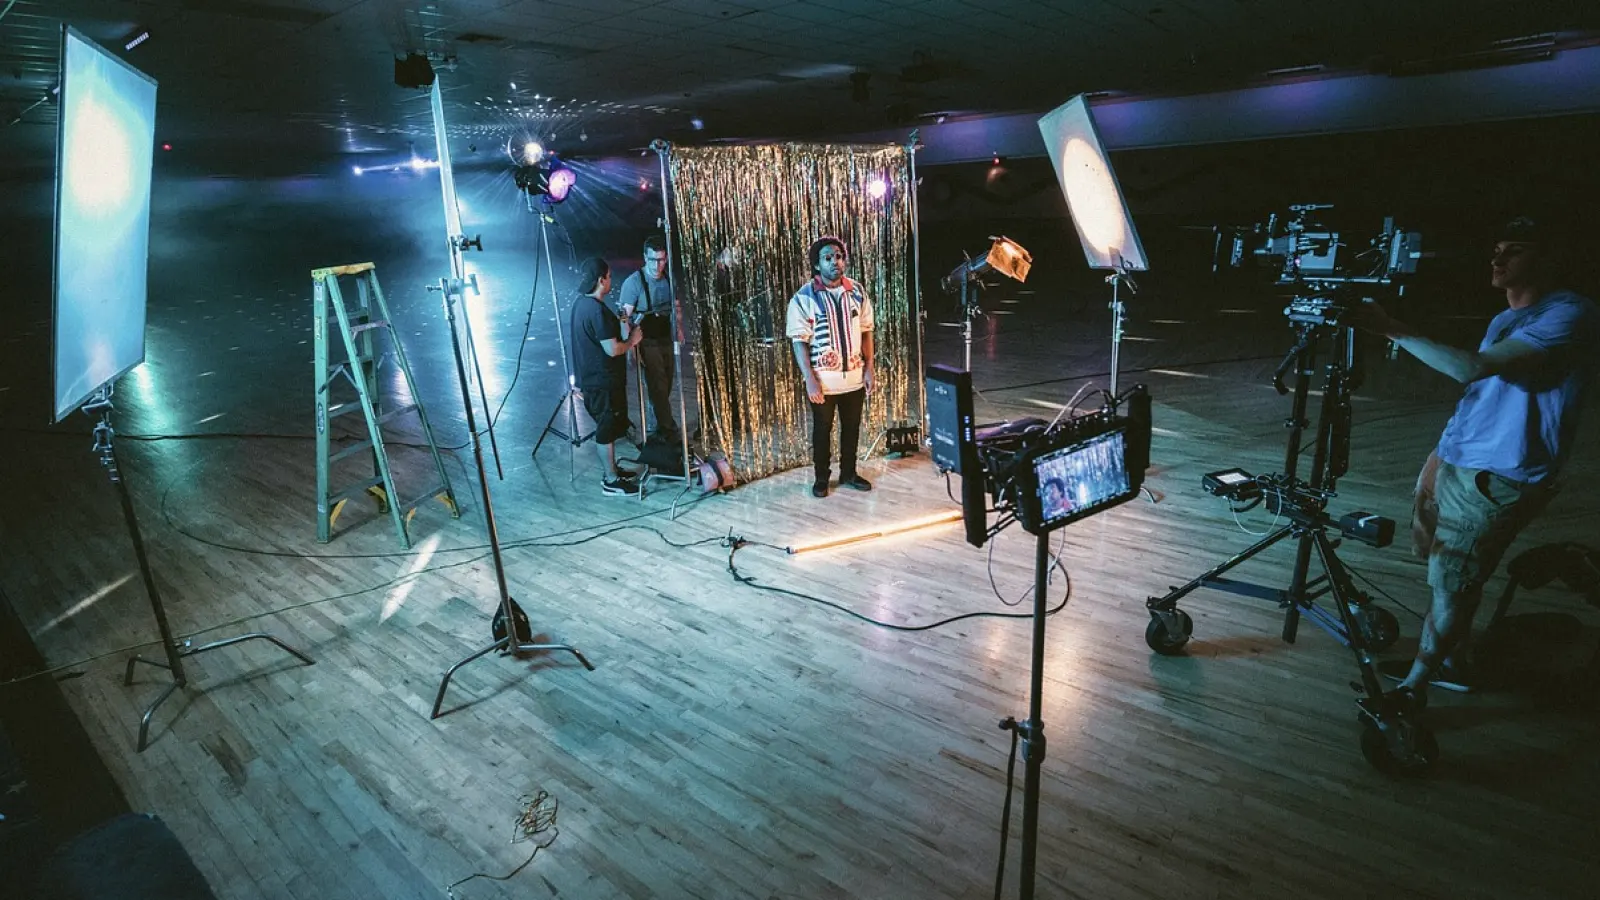
Before you buy anything or book a recording day, walk through camera, light, sound and monitor in a fixed order. This checklist shows what to look at and what can wait.
-
Five Common Mistakes in Home Practice Drills, and How to Avoid Them
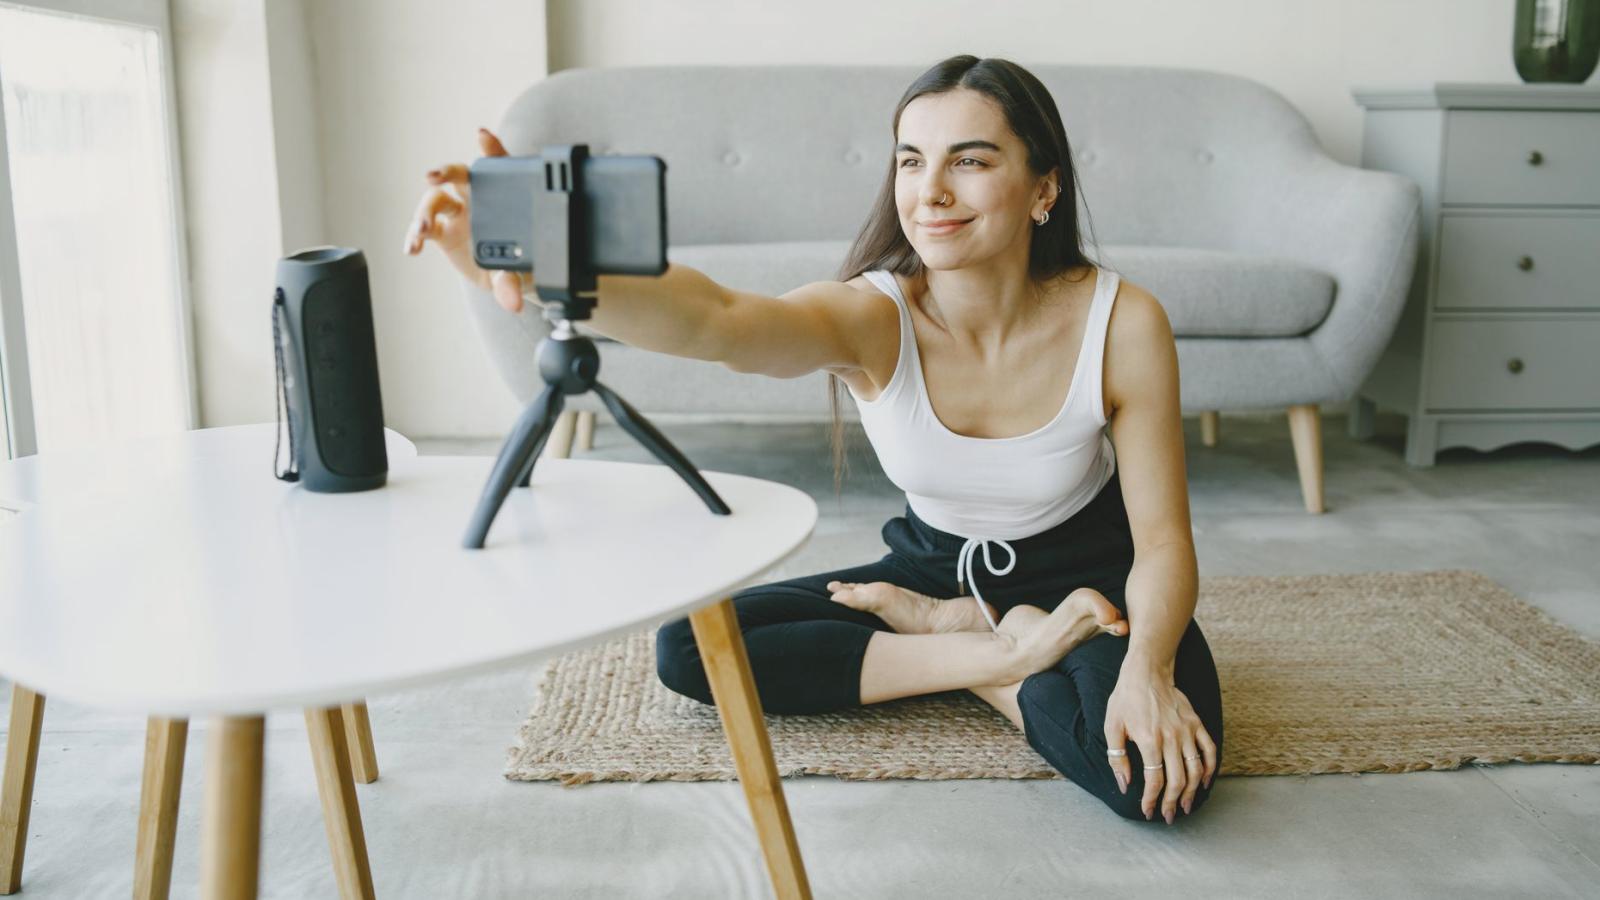
Repeating exposure drills, tripod movement and shot-planning worksheets at home only helps if the habits are sound. Here are the slips we see most often and simple ways to fix them.