
How We Write and Test a Camera Guide Before It Goes Online
Henrik Solberg
6 min read
A look at how a Camera Guide is drafted, drawn, tested at the studio table and revised, from the first outline to the labelled diagrams you read.

It starts with one question, not a topic
Every guide begins as a single question from a learner, not as a topic on a list. Something like: why does my interview look flat when the lens is the same one I used last week? I write that question at the top of an empty page and nothing else goes in until I can answer it in two sentences.
This habit keeps the guides from turning into catalogues. A page that tries to explain focal length, exposure, focus and monitors all at once explains none of them well. So the outline is built backwards from the answer: what must the reader be able to do after ten minutes that they could not do before?
Only then do I decide which of our subjects the guide belongs to. Focal length, exposure, focus control and reading a monitor each get their own guides, and I try to keep each one to a single job. If a draft starts to wander into another subject, the wandering part is cut and saved for a different guide.
- One question per guide
- A two-sentence answer before any drafting
- Wandering sections are cut and kept for later
Drafting in plain words first
The first draft is written without any technical vocabulary I cannot explain to a friend who has never held a camera. If a term is needed, such as depth of field or clipping, it gets one sentence of explanation at the place where it first appears, not a glossary at the bottom.
I read the draft aloud at my desk. Sentences that I stumble over usually hide a vague idea, and fixing the sentence means fixing the idea. It is slow, but it is the cheapest way I know to find a paragraph that only pretends to explain something.
Numbers are kept modest and tied to a situation. Instead of saying a lens is good for portraits, the guide says what the frame looks like at a given distance and why a subject's face changes when you step closer. Readers can check that for themselves with any camera they own.
- Terms explained once, where they first appear
- Draft read aloud before anyone else sees it
- Claims tied to a situation the reader can repeat
Diagrams are drawn before the text is final
Ingrid Haugen, our equipment and lighting editor, draws the diagrams from my rough sketches. We do this early because a diagram often shows that the text is wrong. If an arrow for the subject distance cannot be placed without confusion, the paragraph that describes it is usually confused too.
Each diagram is built around one principle, such as where a light sits or how far a subject stands from the backdrop. We avoid decoration: no shading that looks like a real photograph, no gear that suggests a particular make, only shapes, distances and angles that carry the point, and every label states what the layout is meant to show.
When a diagram is finished I try to follow it using nothing but the caption. If I need the body text to understand it, the caption is rewritten. A reader scanning the page should be able to take away the main idea from the figures alone.
- Sketch first, then redraw cleanly
- Every figure labelled as an example setup
- Caption must work without the body text
Testing at the studio table
Before publication, each guide is tested by doing what it says. For an exposure guide that means setting up a simple scene, changing one setting at a time and checking that the result on the monitor matches the description. If it does not match, the guide changes, not the scene.
Ingrid repeats the setups with a different camera body and a different lens where we can, because instructions that only work on one piece of equipment are not much use. Differences in menu names are noted in the guide so readers are not left hunting for a setting that is called something else on their device.
We also hand the draft to someone who has not seen it, often Magnus Berg, who designs our exercises. He follows it as written and writes down every place he hesitates. Those hesitations are more valuable than any praise, and nearly every guide changes after this step.
- One setting changed at a time
- Repeated on different equipment where possible
- A fresh reader marks every hesitation
Revising, and what we leave out
After testing comes the long edit. I remove sentences that repeat an earlier point, shorten the examples and check that each section has a distinct job. A guide that says the same thing three ways feels thorough while it is being written and tiresome when it is read.
Just as important is what stays out. We do not describe features we have not tested ourselves, and we do not guess at how a setting behaves on equipment we have never handled. If a point rests on uncertain ground, it is either checked properly or dropped. That keeps the guides smaller than they could be, and more reliable.
Last comes a read for tone. The guides should sound like a patient colleague at the next desk, not like a manual or a sales page. We are independent and not tied to any equipment maker, so there is nothing to push, only the working method to explain.
- Repeated points removed
- Untested claims dropped
- Tone checked last
Keeping guides honest after publication
Publishing is not the end of the work. Readers write to us with questions and occasionally with a correction, and each message is read. If several people get stuck at the same step, that step is rewritten, since the problem is in the guide and not in the reader.
Spring is a good moment for this. As studios and windows get brighter after winter, people try the exposure and monitor guides in new light, and the first mismatches between our examples and real rooms tend to show up now. We use those reports to adjust wording and sometimes to redraw a diagram.
We keep a short note at the top of our working file for each guide listing what was changed and why. It is not published, but it stops us from undoing a good fix later and reminds us how much of the work happens after the first version is out.
- Reader questions are read and logged
- Repeated confusion means a rewrite
- Changes recorded in a working note
A Camera Guide looks simple on the page because most of the effort sits behind it: a single question, plain drafting, early diagrams, testing at the table and a careful edit. None of it is exotic. It is a repeatable method, and we apply it so that when you follow a guide with your own camera, the result you see on the monitor matches what the page promised.
Keep reading
-
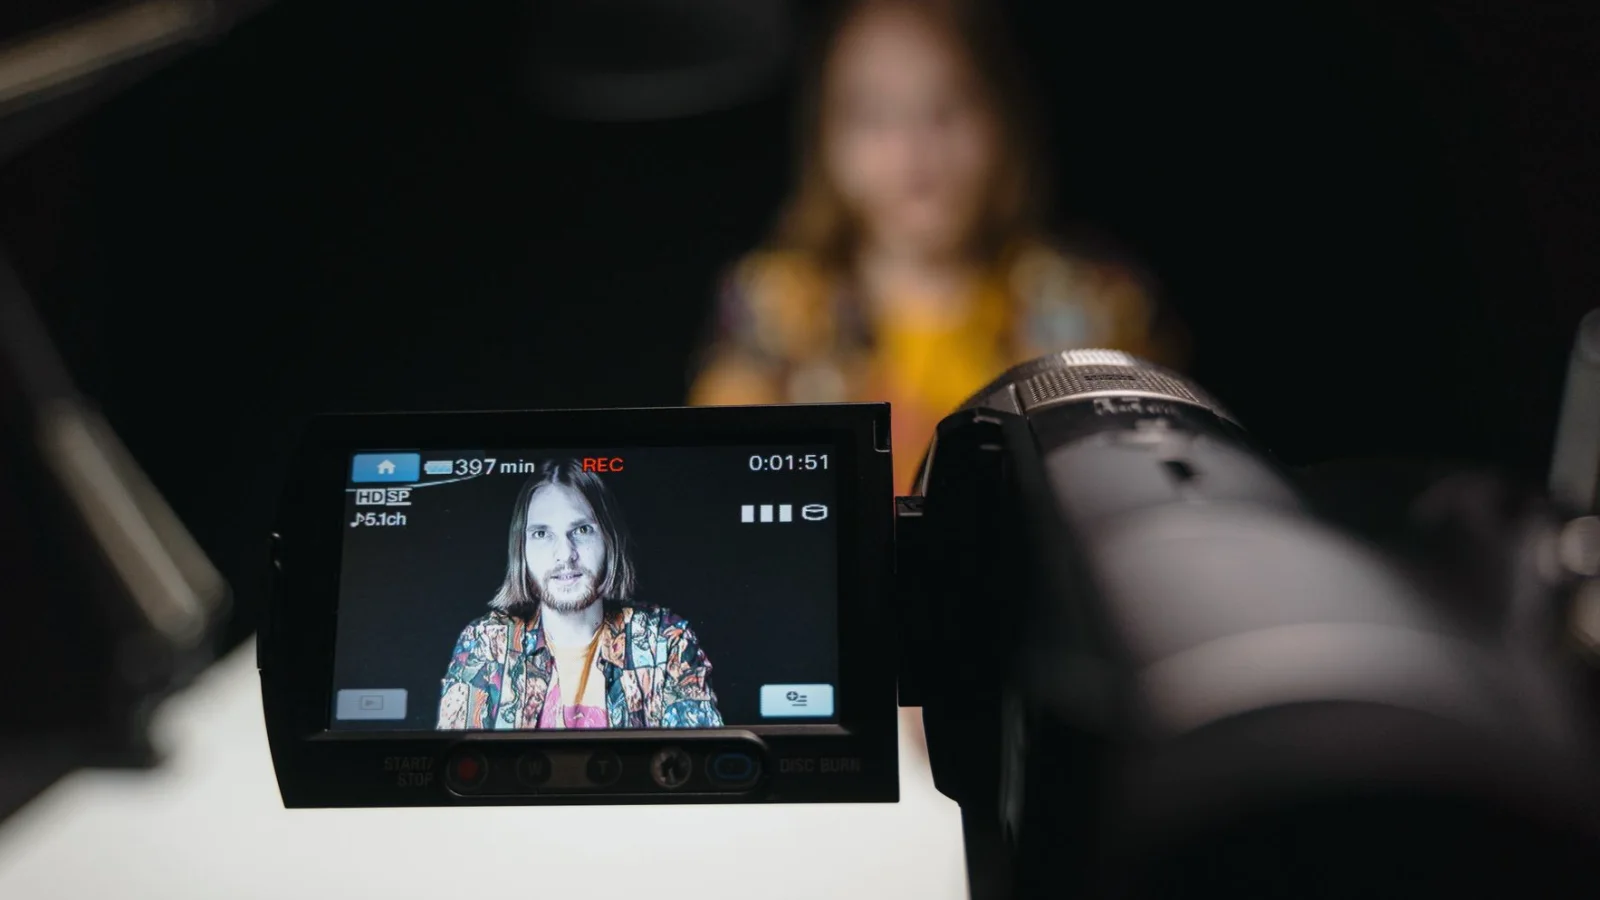
Five Framing Mistakes in Portrait Setups and How to Fix Them
Most weak portrait and interview frames come from a handful of repeat habits. Magnus Berg walks through five common mistakes from our composition courses and shows a simple correction for each.
-
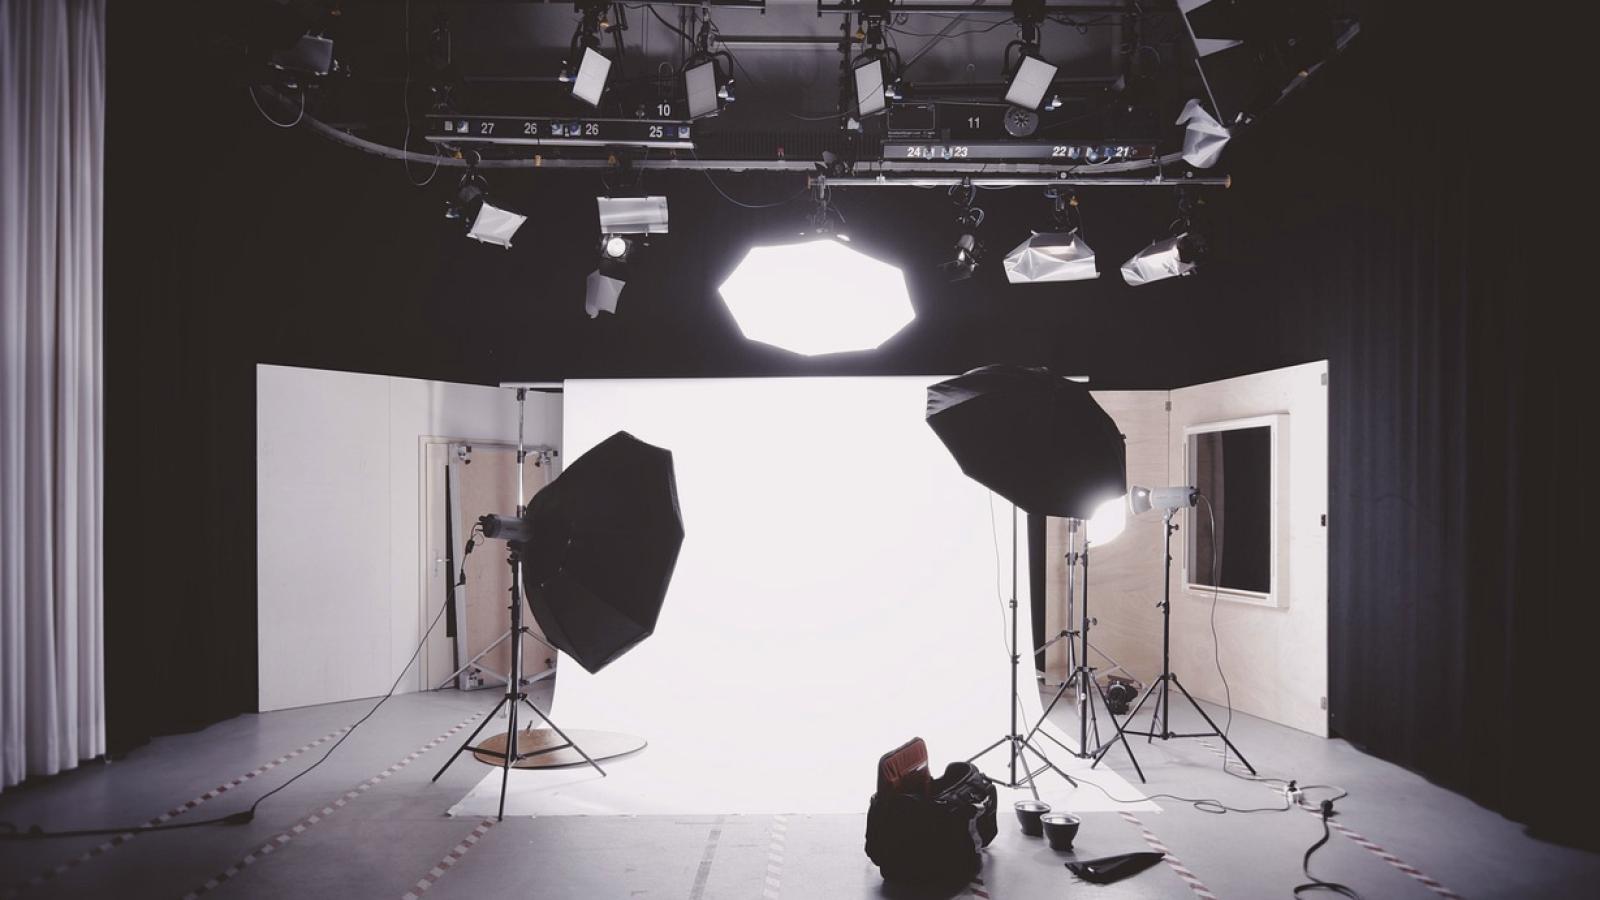
Tripods, Lenses and Light Stands: What to Check Before Summer Shoots
As the light lengthens, small studios and spare rooms get busy. Magnus walks through what a tripod, a lens, a monitor and a light stand each do, and what to check first.
-

One Afternoon With a Checklist: Marit Gets Her Home Studio Ready
Henrik follows Marit, a hobby interviewer from Østfold, as she replaces a messy pre-recording routine with a short studio setup checklist for camera, light, sound and monitor.