
Equipment Basics: what each piece does in a small studio
Ingrid Haugen
5 min read
A plain look at how tripods, lenses, monitors and lighting stands each earn their place in a small studio, and what to check before you buy or borrow anything.
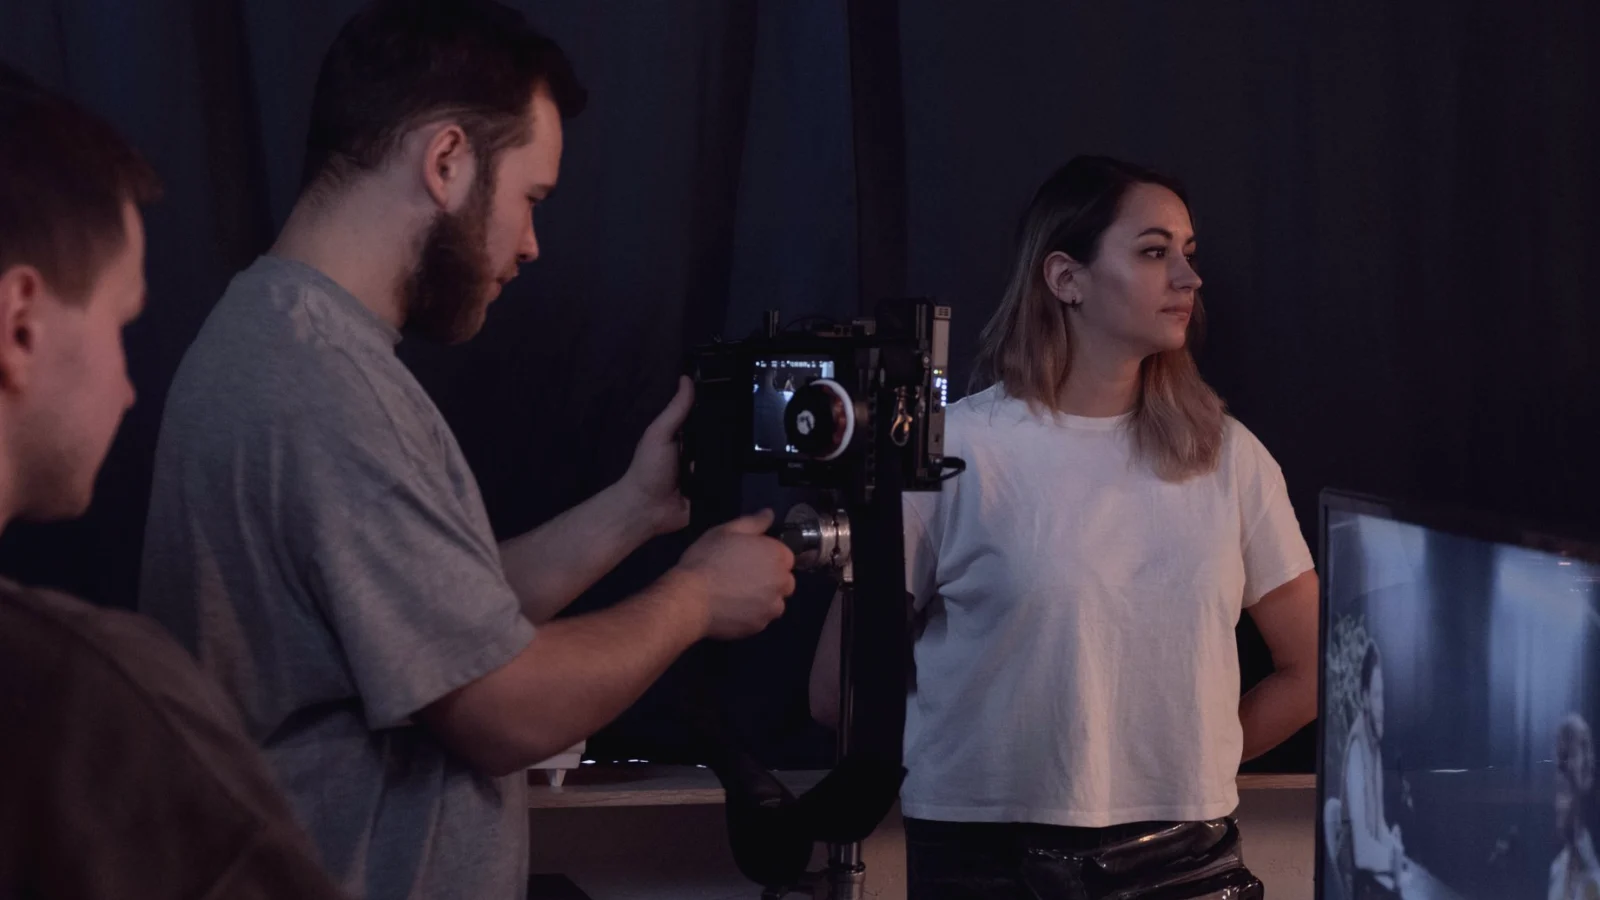
Why we wrote the Equipment Basics section
Many adults who come to camera work in their forties or later start with a phone, a borrowed camera or a single lens, and they quickly meet a wall of terms: fluid head, prime, waveform, C-stand. The Equipment Basics section on primeviewra exists to take that wall down one brick at a time. Each piece of kit gets a short, plain explanation of what it does in a small studio and what it does not do.
This article is part of that effort and speaks about the section itself. I am Ingrid, and I look after the equipment and lighting pages. Before anything is published I rebuild the setup shown in the diagram and check that every step still works as written.
We are independent. We do not sell equipment, we are not tied to any maker, and the pages never tell you to buy a specific model. They tell you what to look for and why.
Tripods: steadiness comes before everything else
A tripod does one job: it holds the camera still so that your framing stays where you put it. In a small studio that matters more than most people expect, because a slightly drifting frame ruins an interview long before a modest lens does. The section explains leg locks, the difference between a photo head and a fluid head, and why a tripod that feels heavy for its size is usually the better choice.
We also describe how to level the base before touching the head, how to keep one leg pointing toward the subject for stability, and how to carry a loaded tripod through a doorway without hitting the frame.
The practical exercises on tripod movement build directly on these pages, so reading them first makes the drills easier.
- Level the base before adjusting the head
- Keep the centre column low where you can
- Check that the plate is locked before letting go
Lenses: focal length decides the look of the frame
The lens page explains focal length in terms of what you see rather than millimetre charts. A wider lens includes more of the room and exaggerates distance. A longer lens compresses depth and sits comfortably further from the subject, which many nervous interviewees prefer. Neither is correct in general; each suits a different studio and a different shot.
We also cover aperture in plain words: a wider opening lets in more light and blurs the background more, while a narrower one gives you more room for error with focus. Small studios often have limited space behind the camera, so we point out how that limits the lenses you can really use.
The separate focal-length guides compare the choices in detail. Here the aim is only to make the vocabulary familiar.
Monitors: judging the picture honestly
A monitor shows you what the camera sees at a size where you can judge it. The built-in screen is fine for quick checks, but a separate monitor on a stand or arm lets you watch framing, focus and exposure while you stand beside the subject. The Equipment Basics page explains brightness settings, why a very bright screen fools you into underexposing, and how to place the monitor so glare from your lights does not hide the image.
We also describe the simple aids many monitors offer, such as focus peaking and zebra stripes, and show labelled example diagrams so you can recognise them on your own screen.
None of this requires an expensive monitor. It requires one that is set up consistently and read the same way each time.
- Keep screen brightness at a fixed, moderate level
- Position the monitor out of direct lamp glare
- Learn one exposure aid well before adding another
Lighting stands: where the light actually sits
Lighting stands rarely get attention, yet they decide whether your light can be placed where you need it. The section explains stand height, the weight of the head and modifier on top, and why sandbags or a wide base are worth the small effort. A light that tips over is a hazard, and in a small room it usually tips toward the person you are filming.
We describe a few basic positions in plain terms: a main light to one side and slightly above eye level, a softer fill from the other side, and what changes when you move either closer. The diagrams are clearly labelled as example setups for learning.
Cables get their own short note, because tape on the floor and a tidy route saves both equipment and ankles.
How the section fits with the rest of the site
Equipment Basics is meant to be read alongside the other parts of primeviewra, not in isolation. The camera guides go deeper on focal length, exposure and focus, the courses build framing skills, and the studio setup checklists turn everything you have learned into a routine you can repeat before each recording.
If you are starting from nothing, read the section in the order tripod, lens, monitor, light. Each page assumes you have understood the one before. If you already own some kit, go straight to the page for the piece you find most confusing and use the plain descriptions to check what you have been guessing.
We update pages when something in a diagram or explanation turns out to be unclear, and we keep the wording modest.
Equipment Basics is a quiet part of primeviewra, but it supports everything else we teach. Steady support, an understood lens, an honest monitor and a stable light make framing and exposure exercises easier to learn. Read the pages in order, rebuild the diagrams in your own room, and write down anything that remains unclear. That feedback is how the section improves, and it is how I decide what to explain next.
Keep reading
-
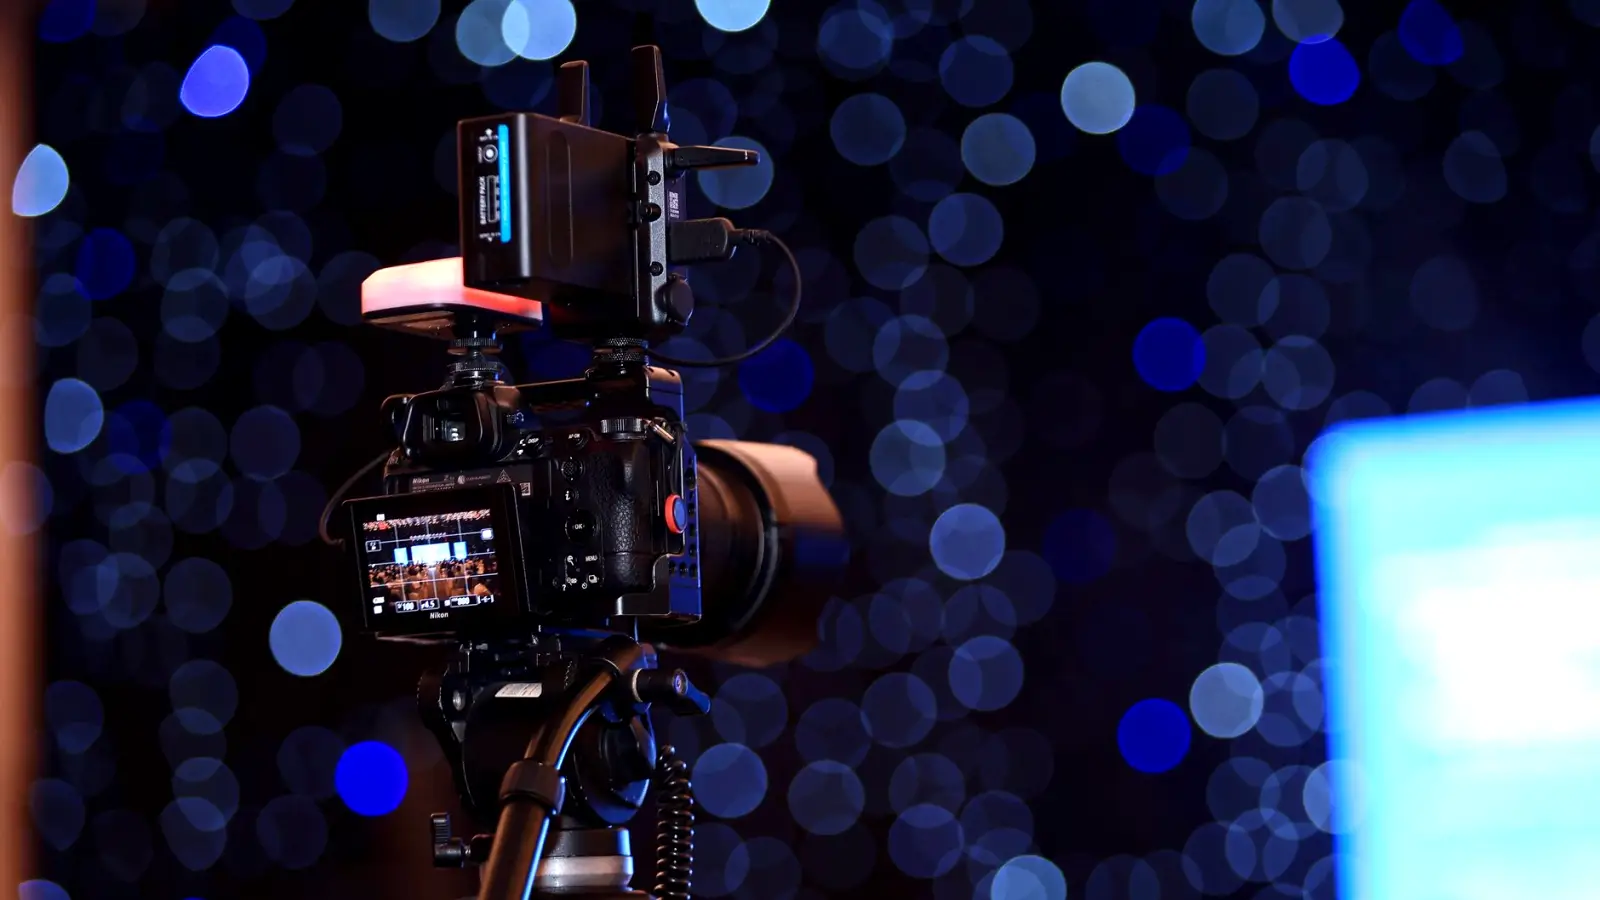
Tripod, Lens, Monitor and Light Stand: What Each Does in a Small Studio
A practical walk through the four pieces of equipment most small studios start with, what each one is for, and how to set them up in a sensible order before you record.
-
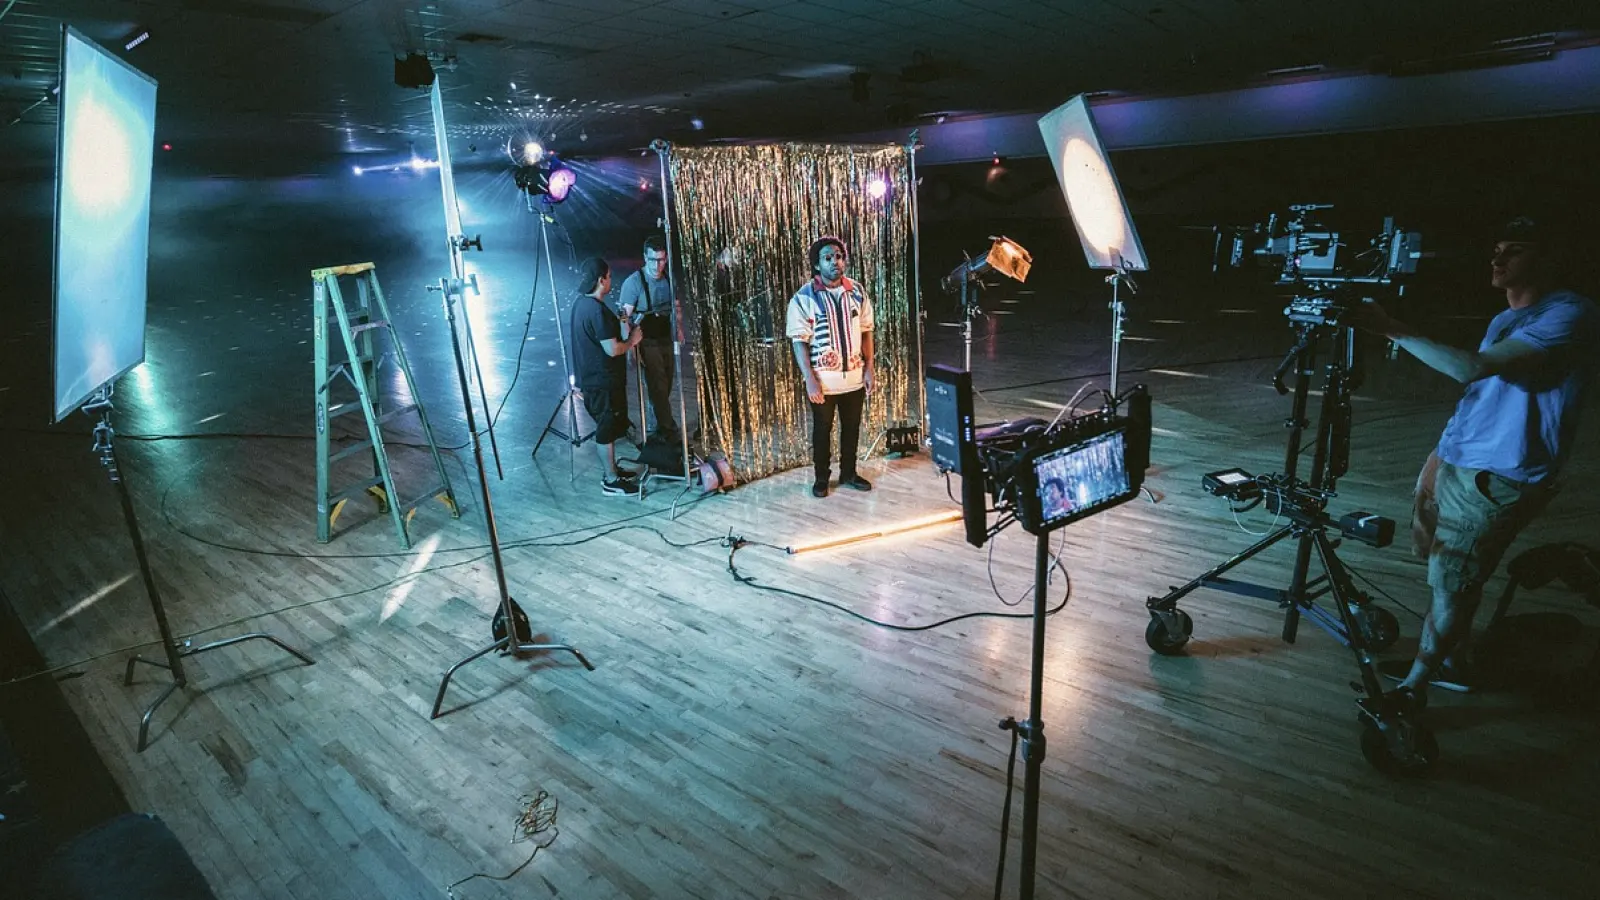
A Studio Setup Checklist to Work Through Before You Decide
Before you buy anything or book a recording day, walk through camera, light, sound and monitor in a fixed order. This checklist shows what to look at and what can wait.
-
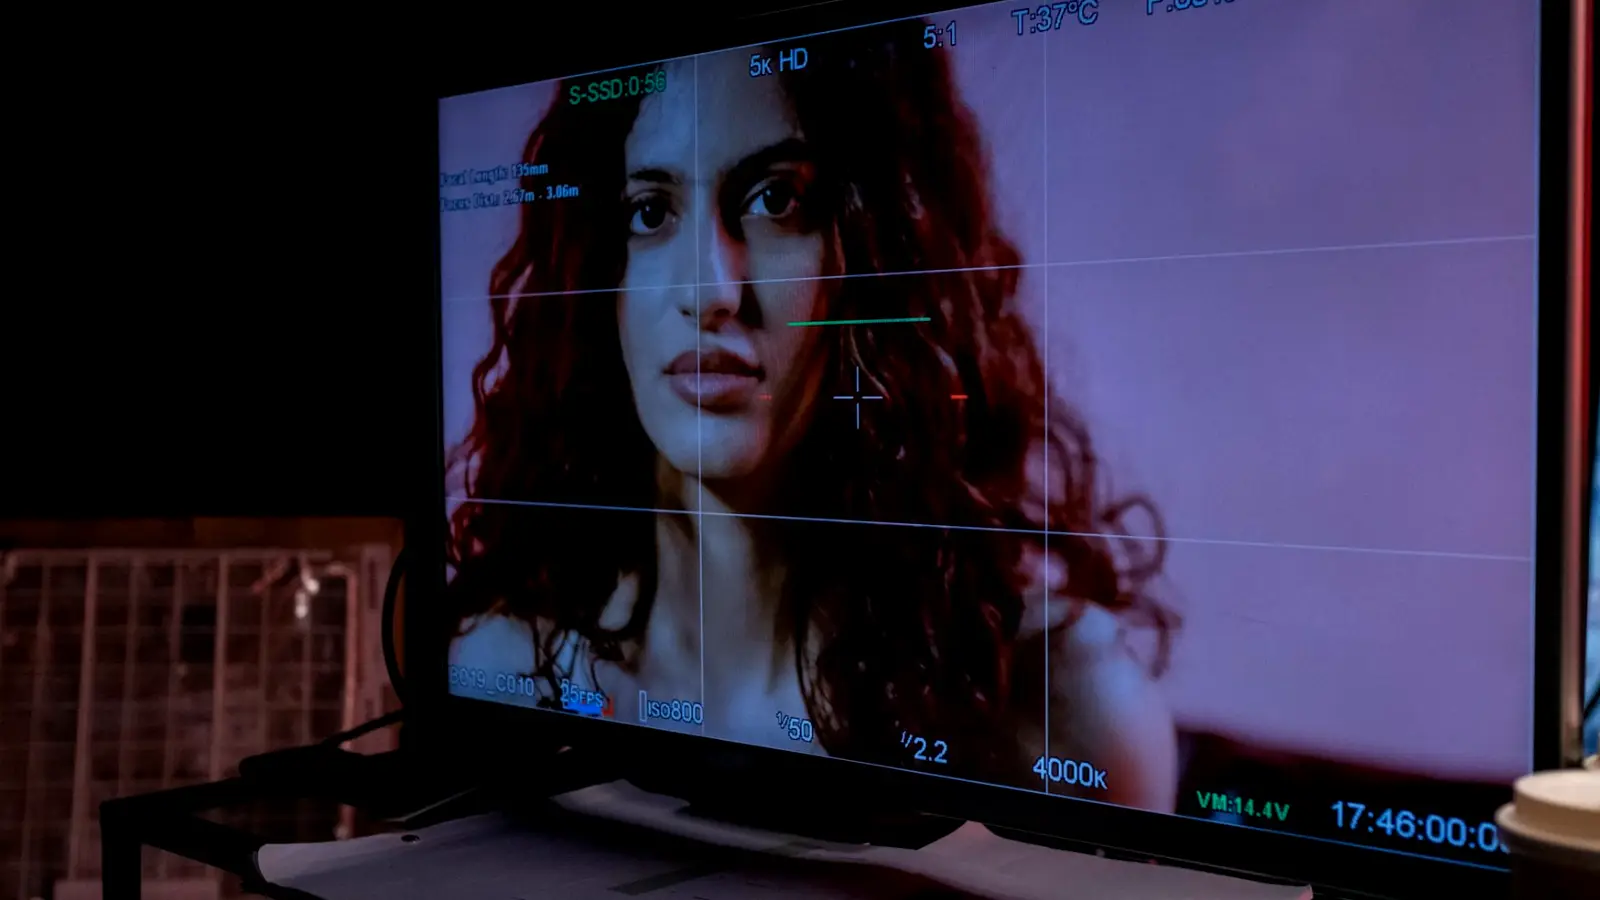
How to Frame a Portrait or Interview Shot, Step by Step
A practical walk through headroom, the rule of thirds and depth for a seated portrait or interview, with a short routine you can repeat before every recording in the darker months.