
What "Ready to Roll" Actually Means Before You Press Record
Magnus Berg
7 min read
A plain-words look at the phrase ready to roll, and the four things it covers in a small studio: camera, light, sound and monitor, checked in a fixed order.
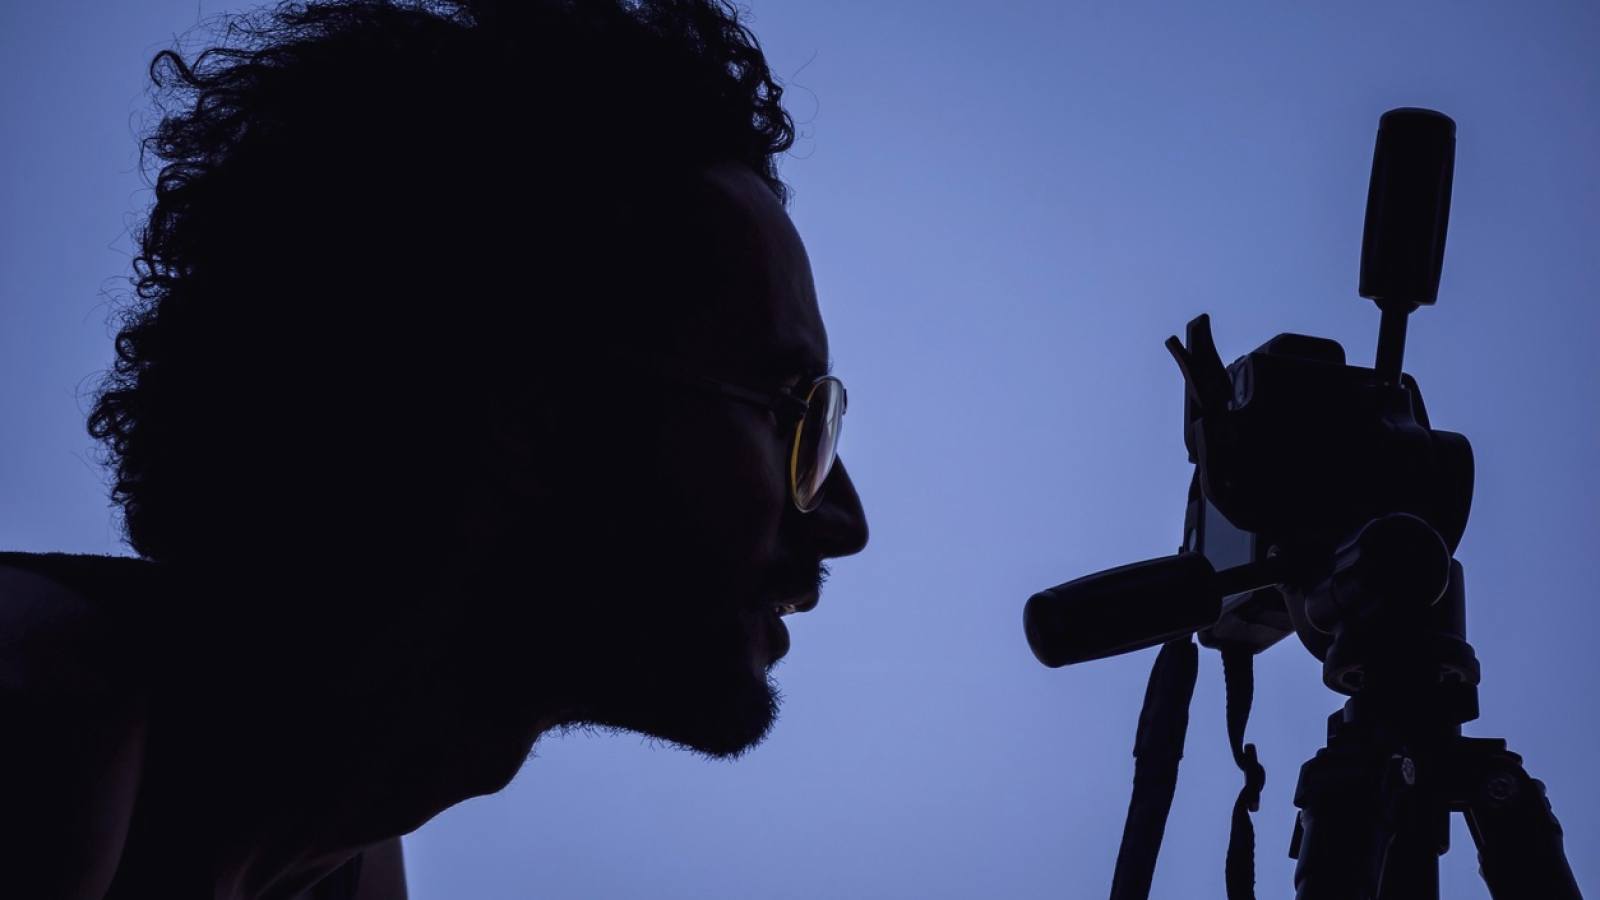
A phrase everyone uses and few define
Ready to roll is one of those phrases you hear in every studio, and it usually means whatever the person saying it happens to have checked. For one person it means the camera has power. For another it means the light looks right on the monitor. Neither is wrong, but neither is complete, and the gaps are where recordings go bad.
In this article I want to give the phrase a plain meaning. For us at primeviewra, ready to roll means that four areas have each been checked on purpose and in a set order: camera, light, sound and monitor. If one of the four has not been looked at, the setup is not ready, however good the rest feels.
The reason for a definition is practical. When you work alone or with one helper, nobody else catches what you skip. A fixed meaning turns a vague feeling into something you can tick off, and it is the idea behind every studio setup checklist we write.
A checklist is not there to slow you down. It is there so that the minute before recording is spent on the person in front of the lens, not on a cable you forgot.
The four areas behind the phrase
Camera covers everything physical about the body and lens: battery or mains power, a card with free space, the lens attached and clean, the tripod head locked and level, and the settings you chose for this session rather than the ones left from last time. It also covers the frame itself, meaning headroom, distance and where the subject sits.
Light covers the sources you control and the ones you do not. Switch on the lamps you plan to use, close or accept the window, and look at where shadows fall on the face. A light that was fine an hour ago can change with the afternoon, so you check it again at the moment of recording, not at the start of the day.
Sound covers the microphone, its position, the cable and the room. Record ten seconds, listen back on headphones, and notice hum, echo or a fan you had stopped hearing. Monitor covers what you judge all this on: brightness set sensibly, the picture showing the same frame the camera records, and any guides for safe area or focus switched on.
Treat these as four separate questions rather than one general glance. A glance finds the obvious problem, while four questions find the quiet one.
- Camera: power, card space, lens, tripod lock, chosen settings
- Light: sources on, shadows on the face, window behaviour
- Sound: microphone position, ten-second test, room noise
- Monitor: sensible brightness, correct frame, guides on
Why the order matters more than the list
Many people already have a list in their head. What they lack is an order. Checking sound before the camera is placed means you move the microphone twice. Adjusting light before the frame is fixed means you light a space the viewer never sees. A good order follows the way one decision constrains the next.
We start with the camera position and frame, because everything else is arranged around what the lens sees. Light comes second, shaped to that frame. Sound third, placed so the microphone stays out of the picture and out of the light. The monitor is the final judge, but it is also open from the start so that you are never working blind.
This is the part people most often reverse, usually because the microphone or lamp is the first thing within reach. If you have ever pulled a stand back out of the shot after finishing, you know the cost.
Write your order down once and keep it beside the camera. After a few sessions it becomes habit, and the written version is only needed on the days you are tired or in a hurry.
What a test recording does that looking cannot
Looking at a setup and recording it are different acts. The eye adjusts to a dim face or a distant voice and calls it acceptable. A short test recording, played back as a viewer would see it, removes that forgiveness. It is the only check that tests all four areas at once.
Keep the test short, around fifteen seconds, and use the real subject if you can. Ask them to speak in the voice they will use and move as they will move. Then watch it from the start without touching anything, and note what you would change before you would stop watching.
Play it on the monitor first and, if possible, on a second screen such as a laptop. A picture that looks fine on a large monitor can lose detail in the shadows elsewhere. The test costs a minute and has saved far more recordings than any piece of equipment we have written about.
If the test shows a problem, fix one thing and test again. Changing three things at once leaves you not knowing which one helped.
Late spring habits worth building
In these weeks daylight is long and changes quickly, which makes it tempting to rely on the window. A room that is soft and even at ten can be hard and patchy by two. If your studio has a window, decide early whether you will use it, block it, or ignore it, and stick to that choice for the whole session.
Warmer weather also brings open windows and the noise that comes with them: traffic, lawn mowers, voices outside. Your sound check should happen with the window in the state it will be in during recording. Closing it for the test and opening it for the take is a mistake nearly everyone makes once.
Late spring is a good time to rebuild your checklist after a quieter winter of recording. Equipment stored for months may have flat batteries, and cards may hold old files. Spend one session simply running through the four areas without recording anything, and fix whatever turns up.
That single dry run is the most useful exercise we can suggest for the season.
- Decide early what the window will do, and keep to it
- Run the sound test with windows as they will be during the take
- Do one dry run of all four areas after a quiet stretch
Keeping the checklist honest
A checklist only helps if it matches how you really work. If an item never catches a problem, remove it. If a problem keeps slipping through, add the item that would have caught it. After each session, take a minute to note what went wrong and which line would have prevented it.
Keep the list short enough to finish in a few minutes. A list of forty lines gets skimmed, and a skimmed list is worse than none because it creates false comfort. Ten to fifteen clear lines grouped under camera, light, sound and monitor is plenty for a small studio.
Use plain verbs and checkable statements. Battery above half is checkable, while camera okay is not. Each line should be something you can answer yes or no to without thinking about what it means.
Over time your list becomes a small record of your own habits and mistakes, which is more useful to you than any generic version, including ours.
Ready to roll is not a feeling but a short set of checks in a sensible order: camera and frame first, then light, then sound, with the monitor open throughout. A fifteen-second test recording confirms it all at once. Keep your list brief, honest and written down, and adjust it after each session. That small routine keeps the last minute before recording for the person in front of the lens.
Keep reading
-
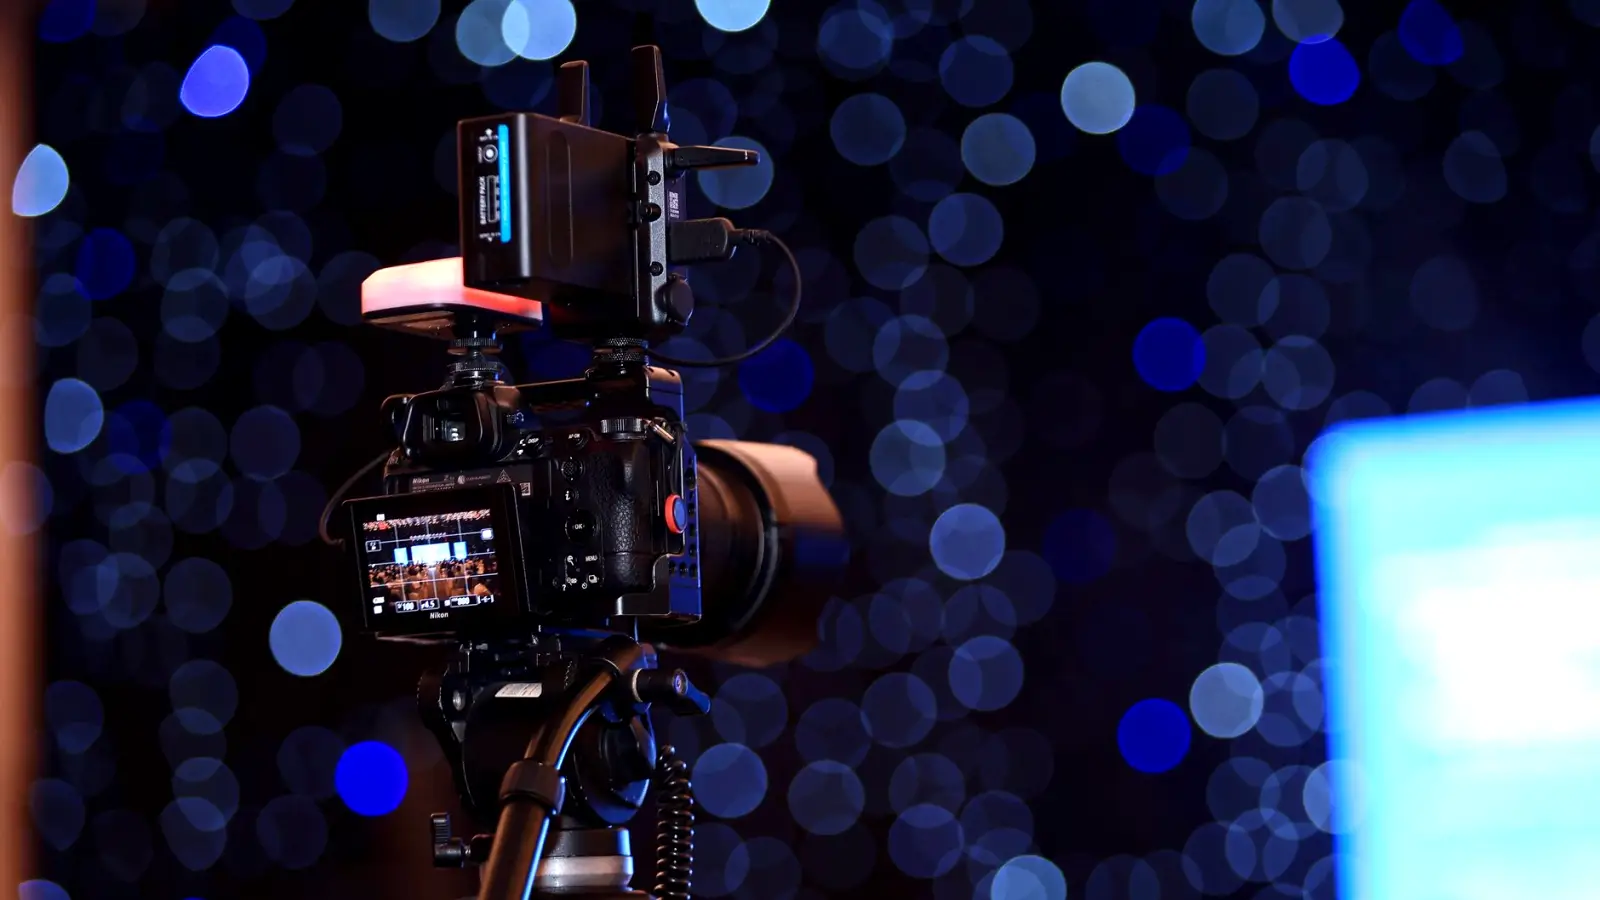
Tripod, Lens, Monitor and Light Stand: What Each Does in a Small Studio
A practical walk through the four pieces of equipment most small studios start with, what each one is for, and how to set them up in a sensible order before you record.
-
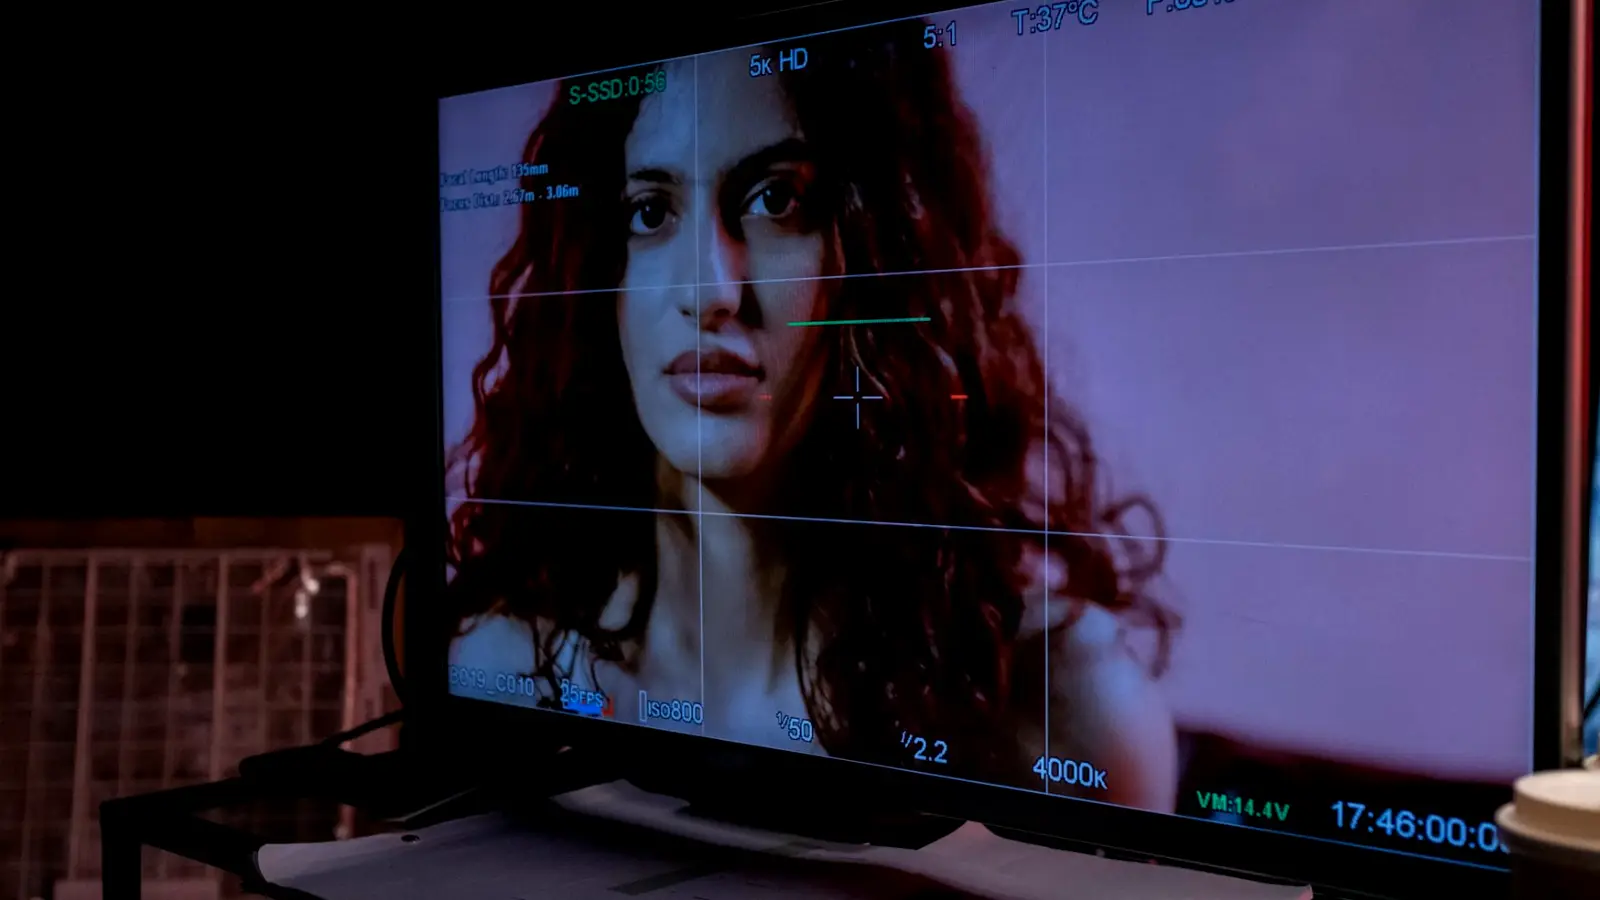
How to Frame a Portrait or Interview Shot, Step by Step
A practical walk through headroom, the rule of thirds and depth for a seated portrait or interview, with a short routine you can repeat before every recording in the darker months.
-
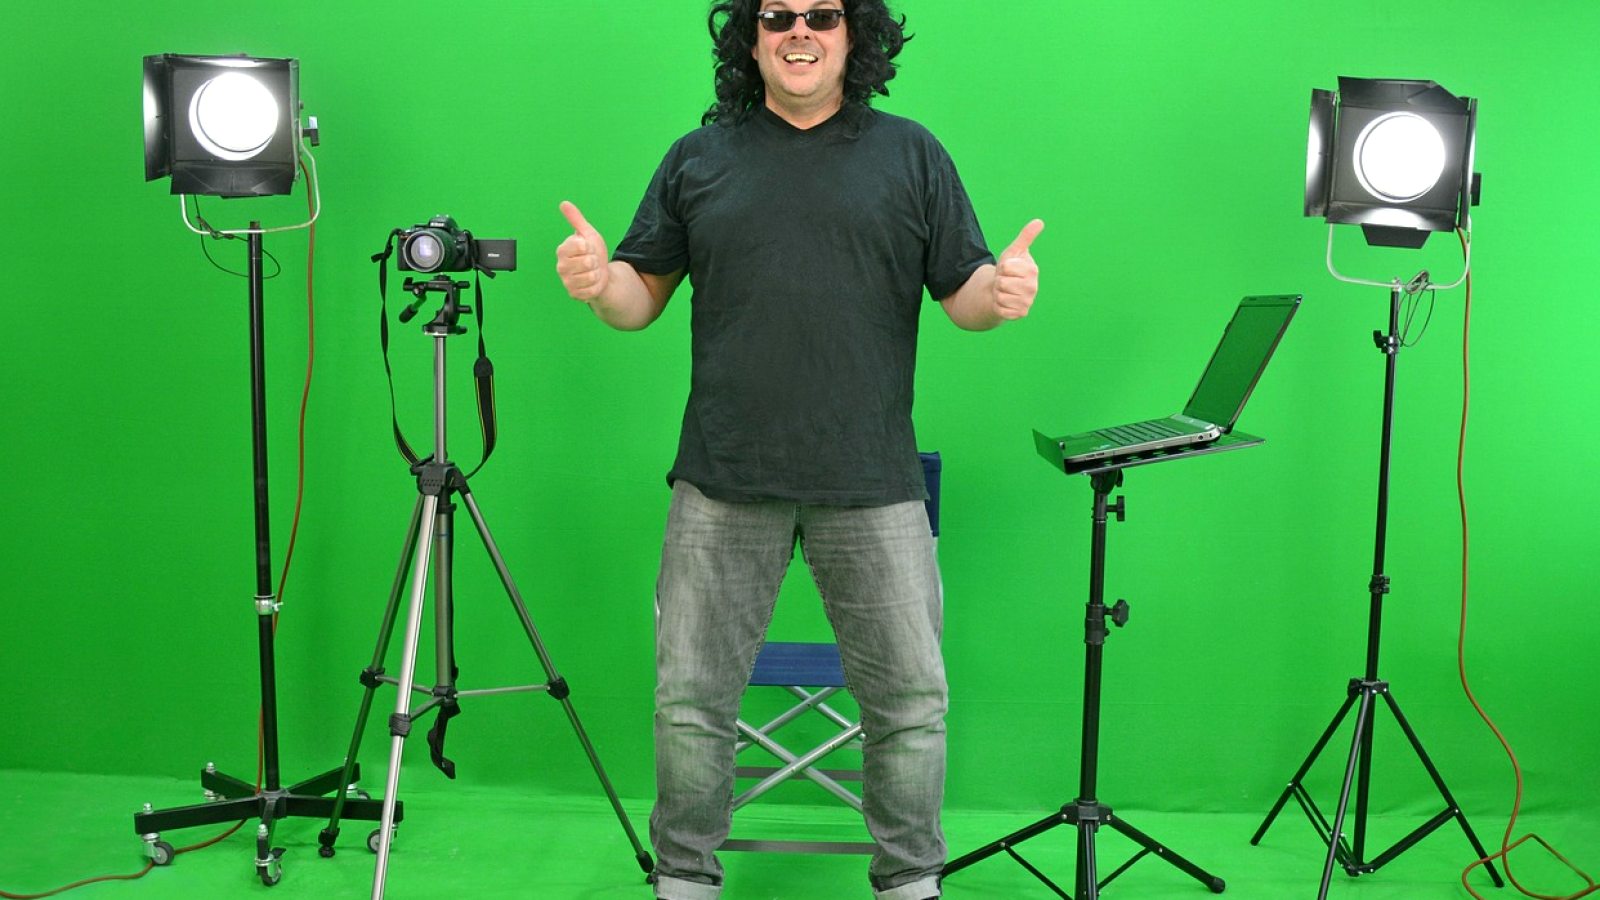
What Basic Studio Equipment Costs and What Drives the Price
A plain look at what tripods, lenses, monitors and light stands cost in a small studio, and which details push the price up while adding little for learners.