
What Should Be on a Studio Checklist Before You Press Record?
Henrik Solberg
6 min read
The question we hear most is simple: what actually belongs on a pre-recording checklist? Here is a short, honest answer covering camera, light, sound and monitor, in the order that saves time.
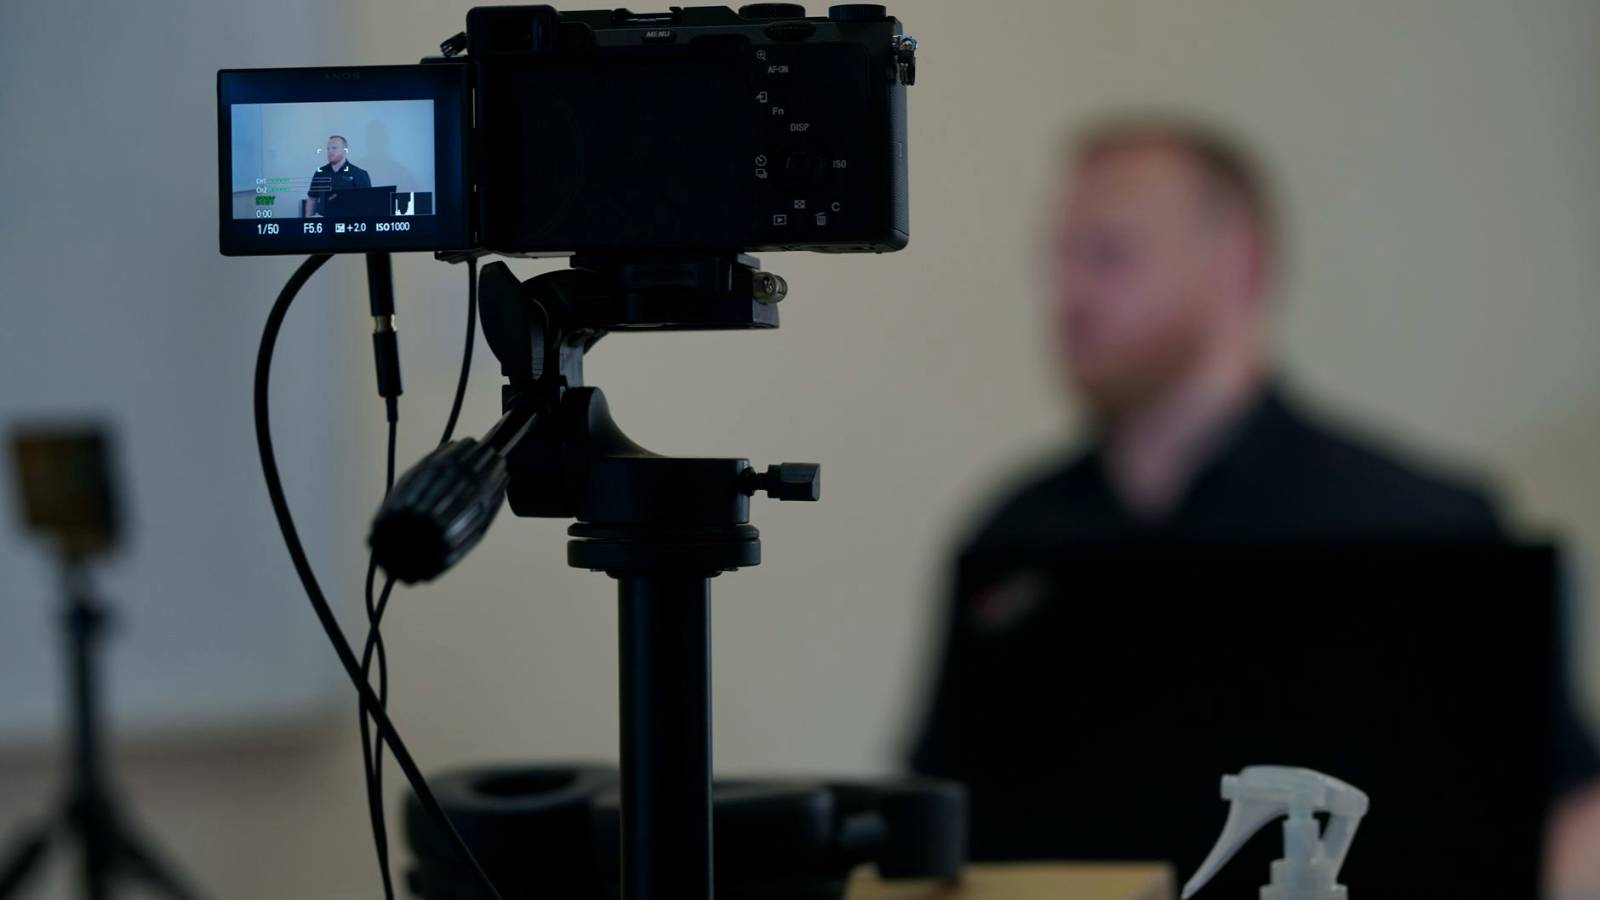
The question behind the question
Most people who write to us ask some version of the same thing: what do I need to check before I start recording, and in what order? It sounds like a small matter, yet it is where many recordings go wrong. A take is lost not because the framing was poor, but because the battery was low, the monitor was showing the wrong signal, or a light was flickering at the edge of the frame.
A checklist answers that worry by replacing memory with a fixed routine. It does not make you a better photographer on its own, and it does not replace learning composition. What it does is remove the avoidable failures so that your attention can go to the shot itself. Early summer is a good moment to build one, since many of you are setting up near windows with changing daylight.
I am Henrik, and I write most of the courses here. The checklists below are the ones I use myself when I prepare a small studio, and the ones we give to learners working through the practical exercises.
Start with the camera, not the light
Begin at the camera because everything else depends on it. Confirm that the battery is charged or the camera is on mains power, that the memory card has room for the whole session, and that the recording format and frame rate are what you intended. A surprising number of problems come from a setting left over from the last session.
Then check the lens. Wipe the front element gently, confirm the focal length suits the distance you have in the room, and decide whether focus will be manual or automatic before you start. Changing your mind halfway through a take is how focus drifts go unnoticed.
Finally, check the tripod. Make sure the legs are locked, the head is level, and the camera plate is tight. Pan and tilt once through the range you plan to use, so you know the movement is smooth and nothing catches. This takes under a minute and prevents a wobble you cannot fix afterwards.
- Battery or mains power connected
- Card has enough free space
- Frame rate and format confirmed
- Lens clean and focal length chosen
- Tripod locked and head level
Light: check it where the subject will sit
Judge light from the subject's position, not from behind the camera. Ask whoever is sitting in front of you to take their seat, or use a stand-in, then look at faces, eyes and the background together. Shadows under the nose or chin, and a bright window behind the person, are easiest to see from there.
Check that every lamp is stable on its stand, with the weight low and the legs spread. Watch for flicker by looking at the monitor for several seconds, since some cheap bulbs flicker in ways the eye forgets. Mixed colour temperatures, for example a warm room lamp beside a cool daylight panel, will give uneven skin tones, so switch off what you do not need.
In early summer, daylight changes quickly. If you rely on a window, note the time and consider drawing a curtain so the exposure does not shift during a long take. A steady, modest light is better than a strong one that moves.
- Look from the subject's seat
- Switch off unneeded lamps
- Watch the monitor for flicker
- Control or block changing daylight
Sound is part of the setup
Sound belongs on the checklist even if your course focuses on the picture. Put on headphones and listen for hum, fan noise, a refrigerator in the next room or traffic through a window. The ear tends to ignore steady noise until it is recorded, and then it cannot be removed cleanly.
Check microphone placement next. Keep it close to the speaker, outside the frame, and aimed correctly. Confirm that the correct input is selected on the camera or recorder, and make a short test recording. Play it back all the way through, not just the first second.
Set the level so that normal speech sits comfortably below the peak, leaving headroom for a louder moment. If the meter touches the top during a test, lower it. A recording that is slightly quiet can be rescued; one that is distorted generally cannot.
- Listen with headphones before recording
- Mic close, aimed, and out of frame
- Correct input selected
- Record and play back a short test
The monitor: confirm what you are really seeing
The monitor is where you trust your eyes, so confirm it is trustworthy. Check that the signal is the one coming from your camera and that no digital zoom or image effect is switched on. Look at the brightness setting too, since a screen turned up too high will make you underexpose.
Use the tools your camera offers rather than judging by feel alone. A frame guide helps with headroom and the rule of thirds, while an exposure aid such as zebras or a histogram tells you where highlights are clipping. If you do not have these tools, take a test frame and review it at full size.
Finally, step back and look at the whole frame as a viewer would. Check the edges for stray objects, cables, or a light stand creeping in. Small items at the border of the picture are easy to miss while concentrating on the subject.
- Correct signal, no accidental zoom
- Monitor brightness set sensibly
- Use frame guides and exposure aids
- Scan the frame edges for clutter
Making the checklist your own
A good checklist is short enough that you will actually use it. Ours has four headings, camera, light, sound and monitor, and a handful of items under each. Add a line only when something has gone wrong twice. If a step never catches a problem, remove it.
Print it, or keep it beside the tripod, and tick items off physically. Doing it out loud with a second person works well in a shared studio. Over a few sessions the routine becomes quick, often a few minutes, and the habit matters more than the exact wording.
The checklists on this site are written so they work for a small home setup as well as a more permanent room. Use the practical exercises to rehearse them, so that the first time you meet a real deadline the routine is already familiar.
The most common question has a plain answer: check camera, light, sound and monitor, in that order, from the subject's point of view, and write the steps down so memory is not carrying the load. A checklist will not make a weak shot good, but it protects a good one from avoidable mistakes. Build yours slowly, trim it often, and let it become a quiet habit before every recording.
Keep reading
-
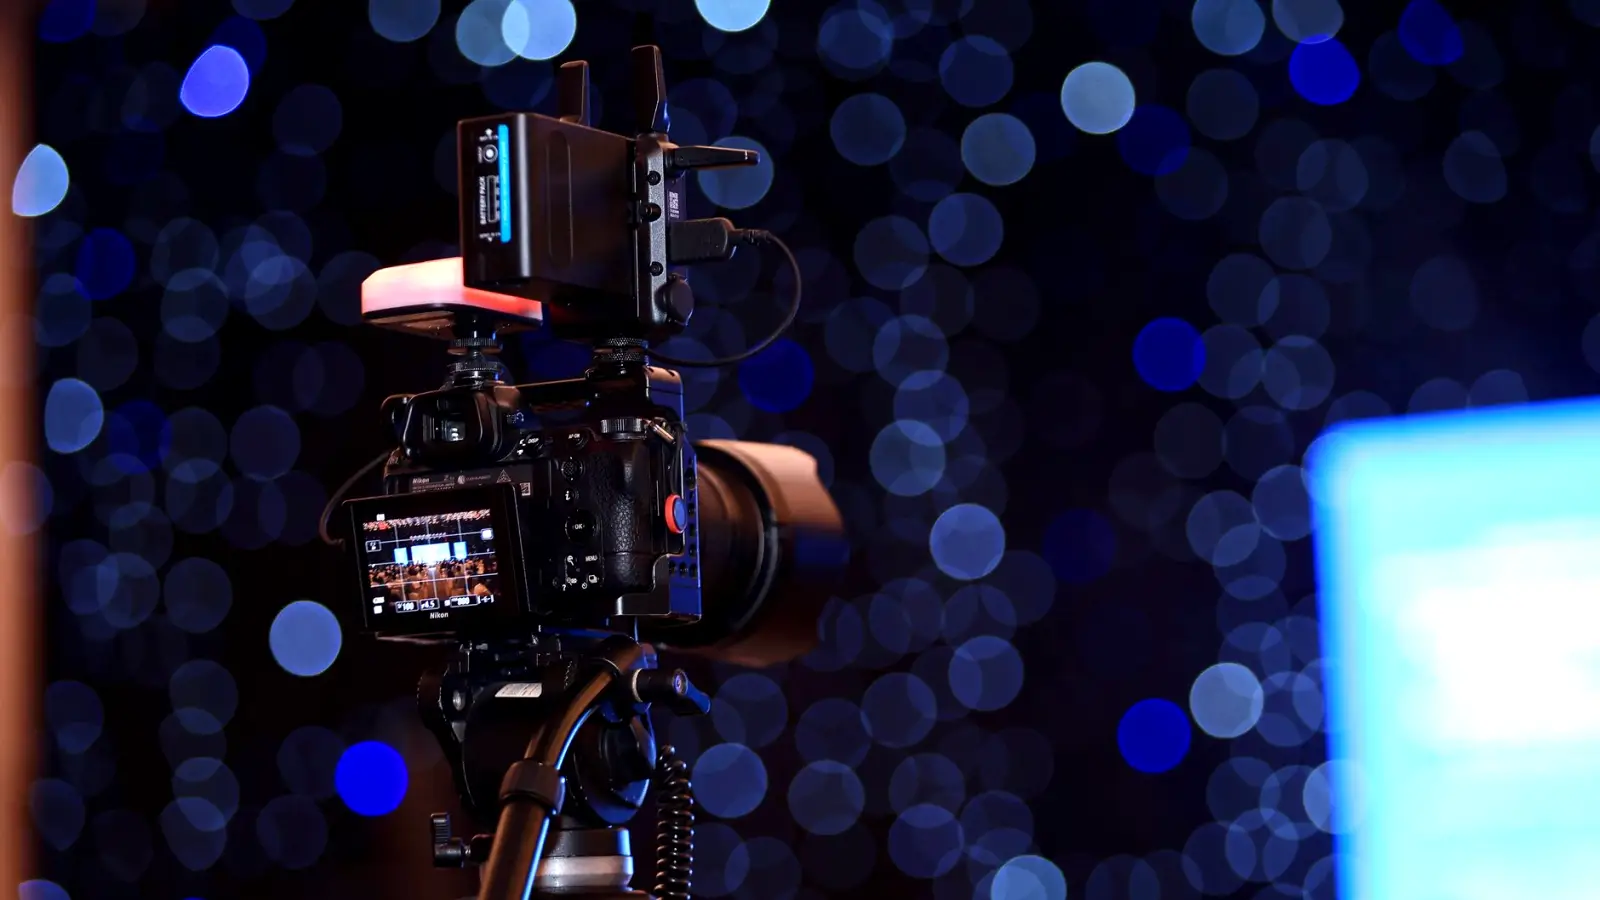
Tripod, Lens, Monitor and Light Stand: What Each Does in a Small Studio
A practical walk through the four pieces of equipment most small studios start with, what each one is for, and how to set them up in a sensible order before you record.
-
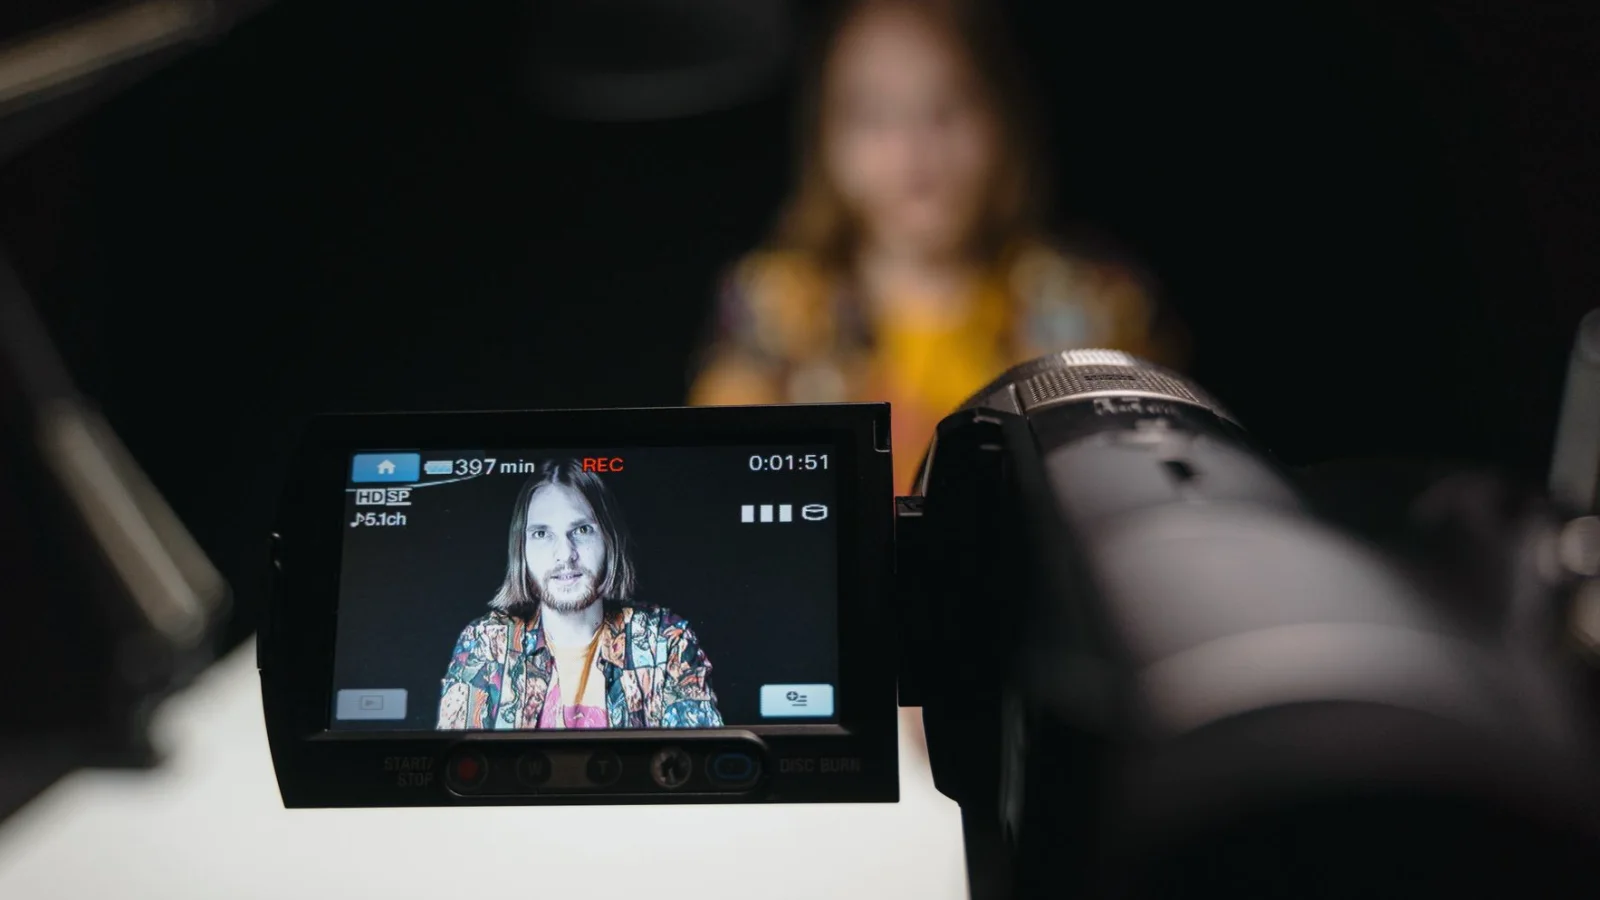
Five Framing Mistakes in Portrait Setups and How to Fix Them
Most weak portrait and interview frames come from a handful of repeat habits. Magnus Berg walks through five common mistakes from our composition courses and shows a simple correction for each.
-
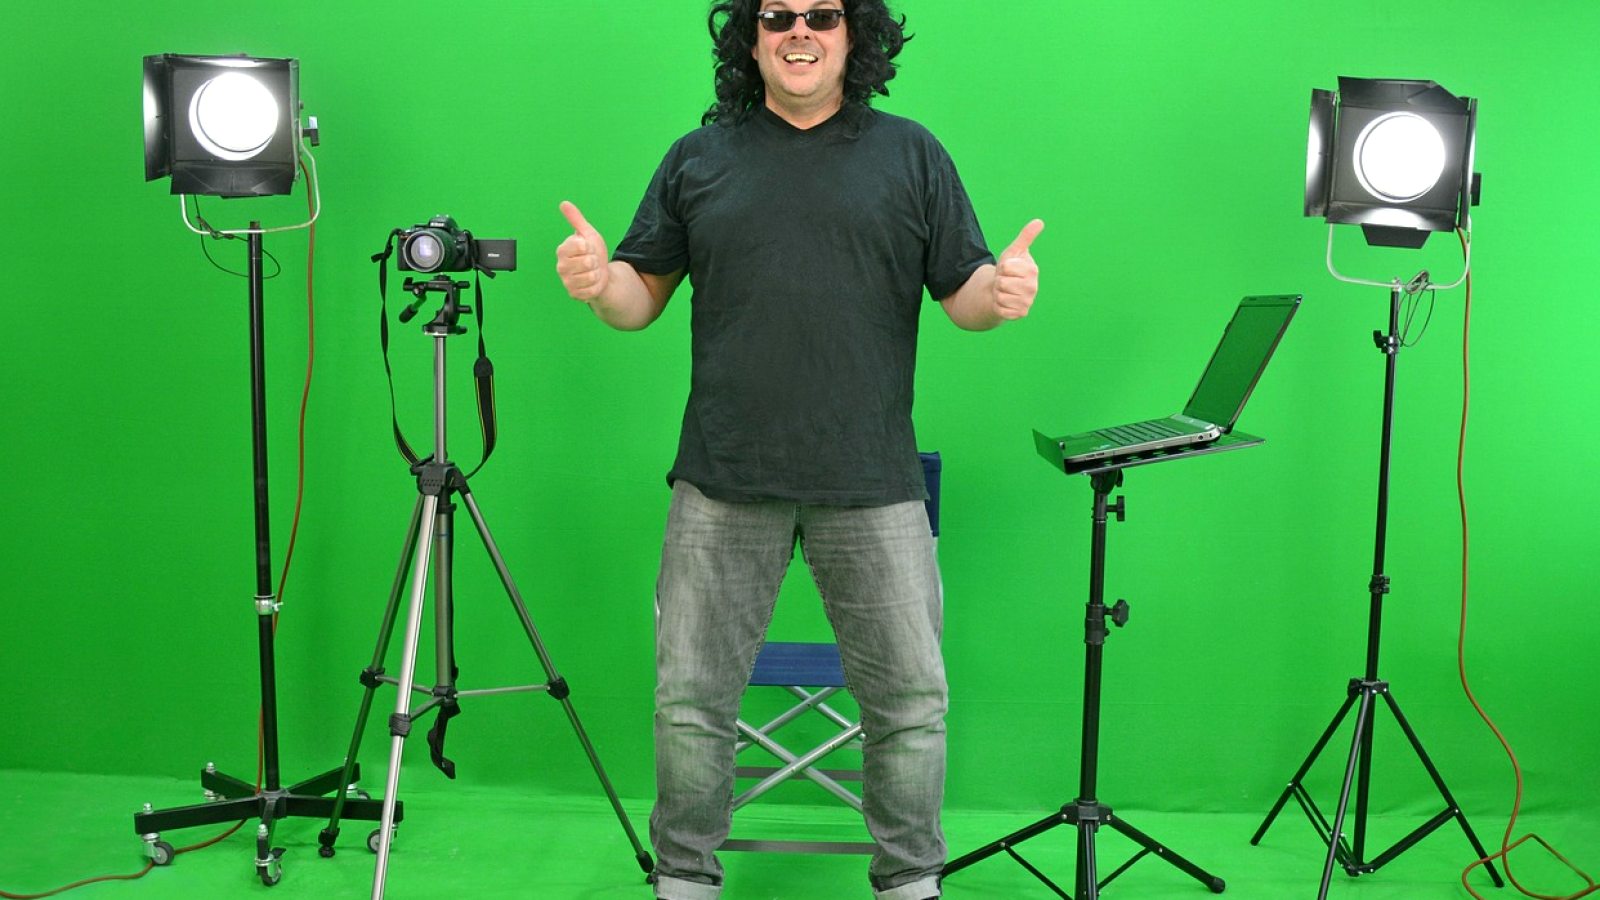
What Basic Studio Equipment Costs and What Drives the Price
A plain look at what tripods, lenses, monitors and light stands cost in a small studio, and which details push the price up while adding little for learners.